Home
Preparation
Empennage
Wings
Fuselage
Engine
Finish Kit
Favorite Links
W & B Calculator
Van's Aircraft
Email Me

|
 |
Wings Update March 2010 Updates
March 28, 2010
Duckworks Light.... - 8.0 hrs
Today I started on the landing light for the left wing. Went to the hangar to pick up the front gear wheel pant to start working on priming to fill the freakin pin holes. I sanded and sanded on this thing and it looked great. Then I shot some primer.... pin holes everywhere. I hate fiberglass.
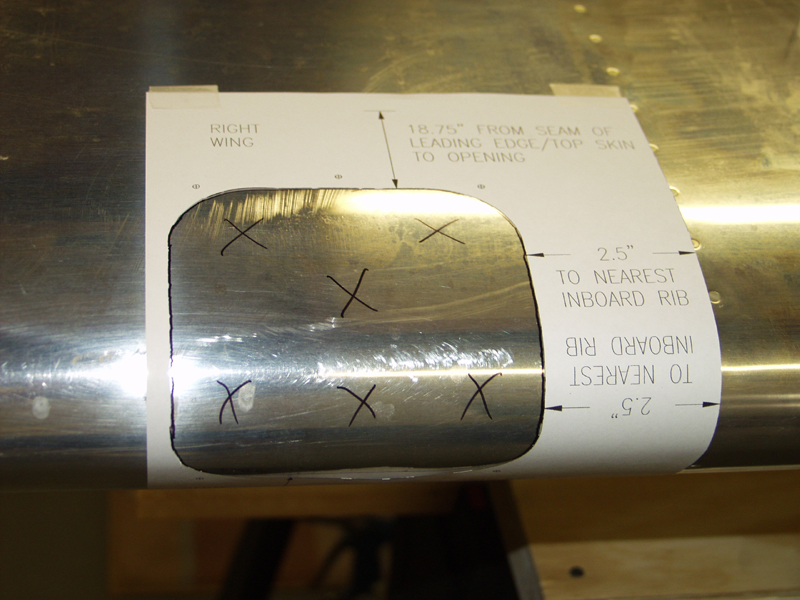
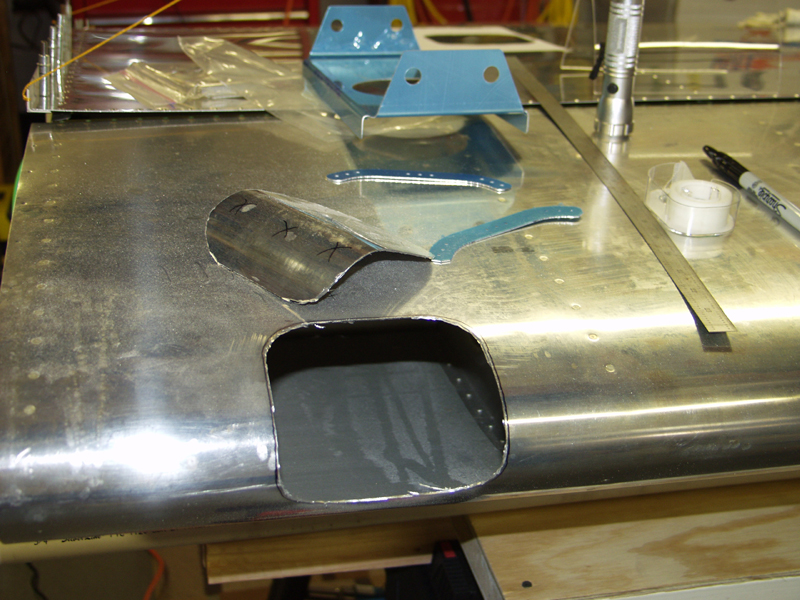
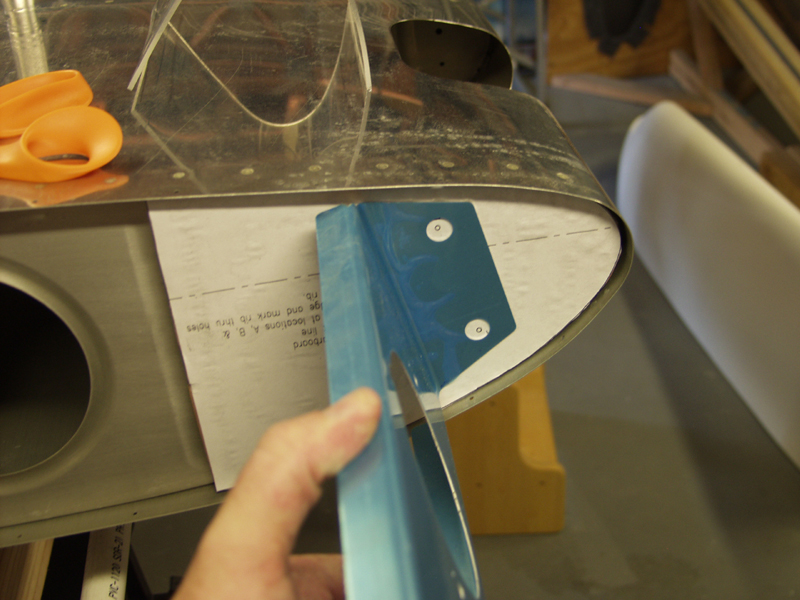
I started the light by taping the template they give you with the light kit. You basically cut out a hole in the middle and trace the outline on your wing. I used a dremmel tool to make the cut. Came out pretty good. Then I used a flapper wheel to clean up the hole. These are hard to find. I get them now at Northern tool. They work great for this stuff. They dont grab like the carbide tools do. Just go slow and ease up to the line.
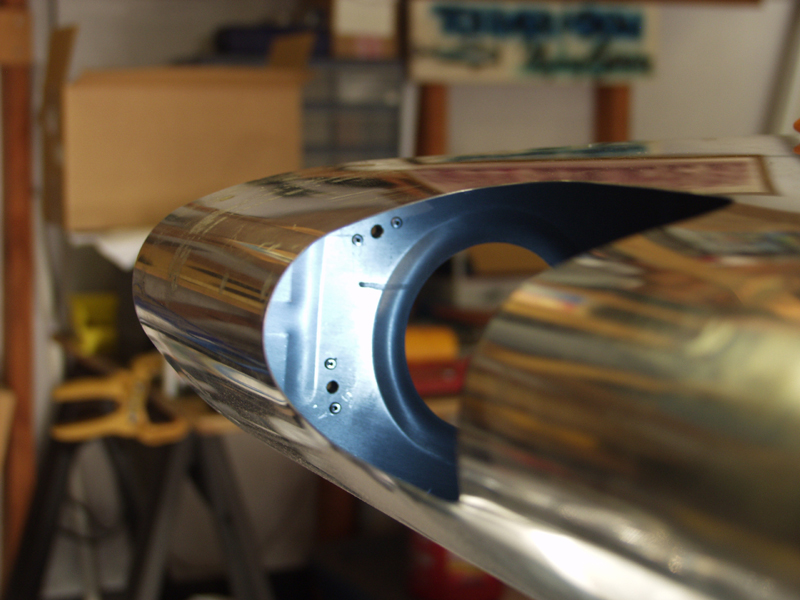
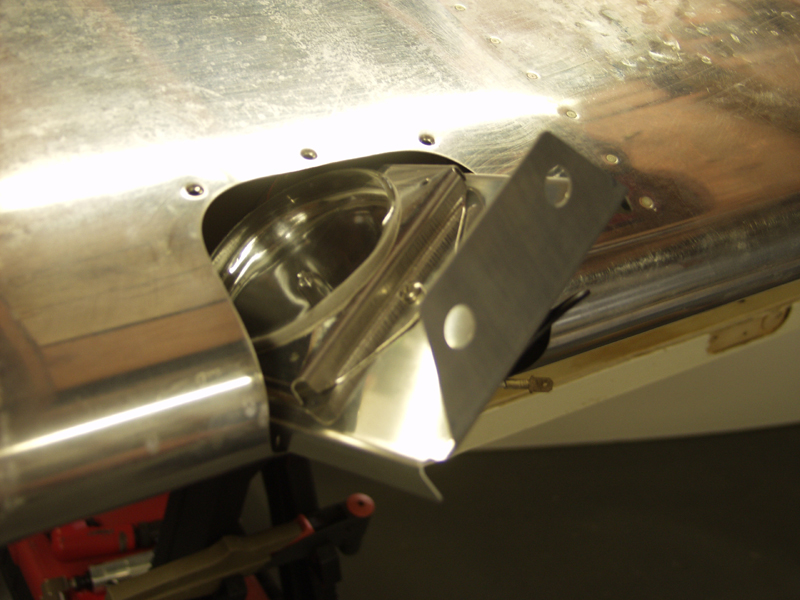
They give you another template to drill the holes for the nutplates for the light bracket. Overall the instructions are well done and just follow the order. I really kept looking at the bracket thinking there is no way that is going to fit in the hole and then I going to have a hole in my wing! Once you drill the holes per the template you install the nutplates on the outside of the ribs with pop rivets. The holes in the light bracket are large to allow for adjustment of angle of the light. The one on this wing will be the taxi light and the other will be the landing. The taxi light will be set lower in front of the plane.
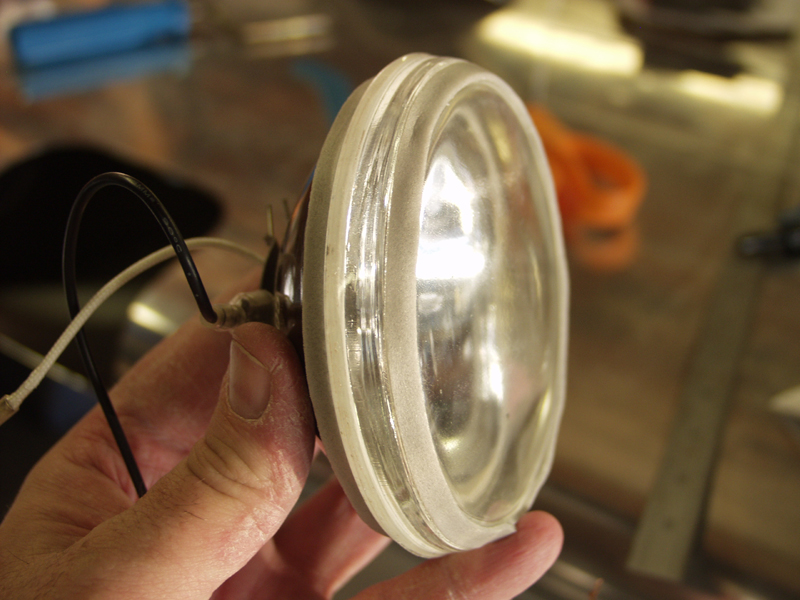
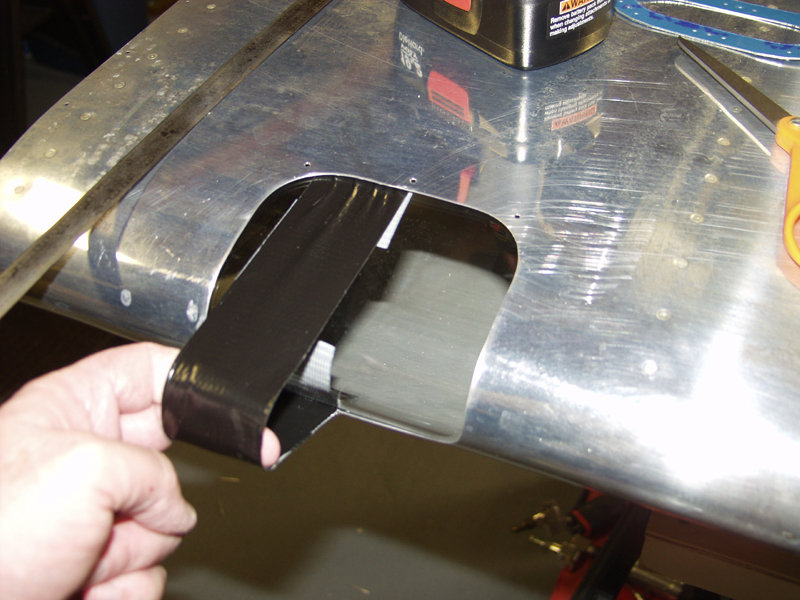
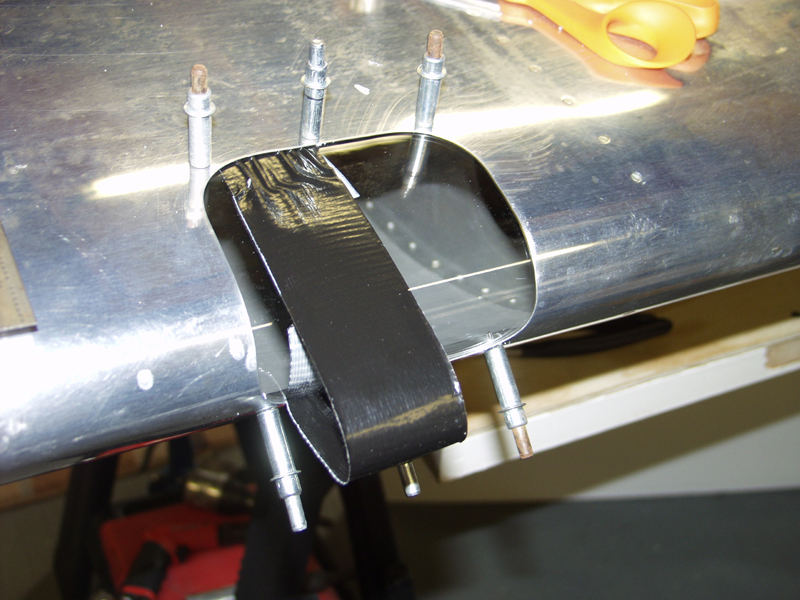
They supply this little foam strip to put around the light bulb to keep it from rattling around in the bracket. Next I marked the lens and cut it with a cutoff wheel as well. Cleaned up the edges and installed the mounting strips. I dimpled the holes with a #6 die and then installed the lens per their instructions of making a handle out of ducktape. Worked like a champ. You really need to stick with this little trick. Before the bracket is in place you can push it from behind but I don't think you could make it as tight. I just pulled on the handle tight and then drilled the holes using the ones in the wing. Worked like a champ.
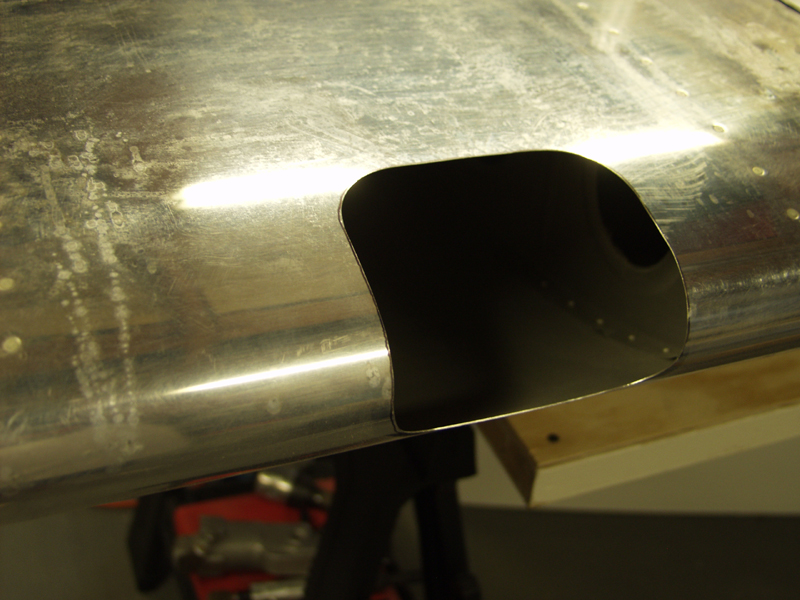
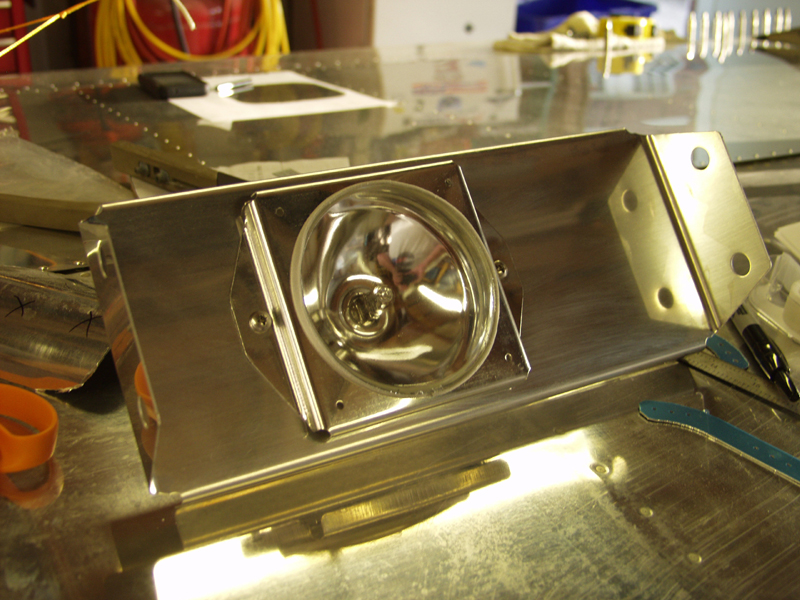
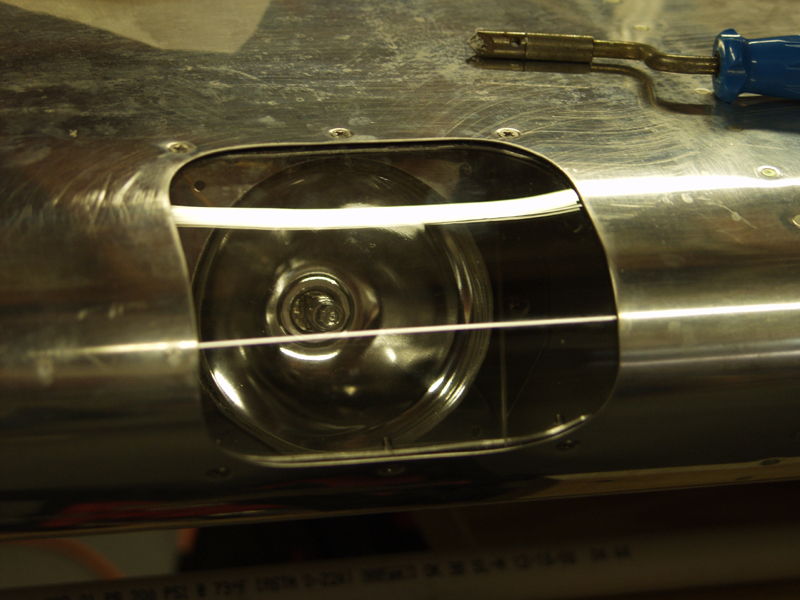
Last I installed the light in the bracket. I just had to take a picture of that thing fitting thru the hole in the wing. Took a little bit of fishing to get the mounting screws thru the bracket and in the wing. Once that was done I eased the lens in place and then used a piece of hinge pin to line up the center hole and then installed screws on the outside holes. Came out nice. In between all of this I was priming and sanding and washing and priming and sanding..... I hate fiberglass. It think this is good as I am going to get it. The paint shop can make it look really good!
This website was built to document my work in compliance with the FAA requirements
needed to certify my aircraft.
My experiences and comments are by no means to be
considered as instructions on how to build any aircraft.
|
| |