Home
Preparation
Empennage
Wings
Fuselage
Engine
Finish Kit
Favorite Links
W & B Calculator
Van's Aircraft
Email Me

|
 |
Wings Update March 2010 Updates
March 20, 2010
Wings.... - 6.0 hrs
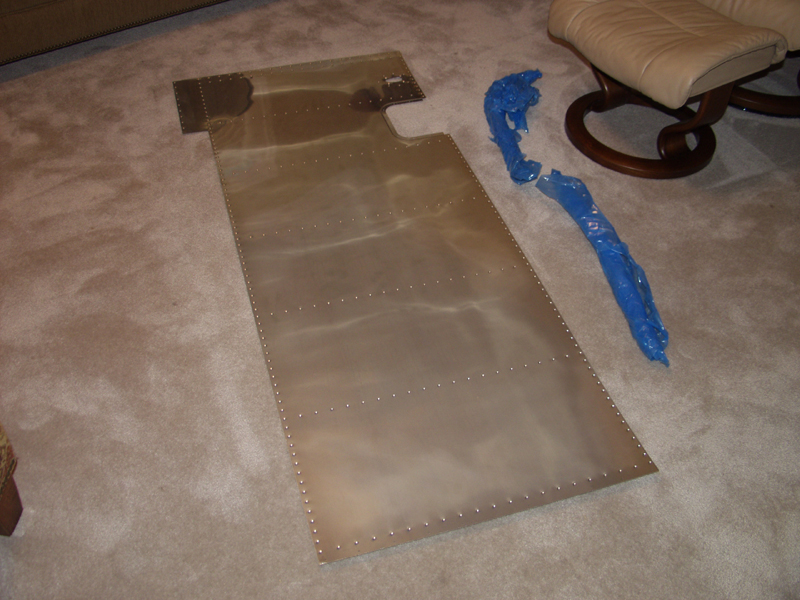
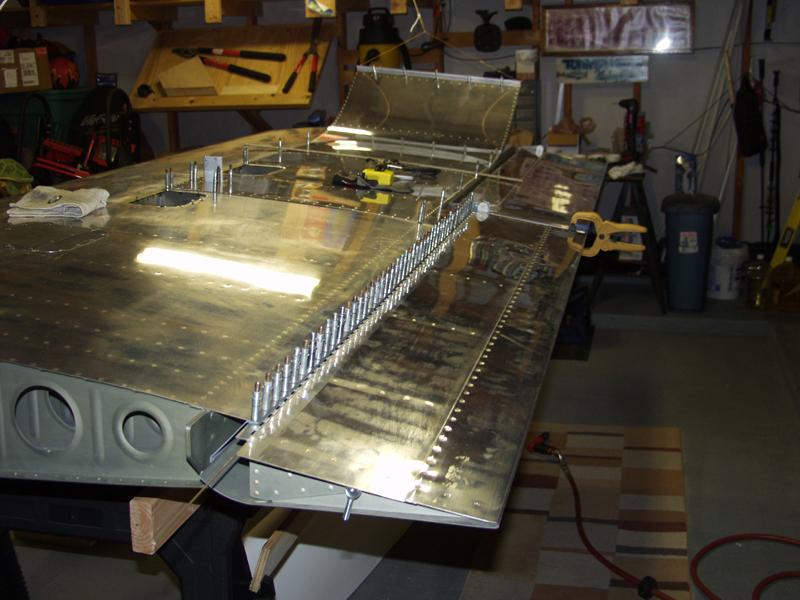
Well between the pnuematic rivet set and the DRDT-2 I made short work of the left bottom skin. Now peeling the plastic off was another thing. I thought I was never going to get it off.
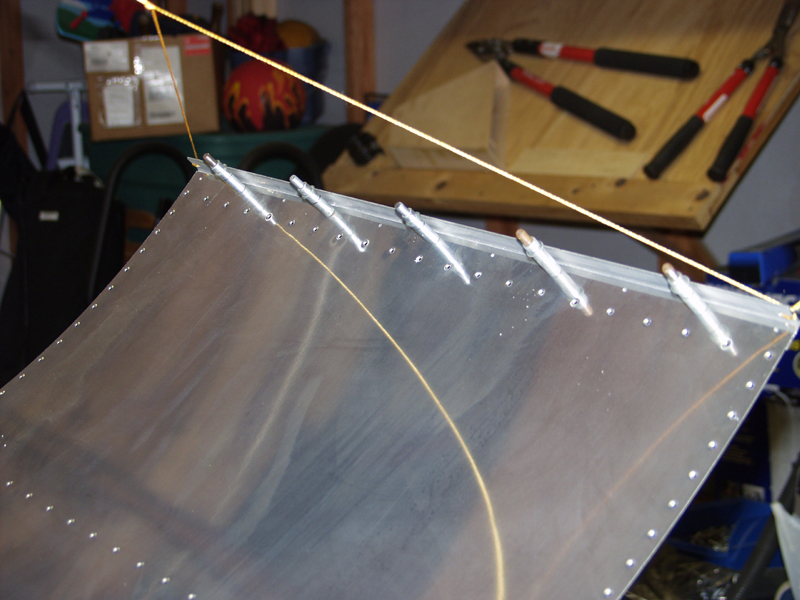
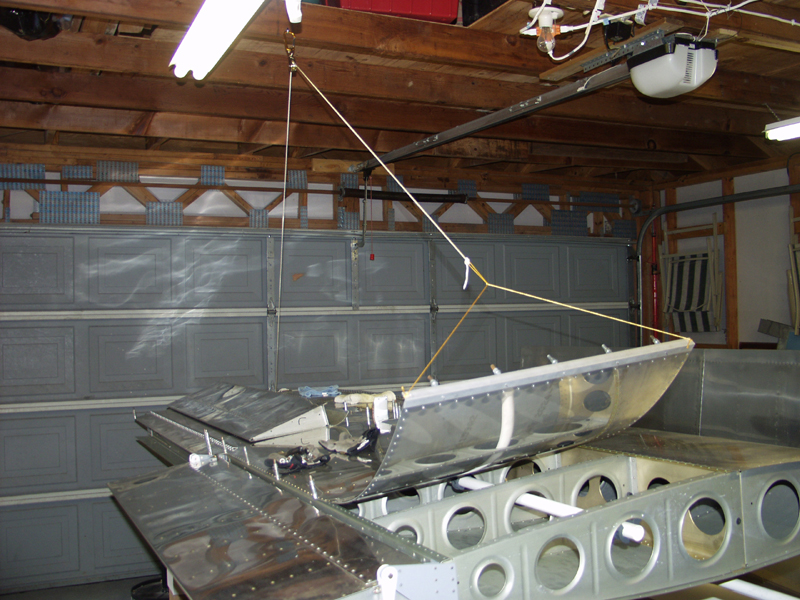
I was going to stop there and start on the other wing. But then I figured if I rigged up a way to pull the skin up evenly I could rivet the skin myself if I took my time. So I had this rafter running right above the wing where I needed so I drilled a hole above the middle of the wing and installed a screw eye. Then I clipped off a small pulley and ran some small rope over it. Next I took an old piece of angle and drilled and clecoed to the outboard edge. This will keep the skin straight and wont let it bend. After done riggin that up I moved on the the flap hinge.
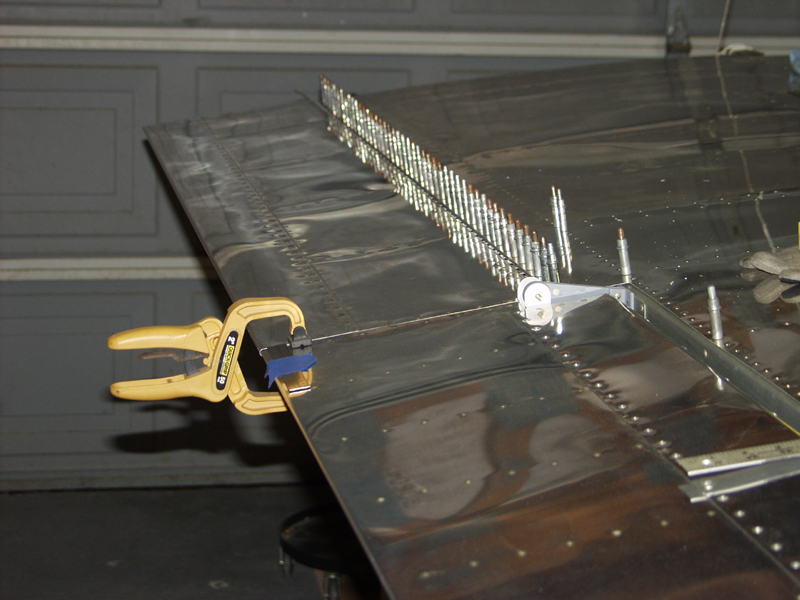
This is difficult because you use the aileron and jig off of that for the depth off the rear trailing edge of the wing. I shimmed the aileron with the bushing and bolt. Then taped a small ruler to get my 1/4 inch gap. Next I marked the 2nd hinge loop as the left and right guide. It appeared that if I used the same depth as the flap side hinge I would align at the rear edge of the aileron so I started to drill a few hinge holes. Just to test I clecoed in place. It was about a 16th of an inch too short. So I grabbed the other side of the hinge material and cut it to length to start over. I moved the material about a 16th out and that did the trick. I started at the aileron and drilled each hole in order and moved inward.
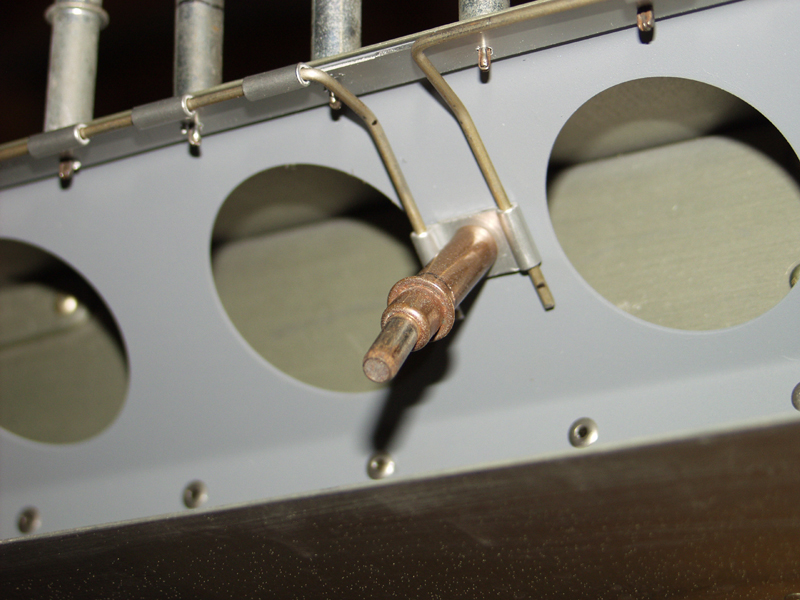
I had decided after reading some posts on VAF that I was not going to use one long hinge pin. Most folks are going with the split pins in the middle of the flap buy removing 3 to 4 eyes. 4 seems to work the best. I tried 3 but the angle was so steep I still had a hard time getting them in. I saw a post about bending a 90 degree in the pins and wire tieing them to the flap brace and then I found a post where a guy had taken 2 hinge eyes and reversed them back to back with a screw in the middle. So before I cut the hinge I slide the pin out one end enough to allow for 2 bends plus a little. Then I installed the first pin and measured and marked for the bend. Then a 45 to match the angel of the flap brace and drilled a hole for the screw to hole the hinge eyes. Next I installed the other pin towards the aileron and marked it so when I bent the 90 it was right at the other side of the hinge eye. Came out nice. Thanks again to VAF!
This website was built to document my work in compliance with the FAA requirements
needed to certify my aircraft.
My experiences and comments are by no means to be
considered as instructions on how to build any aircraft.
|
| |