Home
Preparation
Empennage
Wings
Fuselage
Engine
Finish Kit
Favorite Links
W & B Calculator
Van's Aircraft
Email Me

|
 |
Wings Update March 2010 Updates
March 17, 2010
Wings.... - 6.0 hrs
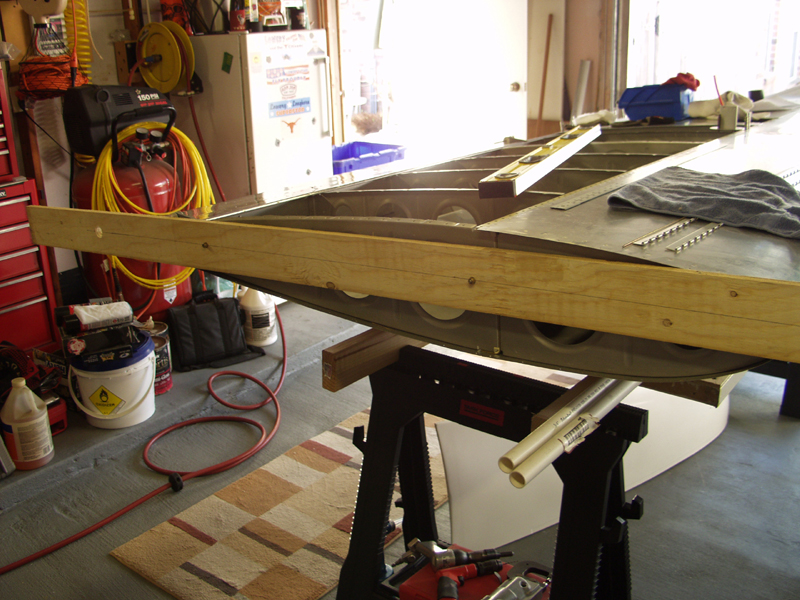
OK so after sleeping on it and looking over the plans I also came across a post on VAF with pictures of a guy that made the jig out of wood. I knew I kept those plywood slats for something useful some day. I drew a line in the cender and drilled a #12 for an AN3 bolt to pass thru. I flipped the board over and bolted it in place. I put another AN bolt thru the rear tooling hole in the wing next to the rear spar. I moved the board back and forth to make a mark across the center line. I removed the board and drilled another #12 for the rear bolt.
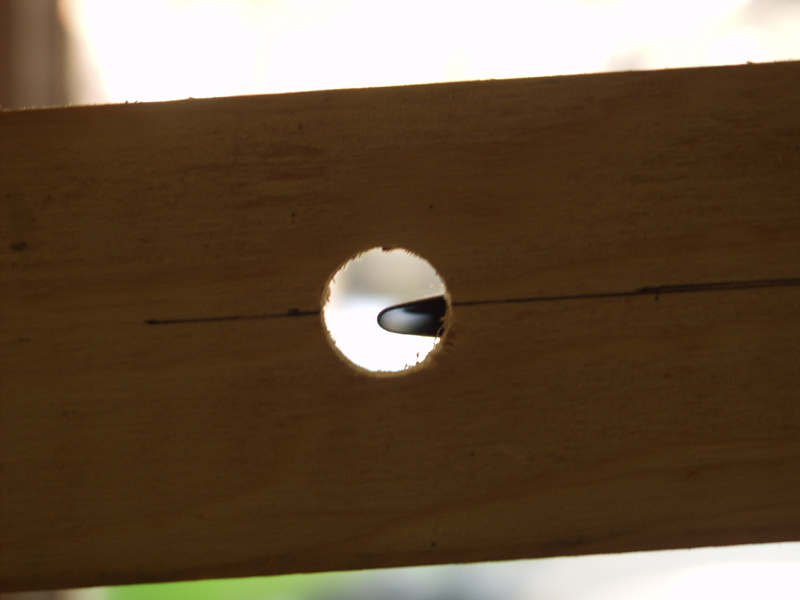
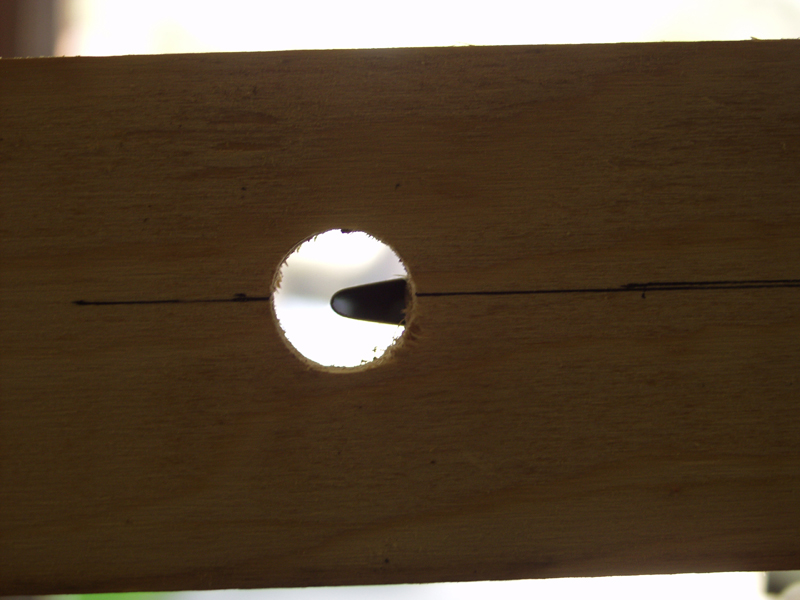
Next I measured where the very tip of the trailing edge of the aileron would be and drilled a 1 inch hole so I would be able to see the position of the aileron tip. This is all outlined on page DWG 12A of the plan sheets but the pics really help make it clear on VAF. As you can see on the first hole picture I was close with the eyeballing it the night before but it was still a tad low or actually high since the wing is upside down. I removed the bolt on the aileron to free up the rod and adjusted the rod ends one turn each and then still had to go one half each and now its dead on.
Next I installed the bottom skin to prepare for drilling. This pic is before the first pass. Then move all clecos 1 to the left and redrill those holes. I can sure tell that this is what caused me to get those shots in my arm from Dr. Nelms last year. I am sure glad these are QB wings. Only one more skin to go.
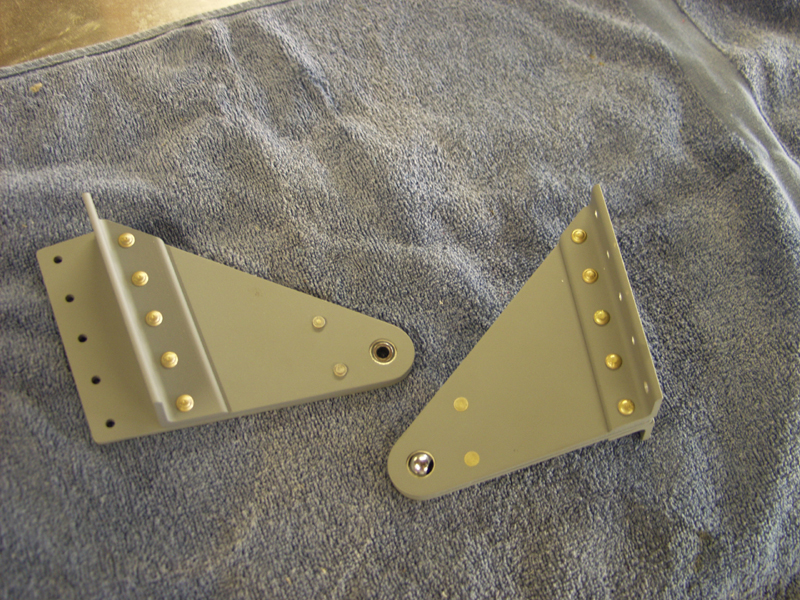
I removed the skin and started fitting the pitot tube again check for clearance from the torque tube. I think its going to work out fine. Next I measured and cut the first PVC tube and checked it for clearance. I will use the truss hangers I picked up from Lowes to hang it from the 2nd larger hole from the front spar. Need to head to the hangar for the angle drill and bits to make this work. While I was waiting for Dennis to show up to help me hold the flap in place to meausre the hinge I knocked out the aileron brackets for the right week. When Dennis showed up we put the hinge pins in the flap hinge and held it in place so I could make some marks for cutting. I am going to use the method of cutting out several rings in the center to install and remove the pins from the middle. I noticed this on Paul and Louise's RV3 wings when I was there last month.
This website was built to document my work in compliance with the FAA requirements
needed to certify my aircraft.
My experiences and comments are by no means to be
considered as instructions on how to build any aircraft.
|
| |