Home
Preparation
Empennage
Wings
Fuselage
Engine
Finish Kit
Favorite Links
W & B Calculator
Van's Aircraft
Email Me

|
 |
Wings Update March 2010 Updates
March 07, 2010
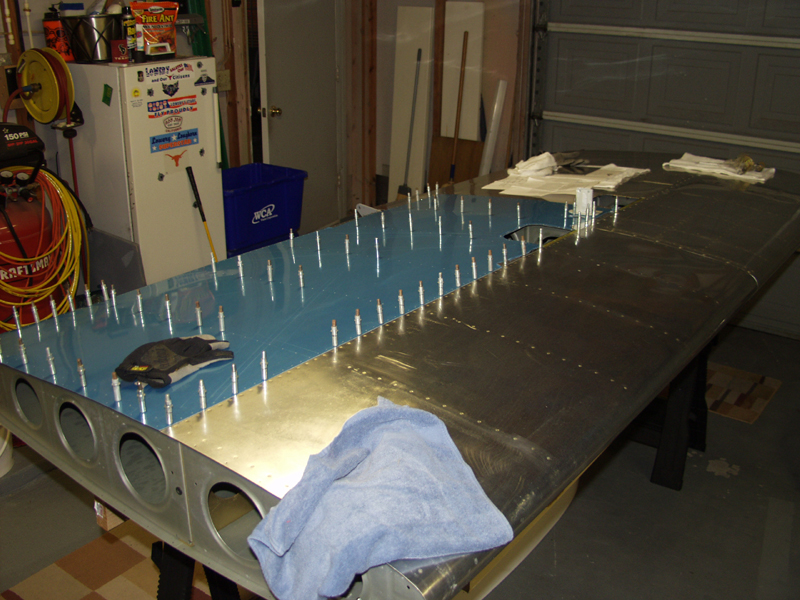
Wings.... - 3.0 hrs
Started on the left wing. Got the Trutrak servo out but the install kit that came with it is for the right wing. Going to have to check the wiring harness to see if it will reach. If not I will call Tim at FastStack.
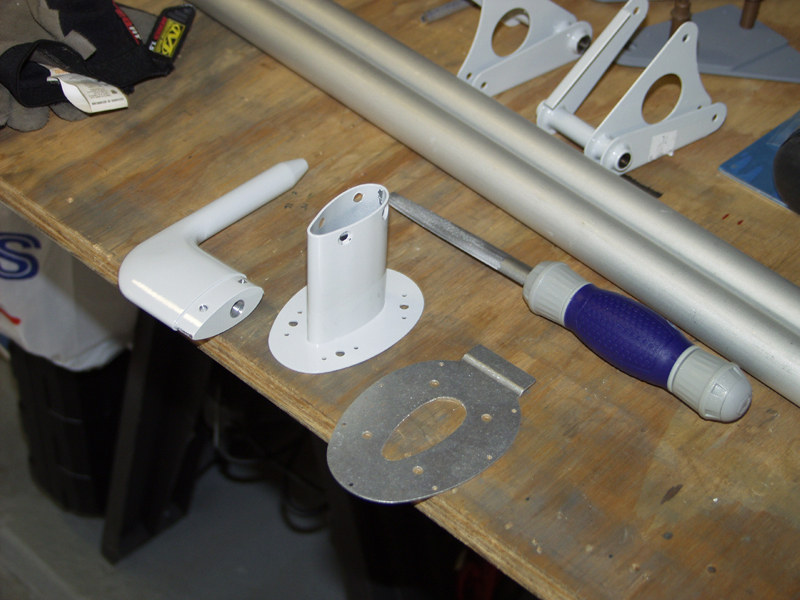
Moving on to the Pitot tube. In review of the directions it says to not install in the same bay as the bellcrank so I moved one bay outboard of that. I centered the bracket to pickup 2 rivets along the main spar. I used those 2 rivet holes to drill into the brace. Removed and deburred and installed on the bottom skin in those 2 matching holes.
I had to shim it to lie flat to drill the outside edge holes. I used the bellcrank jig for thickness. Worked out great. Next I marked the hole for the mount to slide thru. I used a dremill tool to cut the hole going slowly to get a nice fitting hole. Once the piece dropped out I used a file to get it really smooth. It took a while to get the mount to drop thru the hole smoothly. Drilled the 7 outside edgeholes with the Pitot mount in place to make sure everything stayed centered while drilling.
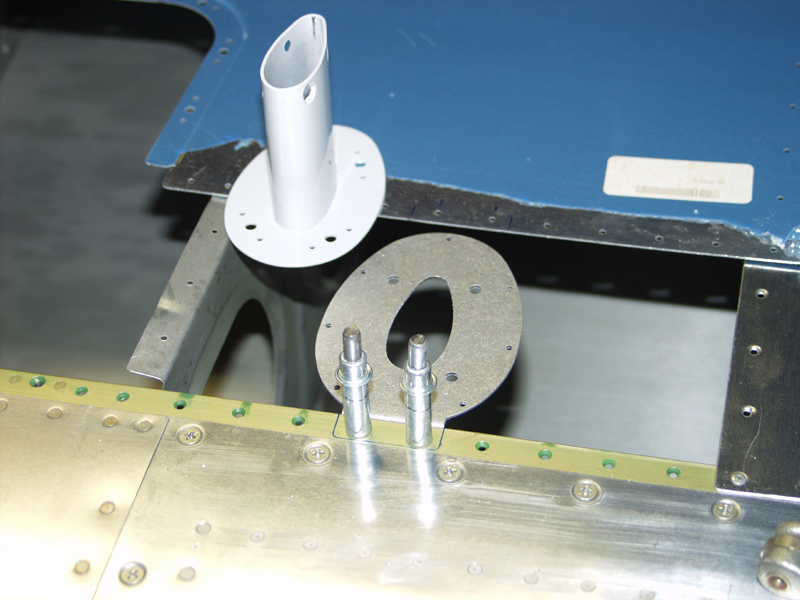
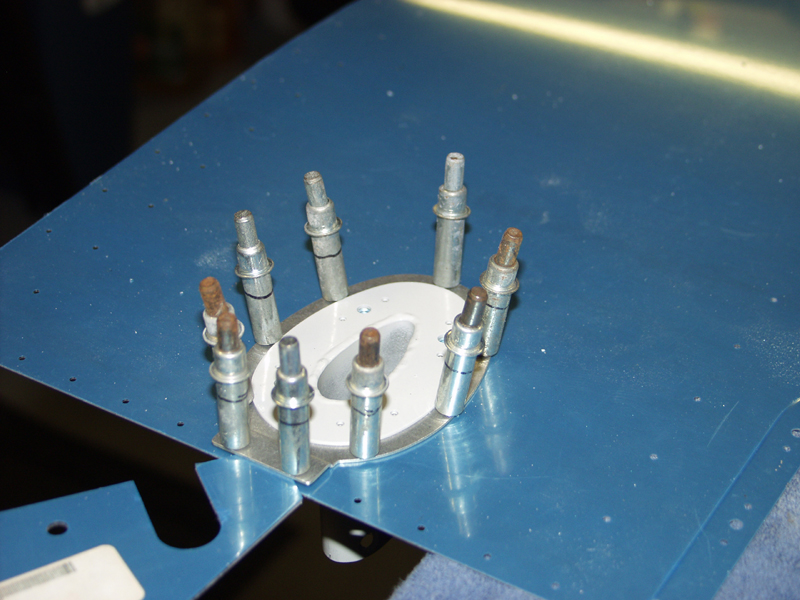
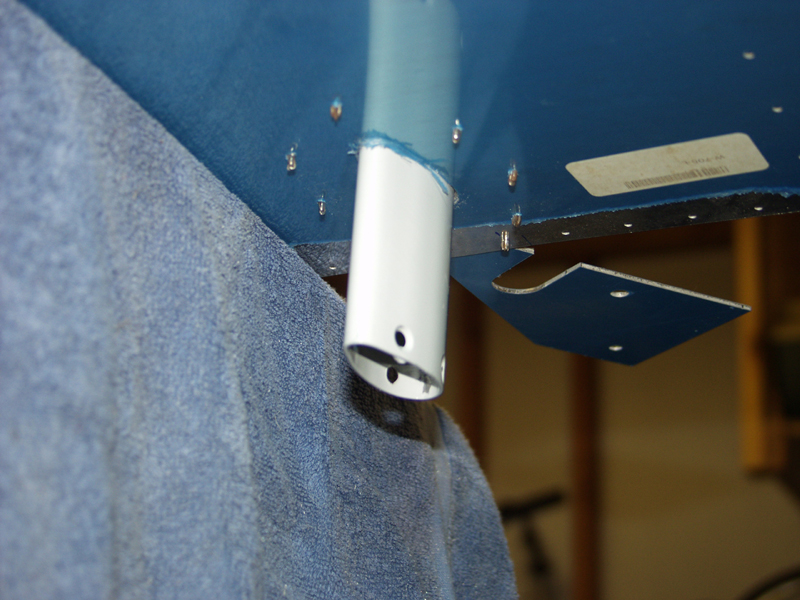
Took another picture from the bottom view. Removed the bracket and deburred. Clecoed back in place and installed the skin with the bracket clecoed in place to see how the clearance would be on final install. Works great. Once I get the bracket all fitting correctly I can rivet the small outside holes to the skin. The mount should drop in from inside and 4 screws will hole the mount in place nice and snug. The Pitot tube slides inside the mount and its good to go.
This website was built to document my work in compliance with the FAA requirements
needed to certify my aircraft.
My experiences and comments are by no means to be
considered as instructions on how to build any aircraft.
|
| |