Home
Preparation
Empennage
Wings
Fuselage
Engine
Finish Kit
Favorite Links
W & B Calculator
Van's Aircraft
Email Me

|
 |
Wings Update April 2010 Updates
April 17, 2010
Right Wing Aileron.... - 4.0 hrs
Ok back on the right wing. First I removed the gap fairing and riveted the aileron brackets to the rear spar. Then I dimpled the trailing edge of the top skin and the aileron gap fairing to prepare it for final mounting. No sense in doing that until I trial fit the right aileron though.
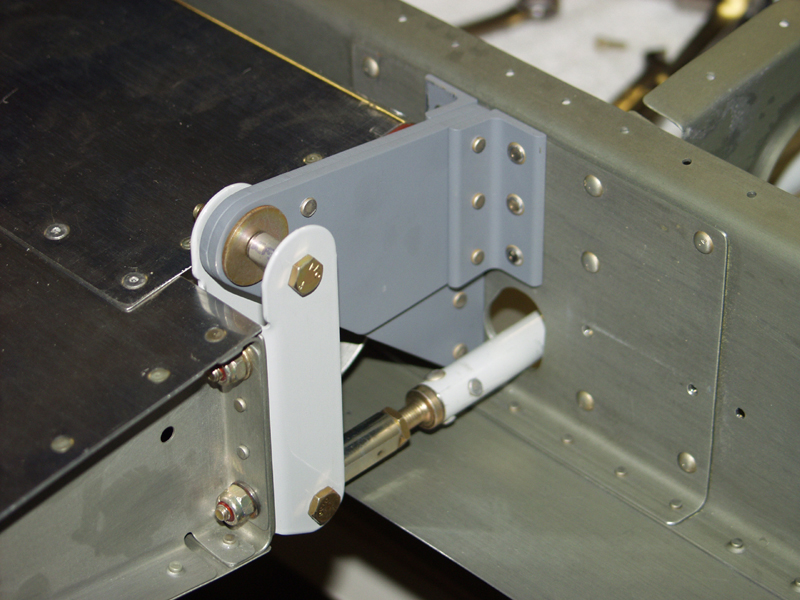
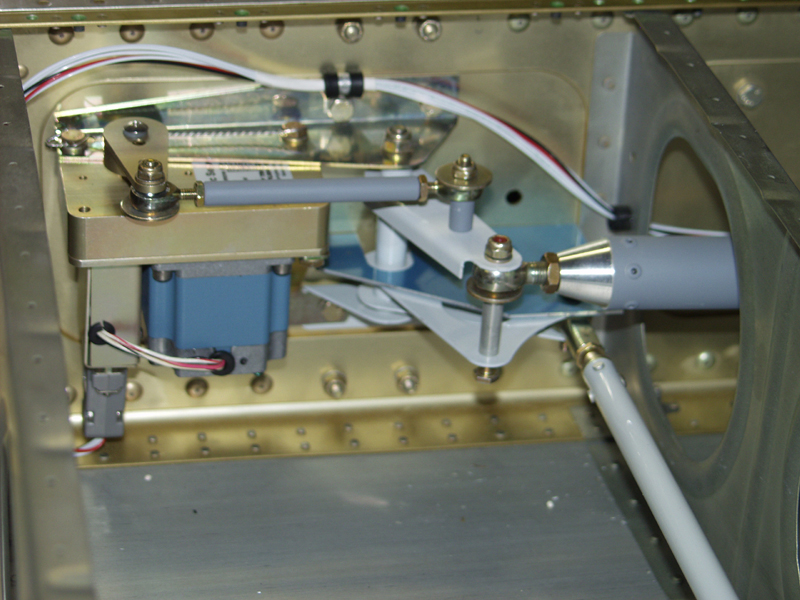
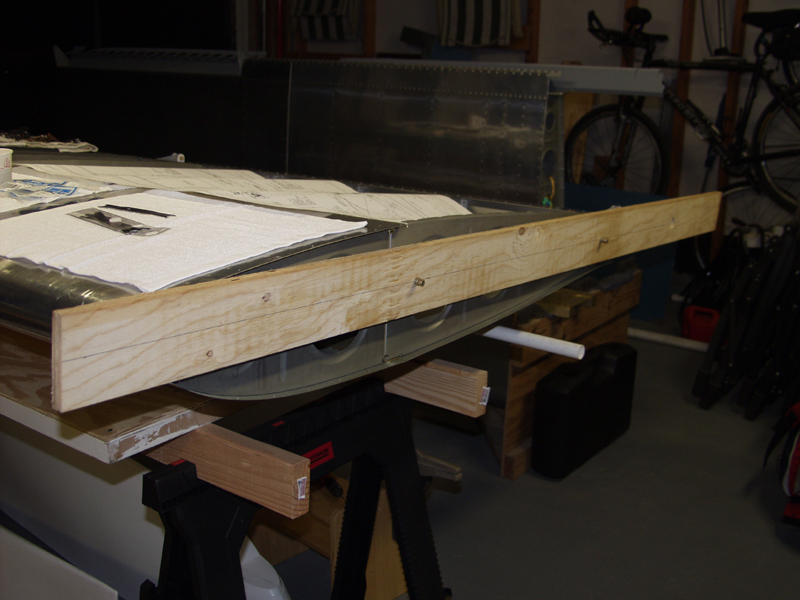
Next I got the right aileron down from the upstairs bedroom. No more airplane parts in the house. Well maybe some trim scraps but that is it. Pulled the blue plastic off and mounted the inboard and outboard brackets. First I had to drill the holes out to #12 except for hole hole on one side has a nutplate for the AN bolt. Next I bolted those in place and then hung the aileron in place with temp bolts. Next I fabbed up the spacers and bolted in place. Next I mounted the main torque tube and installed the template used to rig to neutral. Got out my trusty board that I used on the left side and mounted it to the wing tip rib with the 2 bolts in the tooling holes. A few tweaks on the control rod matching the adjustments on both ends until it was dead on in the center of the hole. Then I locked the stop nuts down and marked the control rod with an R for right side.
Ready to start on the bottom skin.
This website was built to document my work in compliance with the FAA requirements
needed to certify my aircraft.
My experiences and comments are by no means to be
considered as instructions on how to build any aircraft.
|
| |