Home
Preparation
Empennage
Wings
Fuselage
Finish Kit
Favorite Links
W & B Calculator
Van's Aircraft
Email Me

|
 |
Fuselage September 2006 Updates
September 9, 2006
Flap motor & Top Skins.... - 5.0 hrs
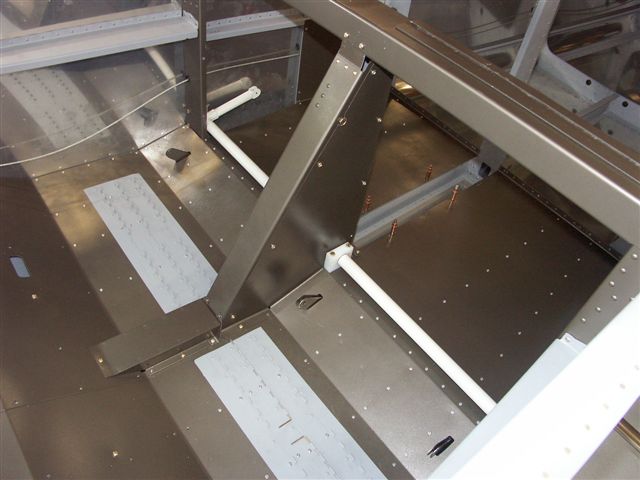
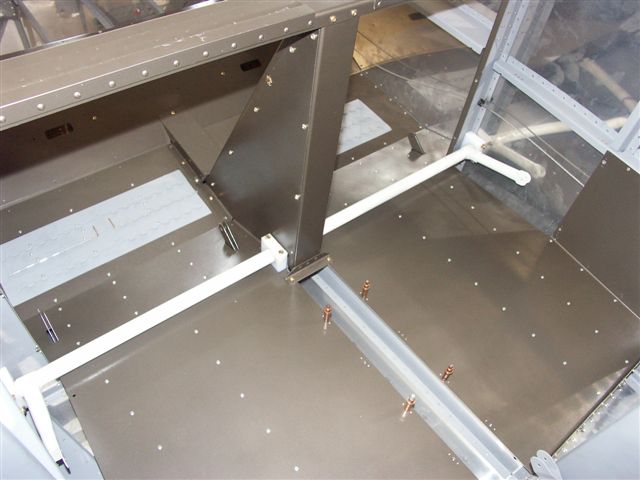
Installed flap weldment and reinstalled flap channels and enclosure. Hooked up bolt from motor to flap weldement to cycle. It feels very stiff but the motor runs the weldment in the bearings just fine.
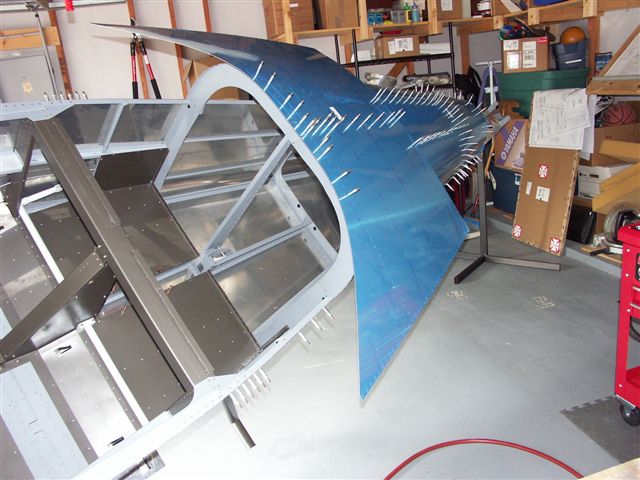
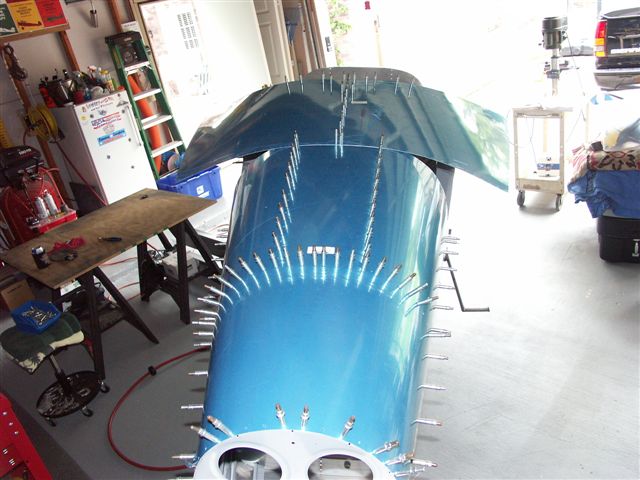
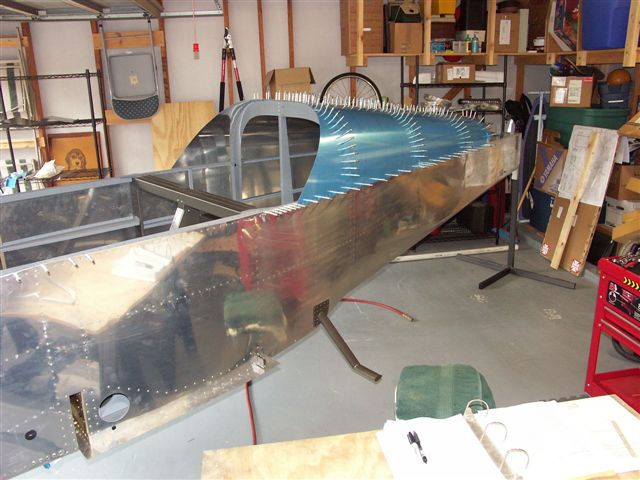
I have had the top skins on before for a test fit but I did not have the j stringers installed. But today I wanted to get the skins back on and final drilled. So I started by cutting the j stringers to 50 and 3/16 per the plans and cutting the tips to fit the bulkhead spots. I used ducktape to hold these in place and then clecoed the skins in place. Once they were in place I final drilled all of the holes to #40. Now it was almost game time for UT to play OSU so I didn't want to go into the bigger project of removing the skins for deburring and dimpling yet.
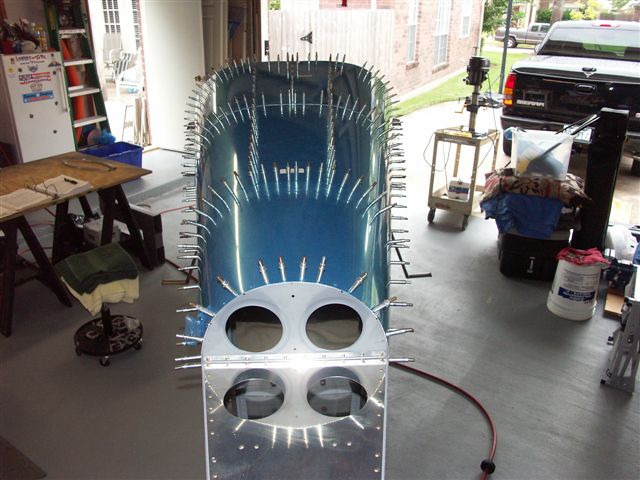
So the next major thing I still need to do and the skins need to be in place for this step. The coragated baggage bulkhead wall. This is the piece where you put the EXPERIMENTAL decal for the world to see. I clecoed the bottom holes to the nutplates and marked a few test holes. Everything looks good. Tomorrow I will drill the screw holes and get the nutplates installed. Also will fabricate the top piece to complete this section.
This website was built to document my work in compliance with the FAA requirements
needed to certify my aircraft.
My experiences and comments are by no means to be
considered as instructions on how to build any aircraft.
|
| |