Home
Preparation
Empennage
Wings
Fuselage
Finish Kit
Favorite Links
W & B Calculator
Van's Aircraft
Email Me

|
 |
Fuselage October 2005 Updates
October 23, 2005
Flap Acuator and Motor Install - 4 hrs
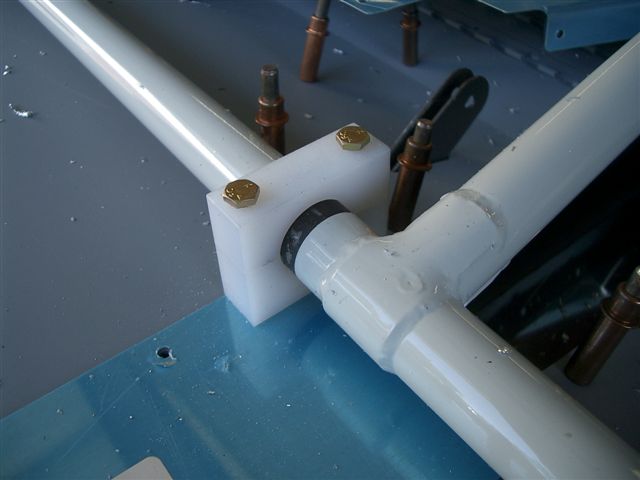
Drilled bolt holes into the center bearing block that sets to the left of the control rod. This bearing sits in the non powdercoated area of the rod. To get it to fit you then cut it in half.
Dug out the bearing blocks I drilled back with making the 705 bulkhead. I tapped these onto the flap actuator weldment and bolted them in place. Next I put the top half on the center bearing and inserted the bolts. Everything fits perfect.
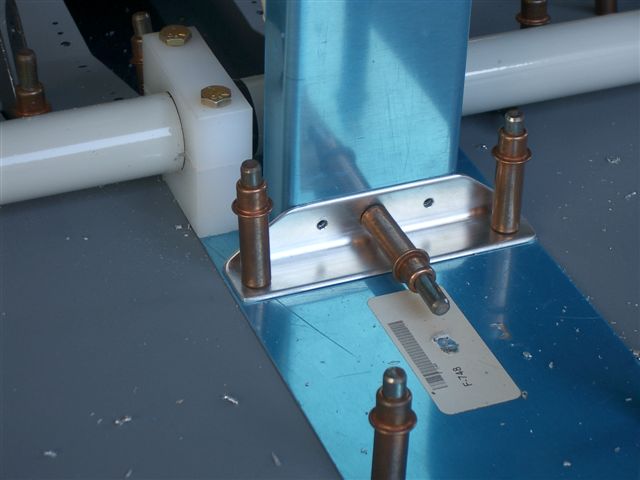
Cut out the top bracket out of .063 and made the tab bend in the vise. I did this by putting the skinny part in the vise and put a 2x4 block right at the top of the vise jaw and hit it several times with a mallet. This put all of the force right at the bending point and made the bend crisp. This metal was too thick to just pull on it. It would not of made a clean bend line.
I mounted the flap motor into the front channel and connected it to the flap acuator. Next I hooked up the battery and cycled the motor thru its full range back and forth many times. This motor is sure strong because I could barely move the weldment by hand in these new bearing blocks. I would not of thought the motor would be able to move it.
This makes sense though when you think about it. The presure that the airflow against the flaps will create when you are in flight will be pretty strong.
This website was built to document my work in compliance with the FAA requirements
needed to certify my aircraft.
My experiences and comments are by no means to be
considered as instructions on how to build any aircraft.
|
| |