Home
Preparation
Empennage
Wings
Fuselage
Finish Kit
Favorite Links
W & B Calculator
Van's Aircraft
Email Me

|
 |
Fuselage November 2005 Updates
November 27, 2005
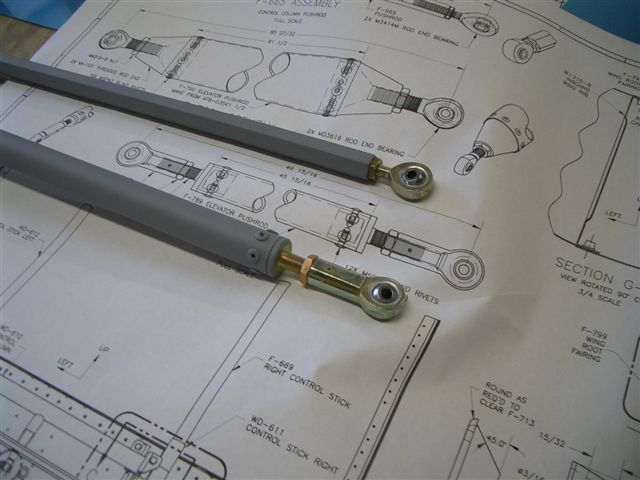
Forward Elevator Pushrod - 2 hrs
Primed and riveted the rear pushrod. It came out great.
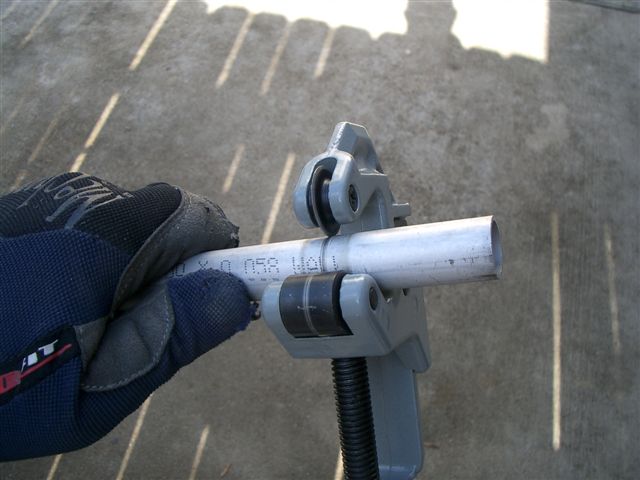
Moved on to the forward pushrod. Again I used the tubing cutter to remove several inches. This one is a bit different. There is a cap with a threaded stud that fits in the ends of the tubes and then the rod end is a female threaded piece that screws onto this cap.
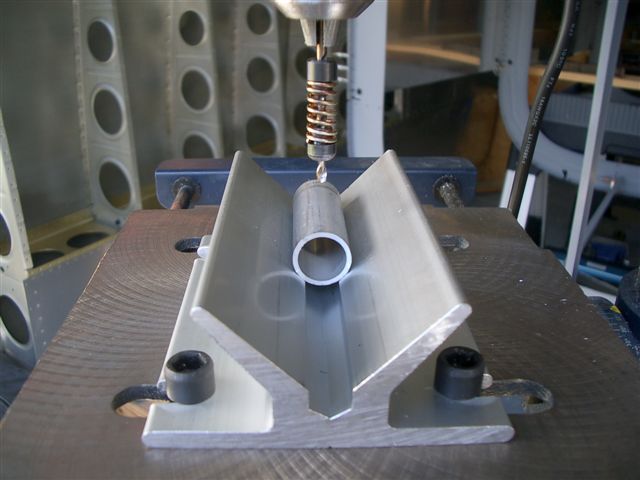
Next I setup the drill press to drill the rivet holes. Used a paper template again to mark the hole locations and drilled away. Primed and riveted.
Moved on to the control column pushrod. This was just priming and screwing the rod ends in place with the proper nuts. Locked down the nuts to the required length of 18 and 7/8 inches. Pushrods done!
This website was built to document my work in compliance with the FAA requirements
needed to certify my aircraft.
My experiences and comments are by no means to be
considered as instructions on how to build any aircraft.
|
| |