Home
Preparation
Empennage
Wings
Fuselage
Engine
Finish Kit
Favorite Links
W & B Calculator
Van's Aircraft
Email Me

|
 |
Fuselage November 2007 Updates
November 15, 2007
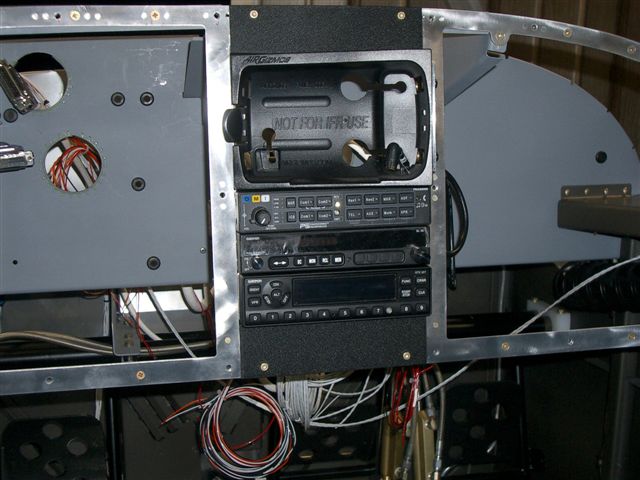
Panel Frame and Wiring.... - 1.0 hrs
Now I can see how people can build faster the second and third time. I did exactly the same thing as last night and even more and in half the time.
First I started with the comm panel rear bracket that I put on upside down. There were 2 pegs that are supposed to go in holes in the bottom of the radio but they were at the top. Removed the screws holding the bracket and flipped it. Reinstalled the connectors and then reinstalled.
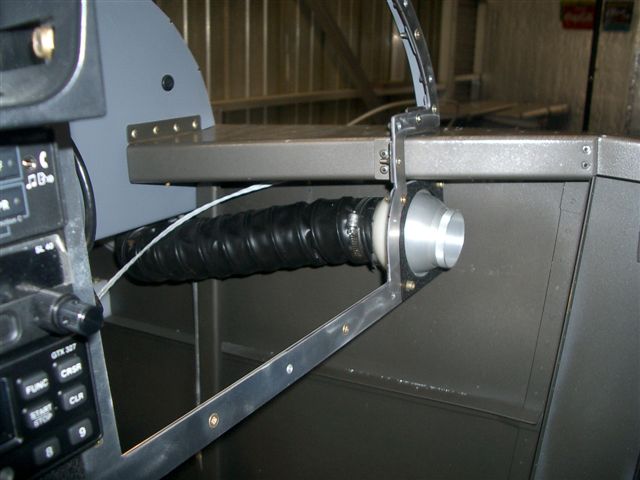
Next I installed the screws holding the side panel and right side air vent into the panel frame and bracket to the side ofthe fuselage.
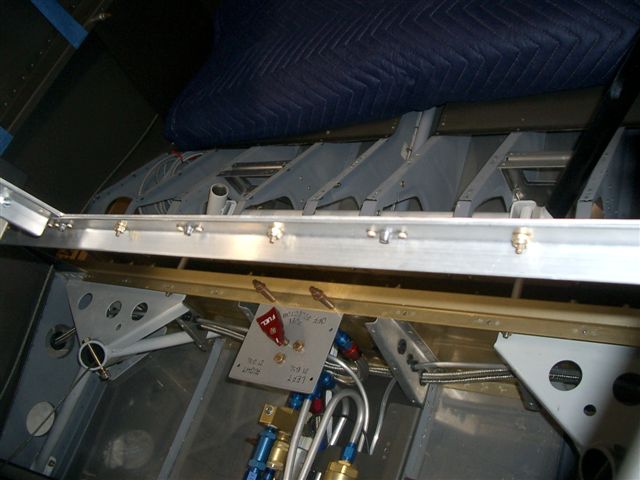
Last I installed the bottom angle bracket. The instructions from Fabian showed to use rivets but then you would never be able to remove this angle therefore not allowing the frame to be removed. I used 6 countersunk screws here. This thing is really solid now.
This website was built to document my work in compliance with the FAA requirements
needed to certify my aircraft.
My experiences and comments are by no means to be
considered as instructions on how to build any aircraft.
|
| |