Home
Preparation
Empennage
Wings
Fuselage
Engine
Finish Kit
Favorite Links
W & B Calculator
Van's Aircraft
Email Me

|
 |
Fuselage March 2008 Updates
March 29, 2008
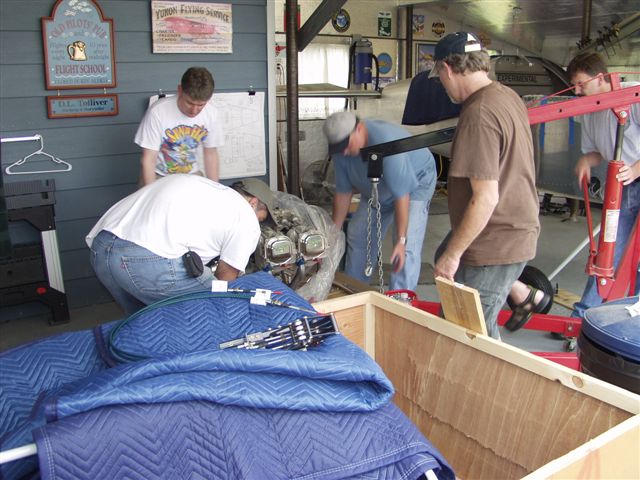
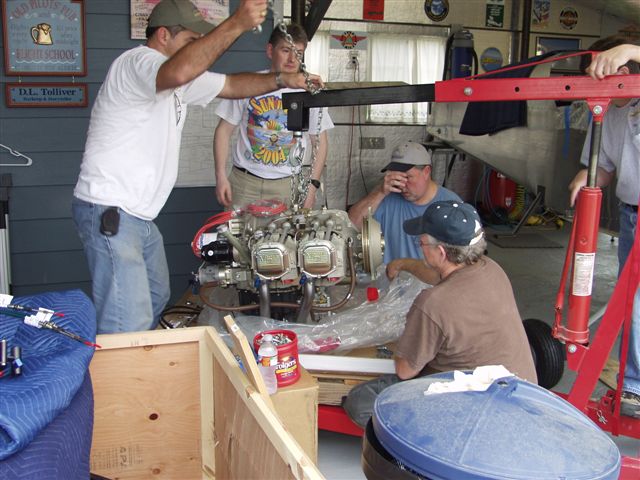
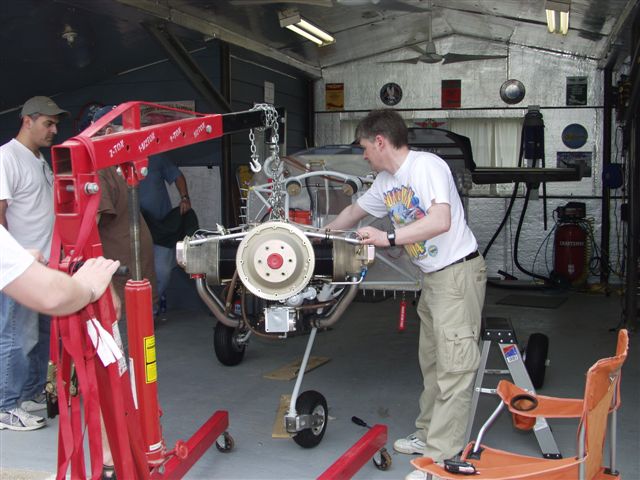
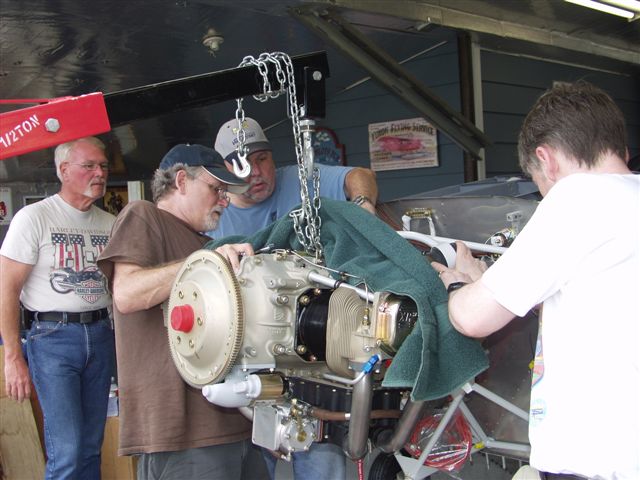
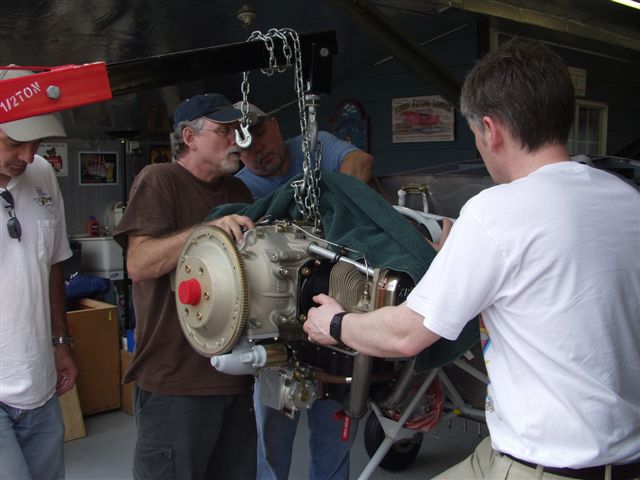
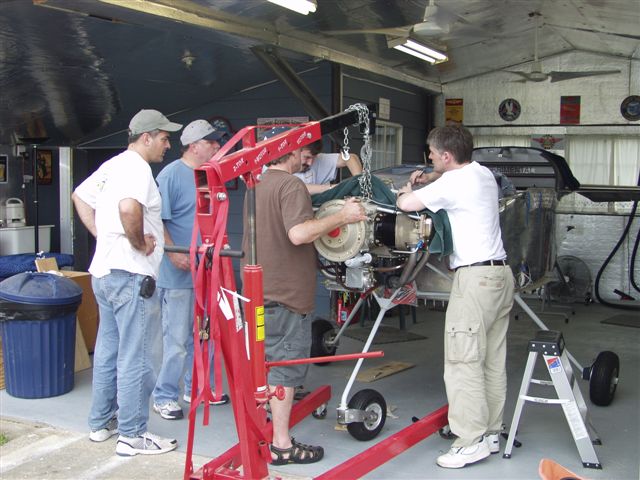
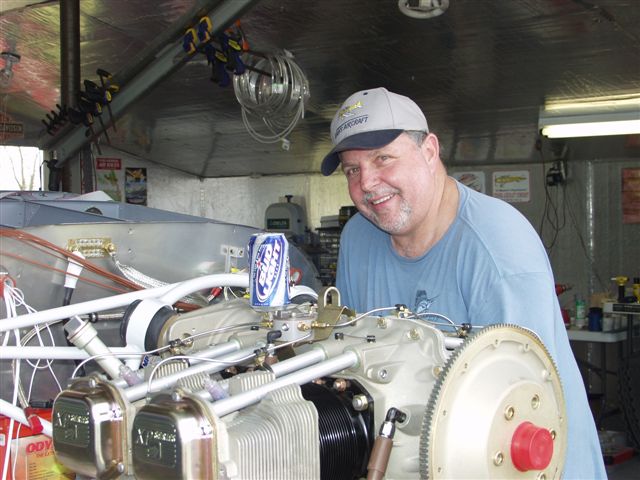
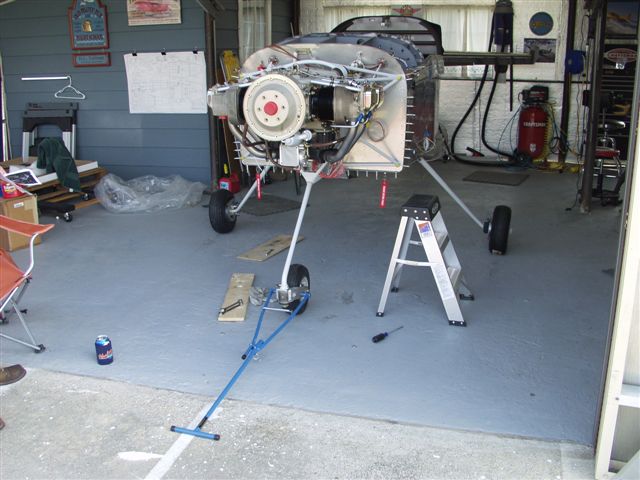
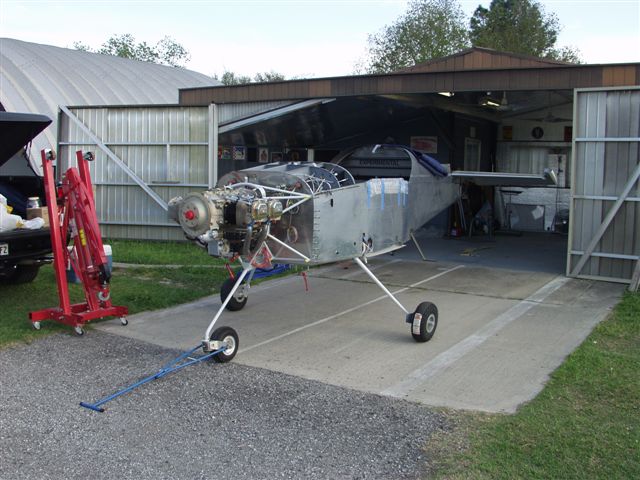
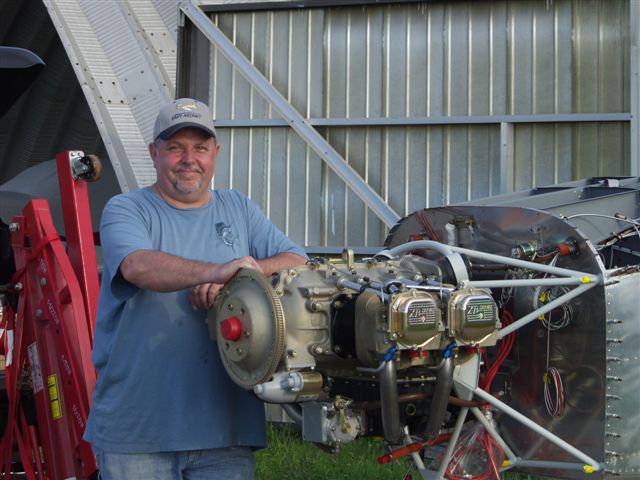
Engine Hanging Day!.... - 9.0 hrs
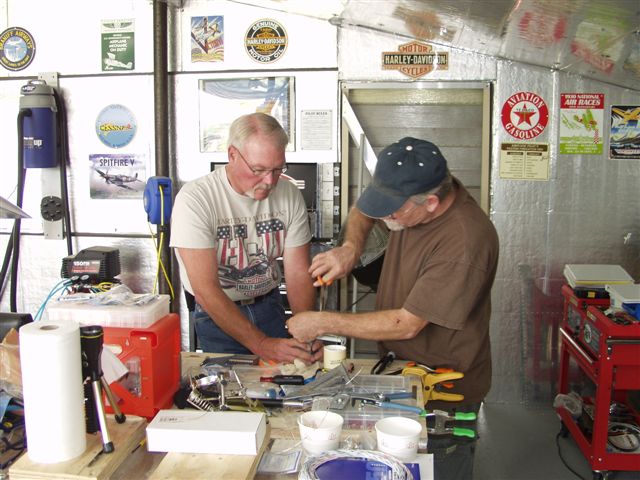
The big day is finally here. First off I want to say how what a great bunch of friends I have. I would of not been able to do this without such a great Engine Team.
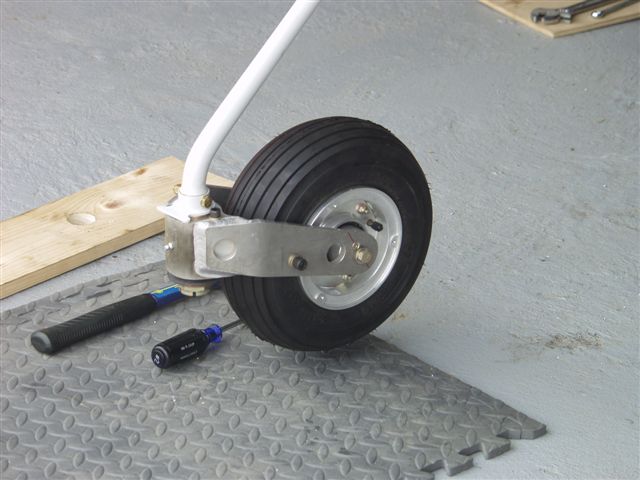
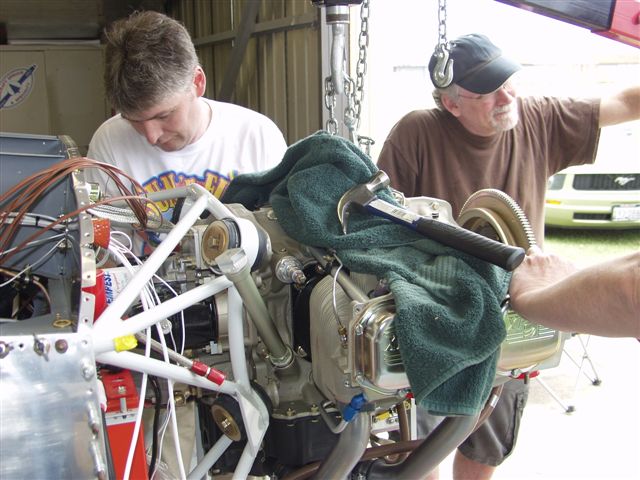
Engine team members Jon, Mike, Phil, Jim, Harley Dave and special guest all the way from Scotland, Ian Corse all did a fantastic job at making my life easier. I got to the hangar around 9:30 and Jon showed up first. We needed to get the front wheel bearings staked and installed on the front gear to allow the rotating stand to be removed from the tail to get things started. Shortly thereafter Mike showed up on his HOG!
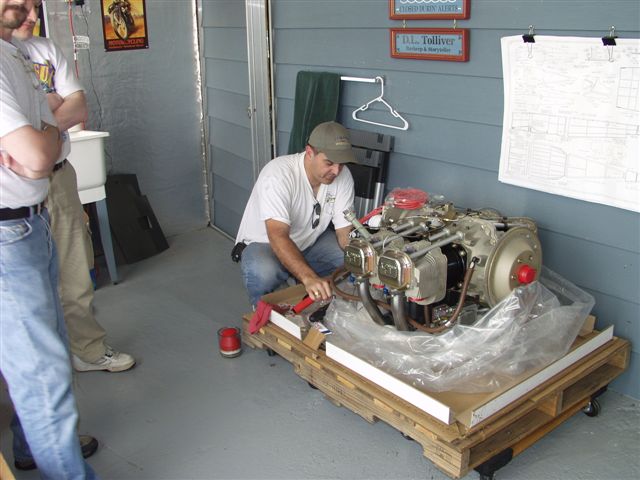
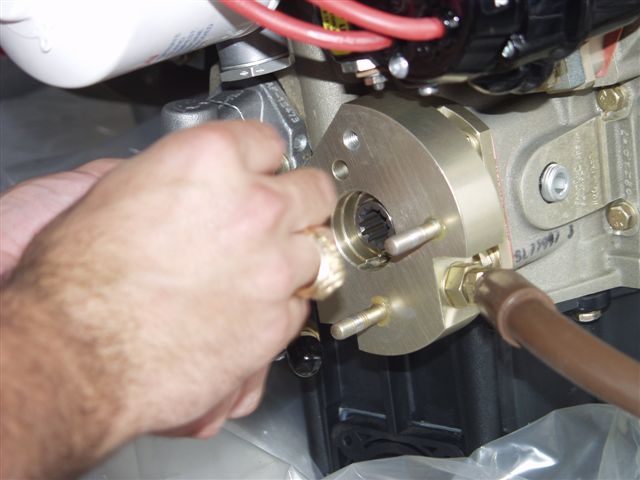
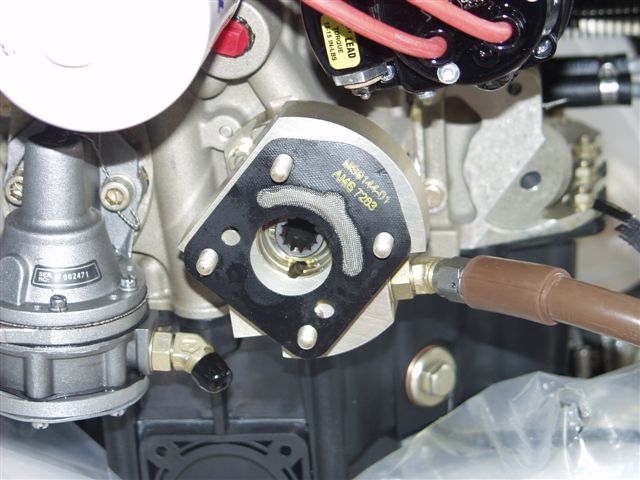
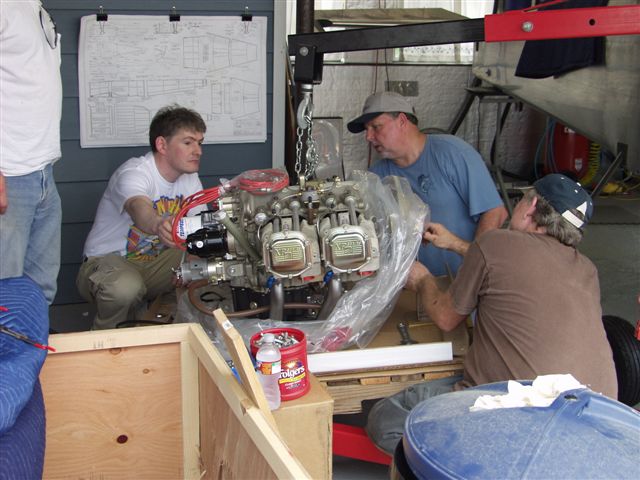
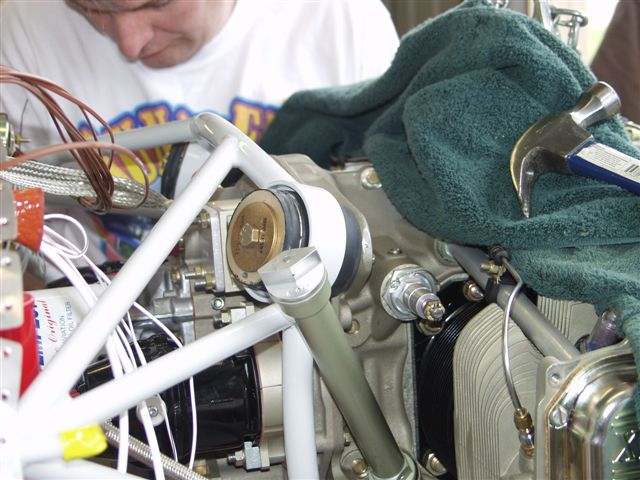
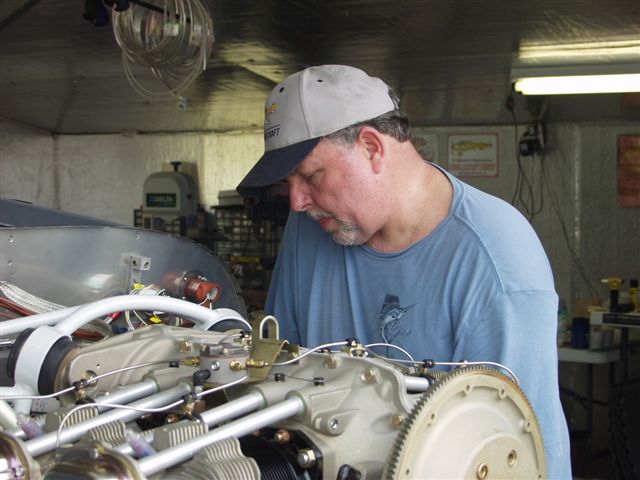
Next came preparing the engine for the big hang. This consisted of installing things that are either imposible or very near to do once the engine is on the plane. The first thing was the propellor govenor. In preparation I printed out a picture from the VAF website and then forgot I had it. Phil installed the studs and Jon started the process of clocking the control arm and installing the cable bracket. After much confusion on what the proper position to install it I produced the picture which proved we were doing it correctly. Glad the team didn't shoot me.
Next was the restrictor fitting for the oil pressure fitting. Then a 45 degree oil cooler fitting. This was a royal pain in the ass. There is just no room for a wrench even while the engine is in the open. You have an oil filter on one side a the right magneto on the other. Then it was time for hangin.
Phil got the hoist ready and we hooked a chain that Jon brought thru the hook on the top of the engine. Jacked up the engine and rolled it to the front of the plane. Next we got the engine mounts and bolts in position on the mounts. All 4 mounts are 2 piece rubber with a washer and bushing in the middle. The 2 pieces are different thicknesses and you put them in one way on the top 2 mounts and reverse them for the bottom mounts and add 2 additional washers. There is an order you follow. Upper right as you face the front of the firewall then the upper left. Then lower right followed by lower left. In each case you have to compress the mount all the way before you move on to the next mount. I swear if you did not have folks helping that had done this before you give up. The bolts are so far off and the way the engine holes are at an angle it really looks like it is wrong.
After that you basically make sure the bolts are all torqued down to the bushing and make sure the nuts all have a hole lined up for a cotter pin to slide into. Overall it was a fantastic day. This is a huge milestone and again I want to thank all my buddies for their help. They made it much easier and fun. Thanks to Harley Dave for the lunch from Carl's BBQ. The red Roadking is Mikes Bike. He is going to take flying lessons soon and guess what color his plane will be someday. Hopefully we will pick up Dave's new Street Glide this week. I will post a picture here when we get it!
This website was built to document my work in compliance with the FAA requirements
needed to certify my aircraft.
My experiences and comments are by no means to be
considered as instructions on how to build any aircraft.
|
| |