Home
Preparation
Empennage
Wings
Fuselage
Engine
Finish Kit
Favorite Links
W & B Calculator
Van's Aircraft
Email Me

|
 |
Fuselage March 2008 Updates
March 19, 2008
Right Wheel and Engine Mount.... - 3.0 hrs
Got to the hangar after work. Greased up the right side wheel bearings. Grabbed the bolts and spacers and mounted the brake caliper and mounted the wheel.
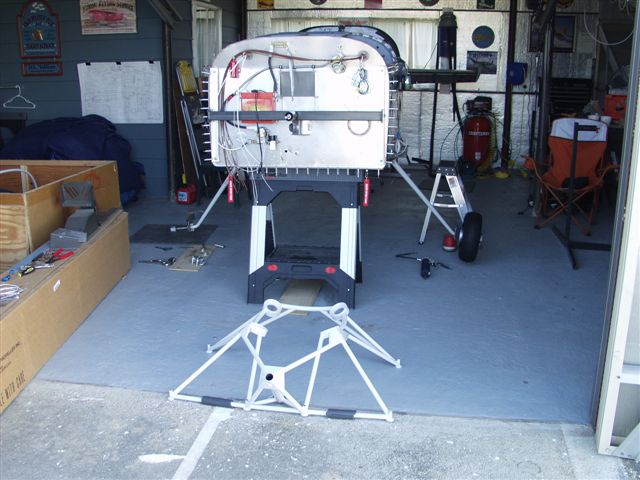
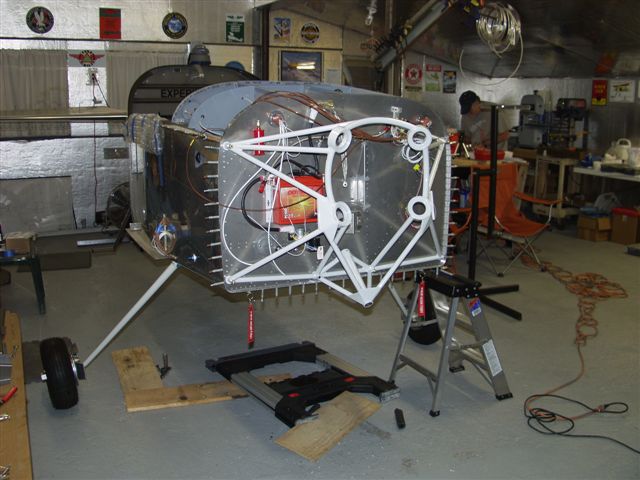
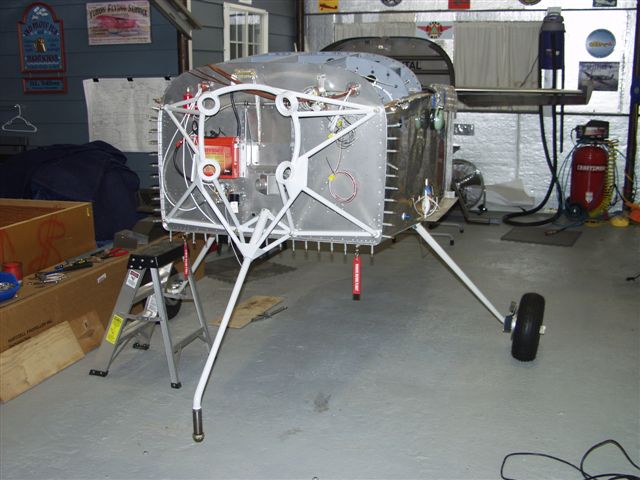
Jon showed up as I was completing that task to help me install the engine mount. We lifted the fuse up and kicked out the saw horse. Its sittin on the wheels now!
Next we removed the rotating stand bracket that has been bolted up to the firewall for the last year and a half. Drilled out the upper right hand hole to 3/8 for the first engine bolt. Moved on to the upper left hole. Then bolted the mount in place and match drilled the 2 bottom holes and then bolted them down. Next we drilled the 2 bottom holes that go thru all new material. These went much easier as there was no steel behind these. Just the thick aluminum angle pieces that get fabbed up during firewall building. Removed the engine mount one more time and deburred everything. Engine mount on and ready for ENGINE!
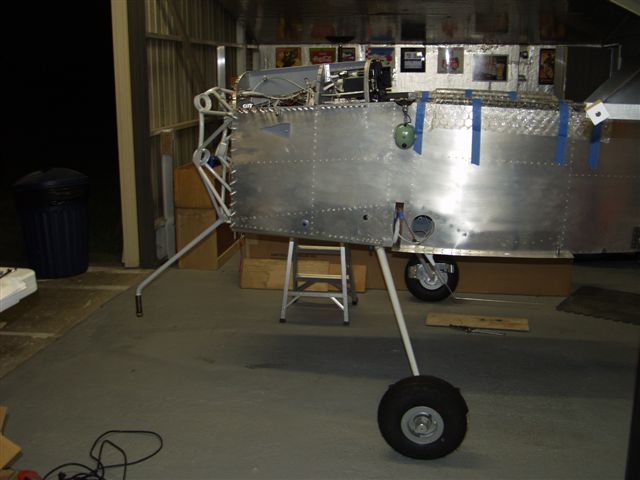
Last we greased up and installed the front gear leg by sliding into the socket on the front of the engine mount. I had purchased a special close tolerance bolt and reamer for this process due to some posts on VAF about nose gear creaking. As I was reaming the hole the reamer hit went thru the nose gear leg and when it got to the back side and hit the gear weldment hole it stopped. Next was my stupid mistake of continuing to force it. The bolt hole on the other side of the mount needed to be drilled larger first and the reamer would not enter. I kept pushing thinking its almost thru and then SNAP! The reamer broke off right at the drill head. There was enough of the reamer sticking out that by reverse twisting it came out but now what. DANGIT!
This website was built to document my work in compliance with the FAA requirements
needed to certify my aircraft.
My experiences and comments are by no means to be
considered as instructions on how to build any aircraft.
|
| |