Home
Preparation
Empennage
Wings
Fuselage
Finish Kit
Favorite Links
W & B Calculator
Van's Aircraft
Email Me

|
 |
Fuselage March 2007 Updates
March 16, 2007
Canopy Roll Bar - 3 hrs
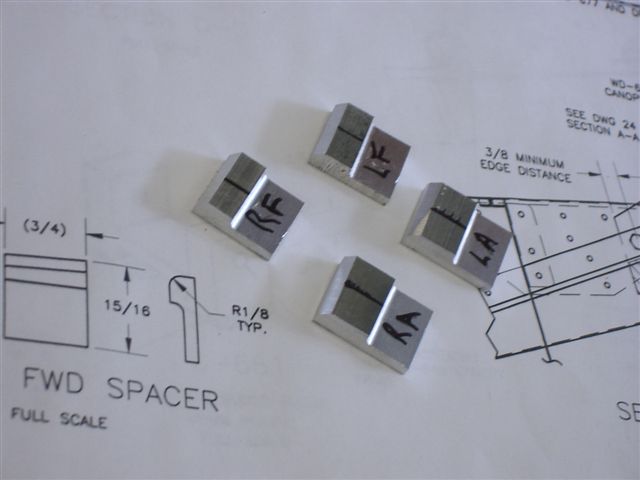
Today I read over the 3 canopy plans and decided to tackle the Roll Bar installation. Started out fabbing up the little spacers that sit under the canopy decks to allow a flush surface for the nuts to sit underneath. I maker them up per the plans and used the scotchbrite wheel to grind to the marks. I used the #40 pilot holes to get the alignment correct. Looks like it is going to be a bitch holding those in place while threading the nut on there.
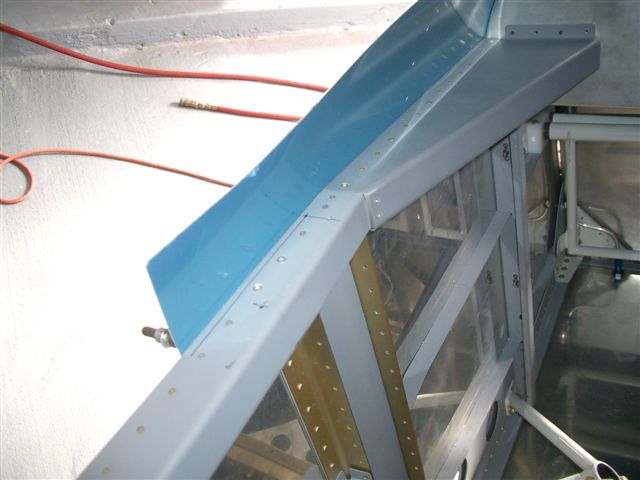
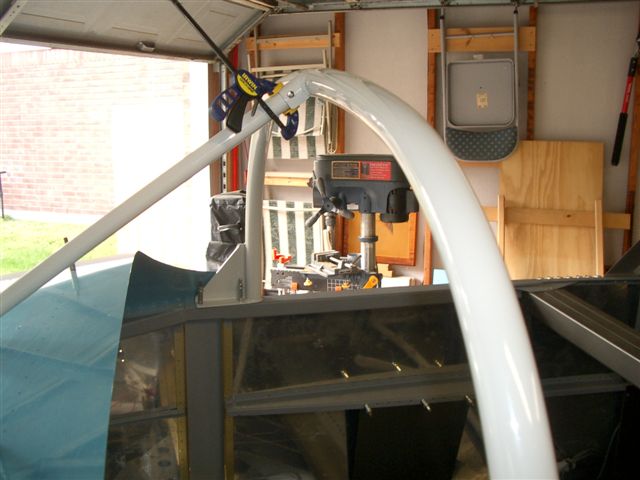
Before that however I drilled the pilot holes per the measurements in the plans. Then once I completed the spacers it was time to drill the top of the roll bar to the center brace that attaches to the front of the windscreen area. Once this hole was drilled and cleaned up I inserted the bolt and then marked and drilled the 2 holes underneath the front of the bar and started the 3/16th holes in the blade attached to the front. I removed this and final drilled to the bolt size and cut the extra part of the tab off with a hacksaw. Cleaned it up on the wheel and reinstalled. Just about ready to remove the rollbar and post for painting. I am not leaving these the light color. All of the canopy rails will be flat black. I have seen this and how some folks match the canopy parts to the interior. I like the flat black.
This website was built to document my work in compliance with the FAA requirements
needed to certify my aircraft.
My experiences and comments are by no means to be
considered as instructions on how to build any aircraft.
|
| |