Home
Preparation
Empennage
Wings
Fuselage
Finish Kit
Favorite Links
W & B Calculator
Van's Aircraft
Email Me

|
 |
Fuselage July 2006 Updates
July 25, 2006
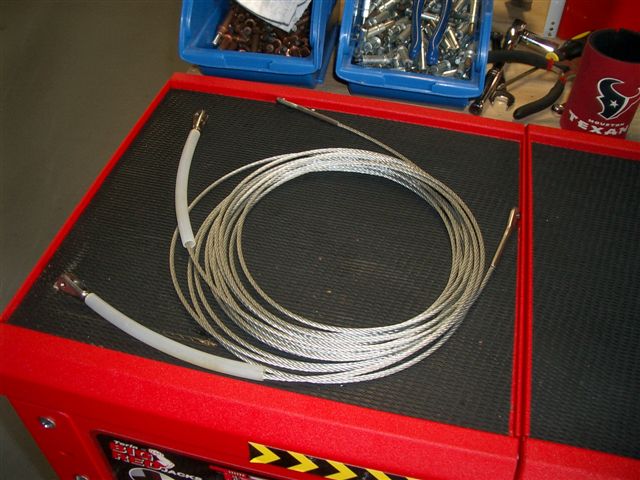
Rudder cables and Aft Deck.... - 2.0 hrs
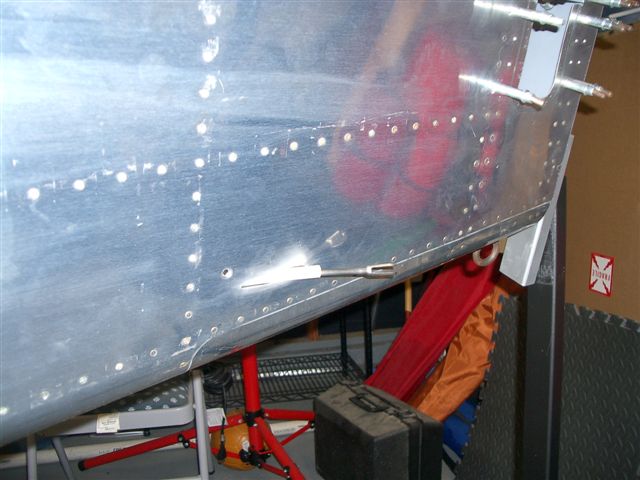
Well the rotating stand has already served its first function. I have been wondering about these rudder cabes and when the best time to install would be. No thanks to Van's here but if you go the the RV Bible aka www.rvproject.com and do a search on rudder cable you will see that Dan almost waited to late. Bottom line is you start at the back and work it forward but you have to remove all of those cool snap bushings you have most likely already installed. You install thru the cable hole in the bulkhead and then squeeze the bushing oblong to fit over the end of the cable clevis. Then insert the bushing back in the hole.
Again if you waited until the baggage walls were riveted in place and the channel covers over the 704 bulkhead you would be screwed. This is the perfect time to do this and not one little note in the Vans instructions. It really pays to read ahead in Dan's site to catch this stuff. Fortunately I only had to uncleco a few of these items and they were installed and everything back in place for future riveting. Again not a big deal since I could just roll over the canoe and the reach was comfortable. I have even been looking at how I will be able to perch myself under it for a simple reach to rivet the top skins when the time comes. Of course Jon will be bucking on the outside.
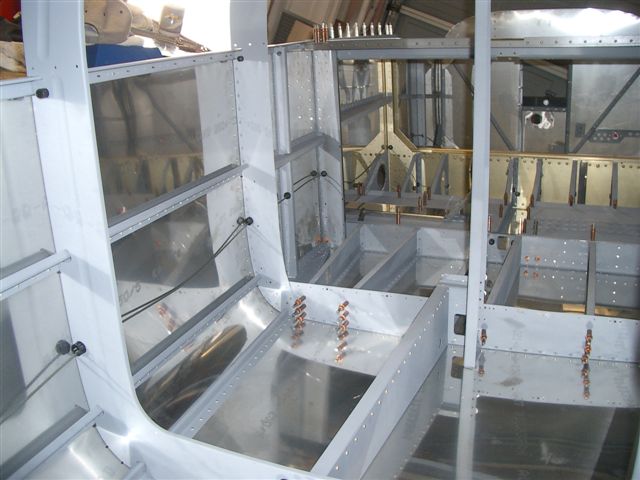
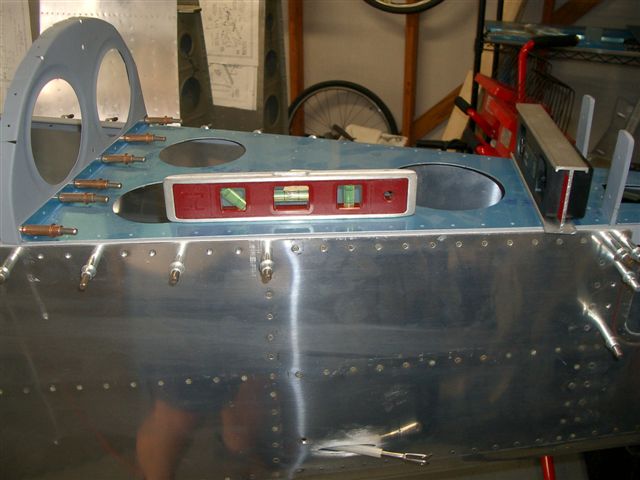
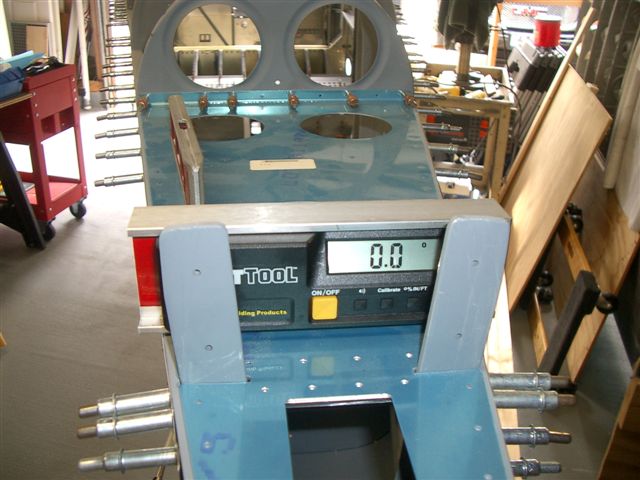
This next step is very important. This is what gives the fuse stiffness and holds it without twist or with twist. And you don't want no dang twist. First I had to file out the slots as it was just to tight. Once that was done I used a level on the front, sides, and several points along the length of the fuselage. While rotating the stand I din notice some twisting going on so I wanted to get this aft deck drilled and riveted before I go much further.
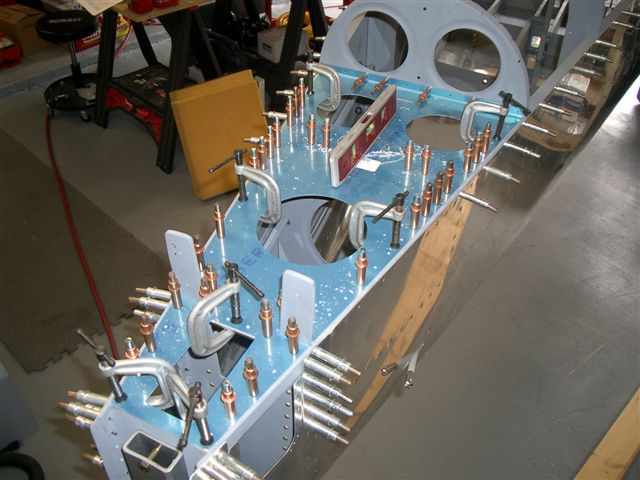
I also fabed up the spacers that go under the aft deck. One for the 9 bulkhead and one for the 10. I ducktaped these in place and then laid the aft deck on top. With it all lined up with equal spacing on both sides I laid the level in place on the back edge and it was dead on. I started drilling and clecoing as I went alternating each side until up both sides. Then I drilled all the holes that penetrated the spacers. Had to use the close quarters drill to get to these tight areas. Sure made a mess so I vacumed up when finished. Next will be the usual deburring and then primeing.
This website was built to document my work in compliance with the FAA requirements
needed to certify my aircraft.
My experiences and comments are by no means to be
considered as instructions on how to build any aircraft.
|
| |