Home
Preparation
Empennage
Wings
Fuselage
Engine
Finish Kit
Favorite Links
W & B Calculator
Van's Aircraft
Email Me

|
 |
Fuselage July 2007 Updates
July 14, 2007
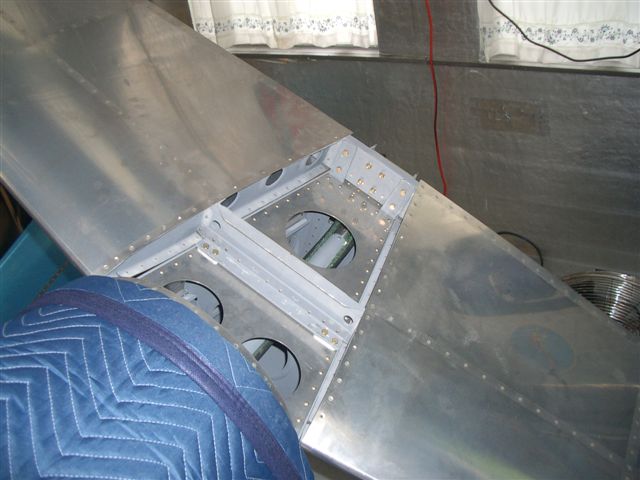
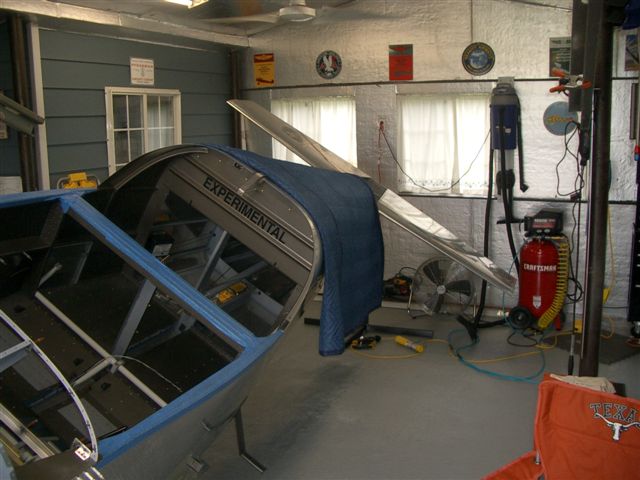
Install Empenage.... - 4.0 hrs
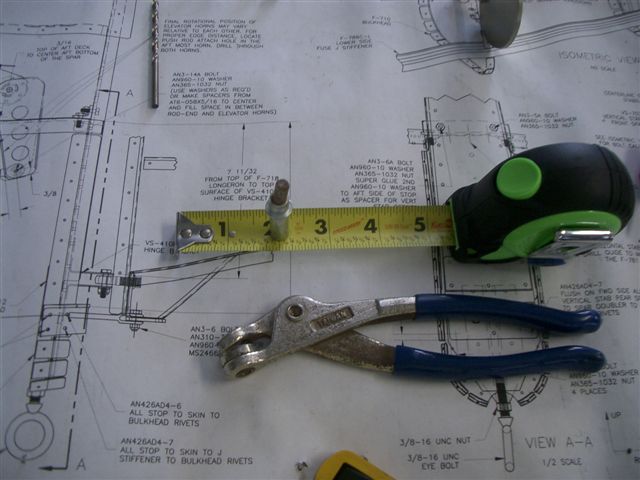
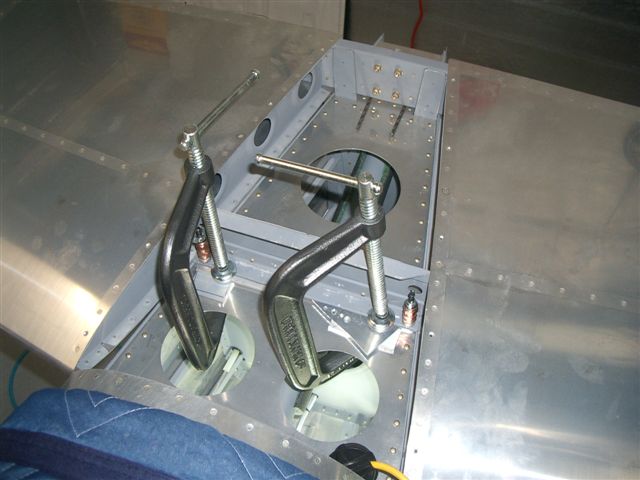
Today I wanted to get the HS drilled and installed. I have measured this a dozen times but need to make sure its right. I picked up a tip where you drill a #40 thru a tape measure to allow it to be cleco clamped to a spot on the firewall. I used the 3rd hole down and measured back to the left tip of the HS. Then moved the tape to the right and repeated. Several measurements for accuracy and then retighten the c-clamps.
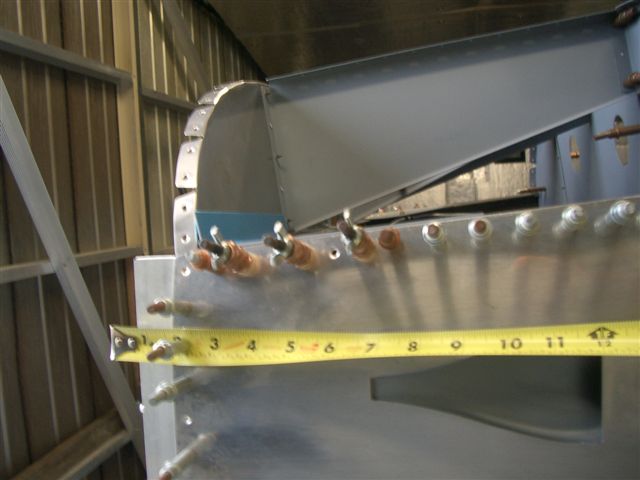
I started with the 2 outside holes on the front angle. This angle gets drilled thru the top angle the spacer underneath and the longeron. With the c-clamps the angle drill attachement wont fit in place. I used a 12 inch #30 bit first to drill pilot holes. I clamped the outside edge with screw clamps.
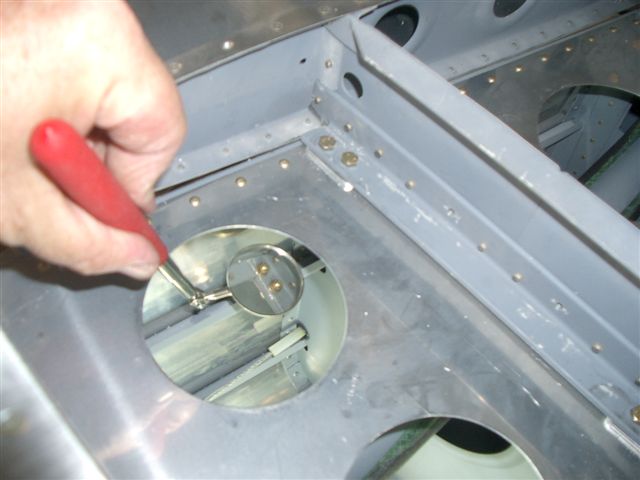
Now I was able to remove the c-clamps to allow room for the angle drill. I removed one of the screw clamps and used the pilot hole to final drill to 3/16. Installed a bolt and repeated the other side. Next I put a 3/16 bit underneath the back edge of the HS to get the incidence of the HS at 0 degrees. Drilled the 4 bolts and installed to the back edge of the HS.
Next I moved on to the 2 remaining holes on the front angle. With this complete Jon Baker showed up and was ready to eat. We ran over to Carls for a quick bite.
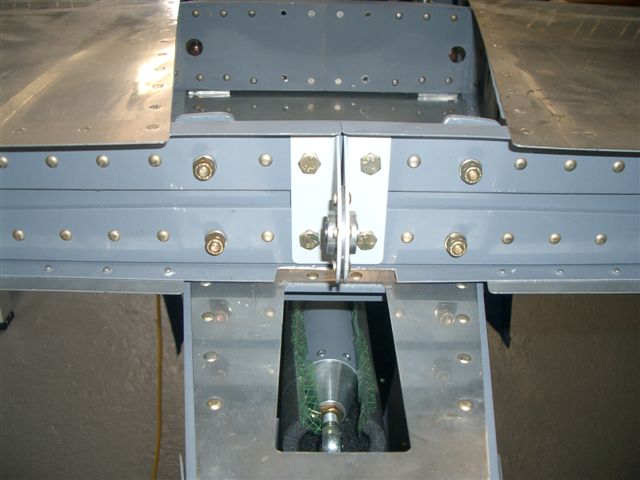
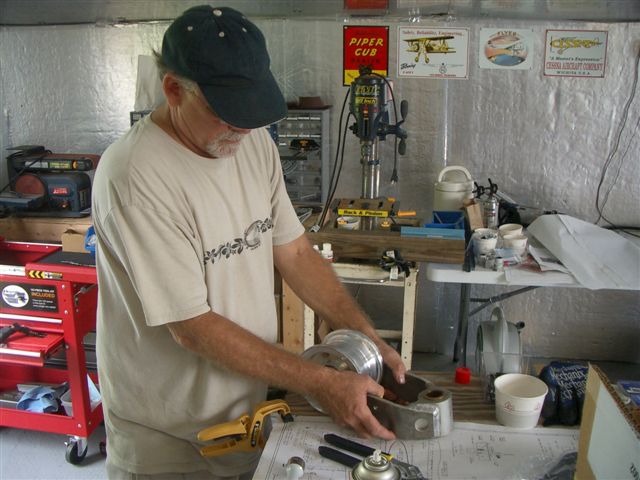
When we got back he helped but fitting the front fork. Jon also cleaned up the 3 gear legs from the rust and lubed them to stop future rust. Thanks again Jon for your help. Last I installed the elevators one at a time and used the drill bushing to drill the bolt that passes between the center bearing giving the elevators a pivot point.
This website was built to document my work in compliance with the FAA requirements
needed to certify my aircraft.
My experiences and comments are by no means to be
considered as instructions on how to build any aircraft.
|
| |