Home
Preparation
Empennage
Wings
Fuselage
Finish Kit
Favorite Links
W & B Calculator
Van's Aircraft
Email Me

|
 |
Fuselage February 2007 Updates
February 19, 2007
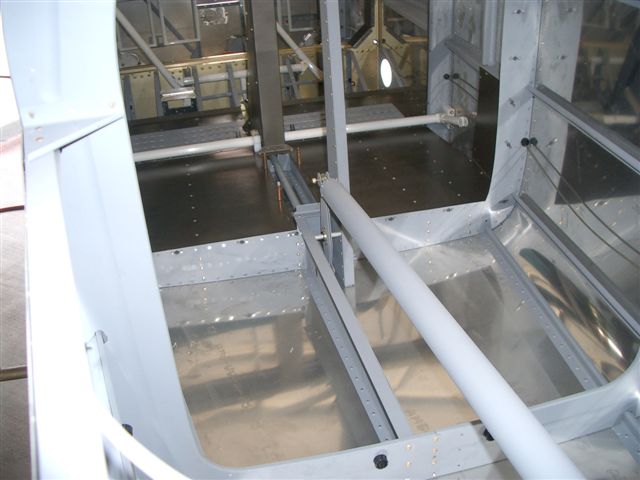
Rear Fuselage.... - 9 hrs
Well finally I got a good full day in on the plane with the holiday today. I got up first thing this morning and got after it. Never even broke for lunch. Last week I ordered the parts from Spruce to make flex fuel lines and everything came in except the hose. It was backordered. So today I thought it was time to get the rear top fuselage skins off and final prep for riveting. My plan is to get everything back in the back done so that once this thing comes off the rotating stand I do not have to crawl back there for anything.
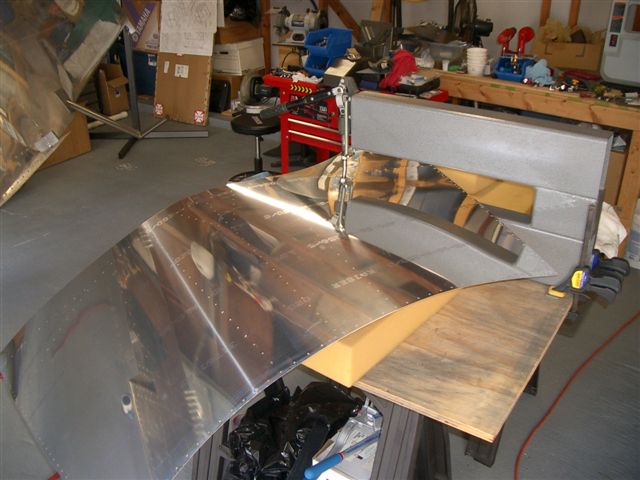
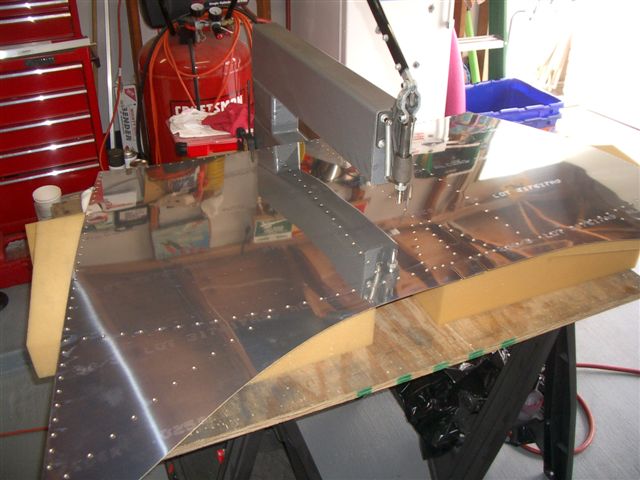
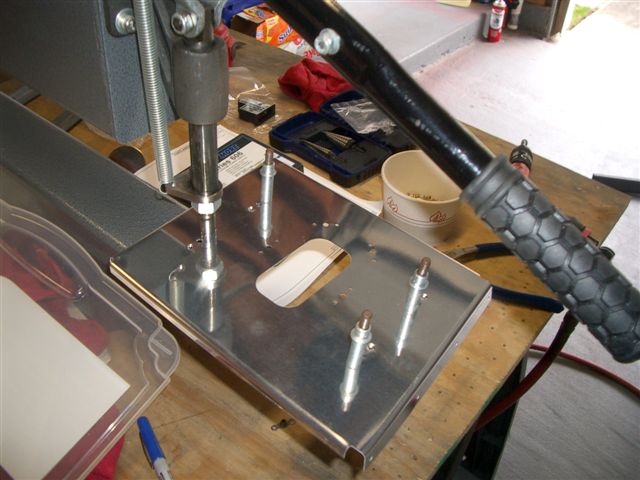
So since I cleaned up the shop yesterday after flying with Jon I was able to hit the ground running. First thing was to remove all of those clecos and get the skins off to debur. I still had the plastic on the outside so I took them in the house and warmed them a bit over the stove to make removing the plastic easier. That sure wooks good. Next I deburred and then setup the DTRT-2 for one of my last dimple sessions. Last I dimpled both skins and the J-stringers. Then used the hand dimpler to knock out the top of the bulkheads.
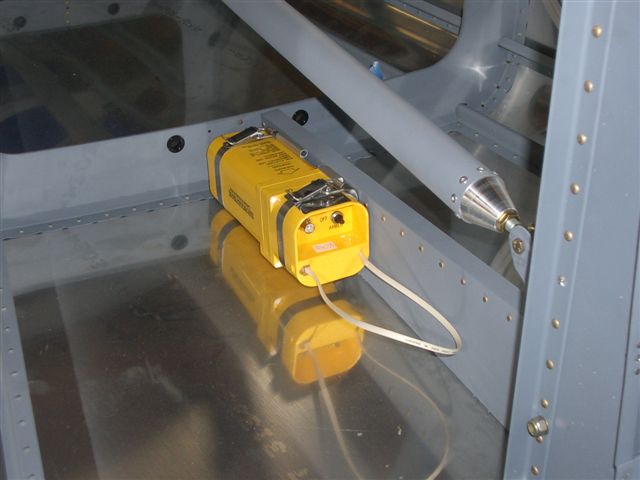
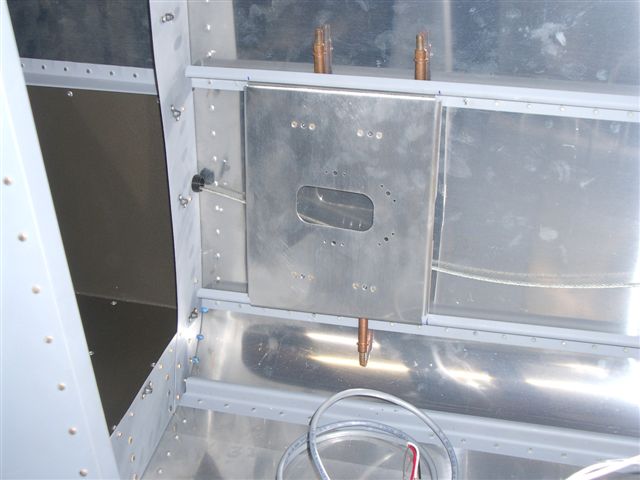
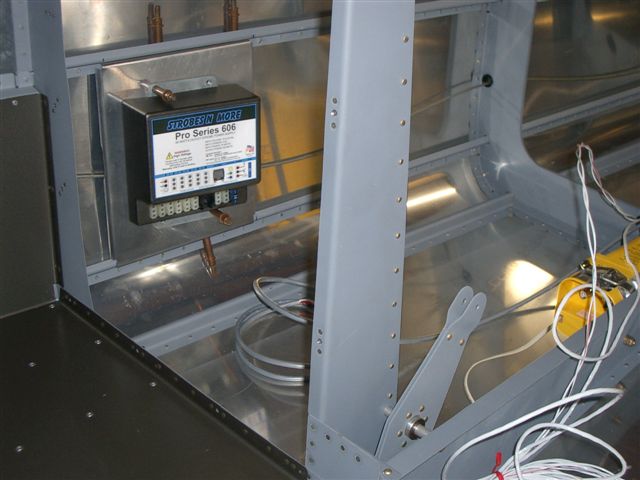
Once that was done it was time to install the ELT and Stobe box. I used the same mounting point as Dan did on the bottom rib just behind the baggage area. Worked out great. Next I used the new stobe ELT attach plate that Vans makes. It works well but still trying to figure out how I am going to pull those stinkin rivets. There is just no room there.
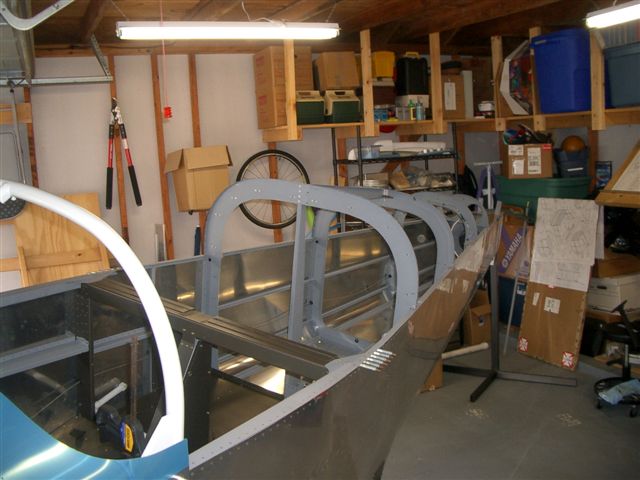
Then I got to thinking about what wires I need in the tail. Also I need to decide if I am going to mount the whip antenna for the ELT in the tail area. Looks like the folks that are doing that are not using the yellow ACK version. The antenna is much longer. Anyway I need the strobe wire and power and ground for the the tail stobe that gets mounted in the bottom of the rudder as well as the RC Allen wire for the electric elevator trim. So I grabbed one of the strobe wires that came with the stobe kit and ran a red and black pair for the tail position light. I forgot to drill bushing holes in the last 2 bulkheads so that was a bit of a trick fitting the drill in the last section but I finally got it. Vaccumed up all the drilling bits and good to go. Now I just need to figure out how to get the wires up to the front. Also power to the strobe will have to go up there as well.
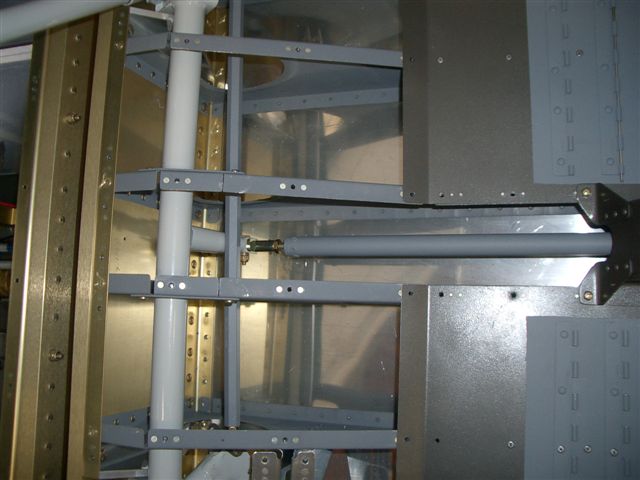
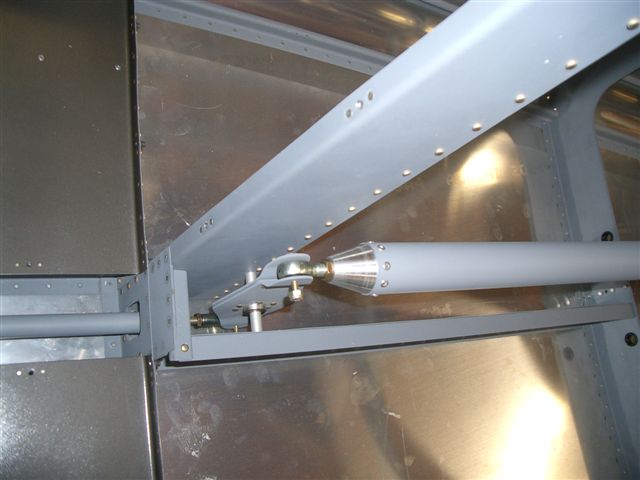
I also mounted the push rod from the contols to the bellcrank in the baggage area. And the elevetor push rod. These are going to take some doing getting the washers in so I need to reseach the rigging procedure a bit more.
This website was built to document my work in compliance with the FAA requirements
needed to certify my aircraft.
My experiences and comments are by no means to be
considered as instructions on how to build any aircraft.
|
| |