Home
Preparation
Empennage
Wings
Fuselage
Engine
Finish Kit
Favorite Links
W & B Calculator
Van's Aircraft
Email Me

|
 |
Finish Kit Update September 2009 Updates
September 13, 2009
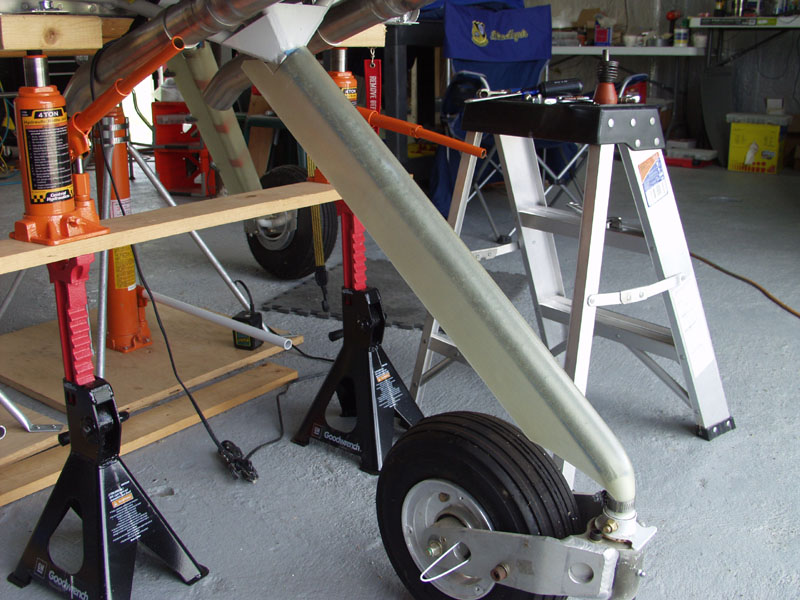
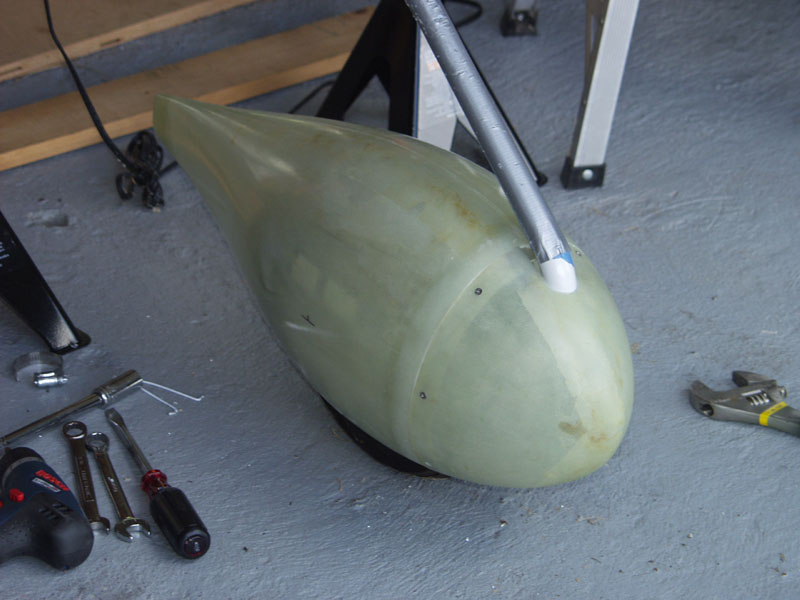
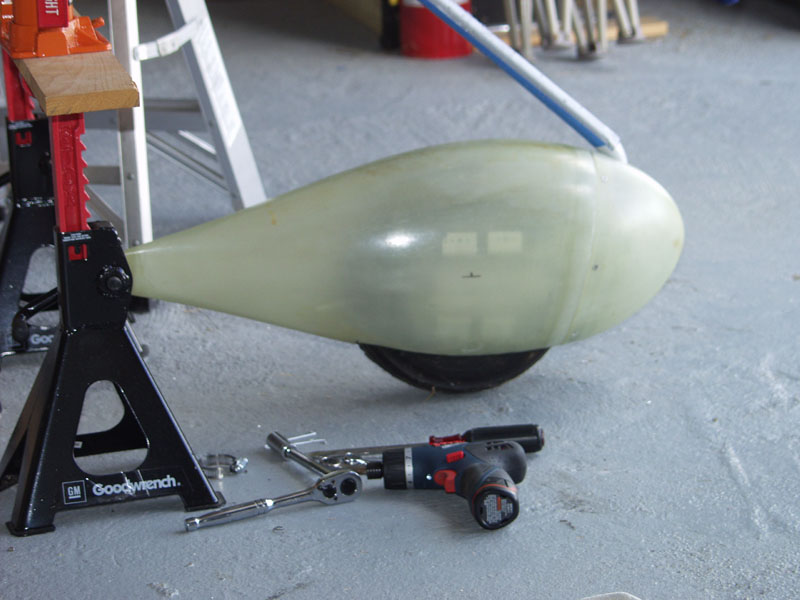
Nose Gear Fairing.... - 4.0 hrs
Today was back to the front nose pant. First I started with the gear fairing. To allow the front to fit over the gear leg just above the bolt allowing the fairing to be clamped into place, I had to trim the back to allow the fairing to be slide upwards about 3/4 of an inch.
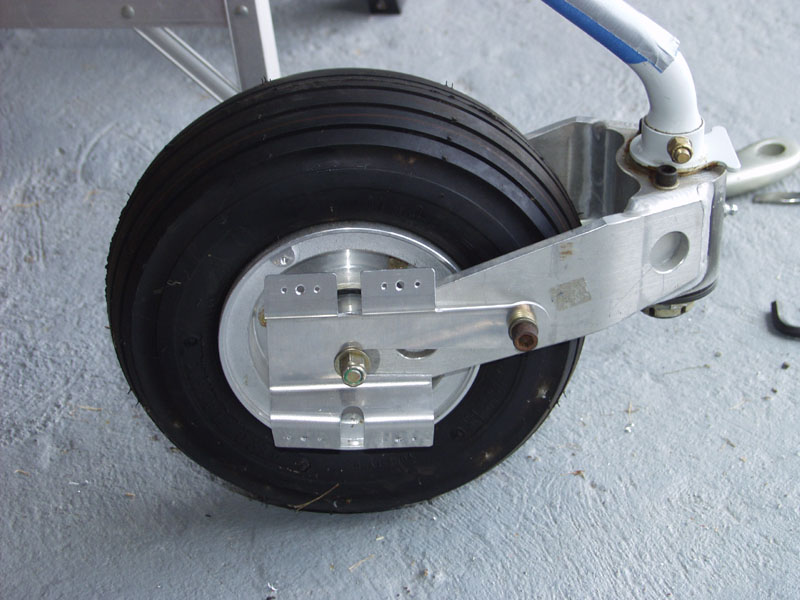
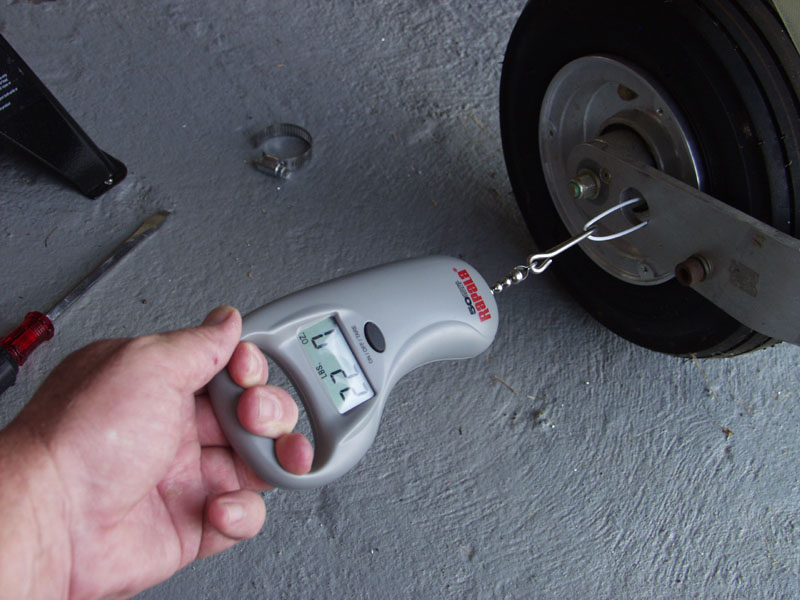
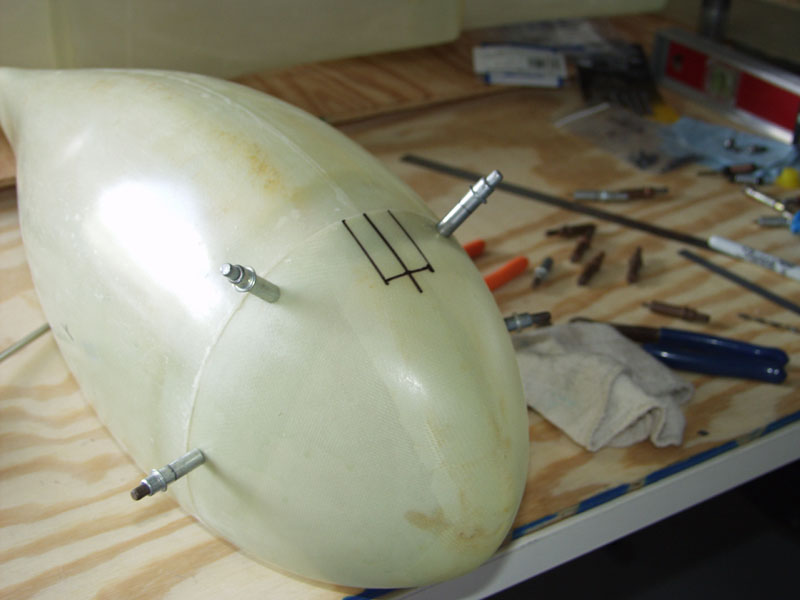
With the leg fairing fitting I removed the axle and installed the fairing brackets. Next I set the brakeout force with an electronic fish scale. With the brackets in place the allen bolts passed thru the wheel bracket a bit too far. Seems like there would be a chance of hitting the tire when flexing on landing. So I installed 2 more washers on each side. The pic from above shows the result of the additional washers.
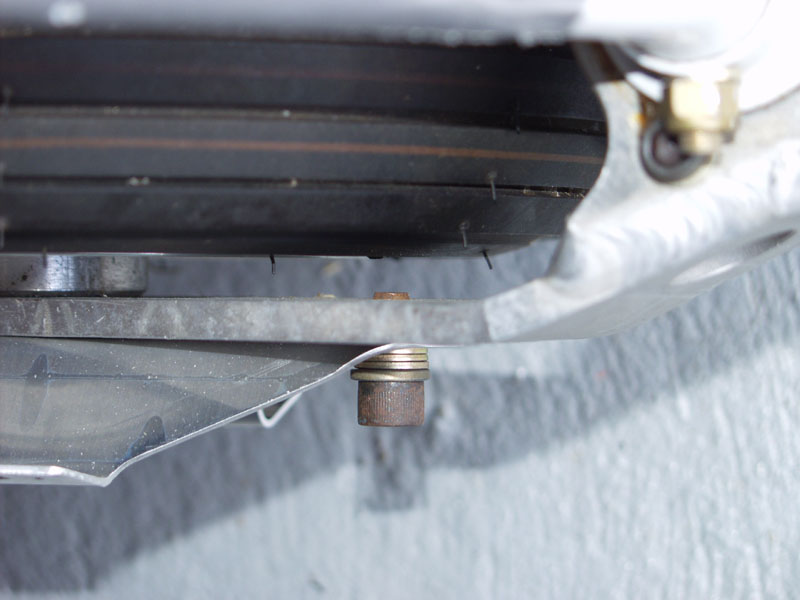
Next I installed #6 nutplates on the rear part of the fairing and countersunk the nose piece for #6 flush screws. Next I took some measurements and marked the position of where the hole needed to be drilled in the nose cap. I also marked the bottom for more space for the tire to have additional clearance.
Last I drilled a 1 inch hole for the gear leg to pass thru. Then I used a dremel to cut the slot. Came out nice. Still going to have to take some final measurements before I drill the holes for the brackets.
This website was built to document my work in compliance with the FAA requirements
needed to certify my aircraft.
My experiences and comments are by no means to be
considered as instructions on how to build any aircraft.
|
| |