Home
Preparation
Empennage
Wings
Fuselage
Engine
Finish Kit
Favorite Links
W & B Calculator
Van's Aircraft
Email Me

|
 |
Finish Kit Update September 2011 Updates
September 05, 2011
Moved Comm Antena ..... - 4.0 hrs
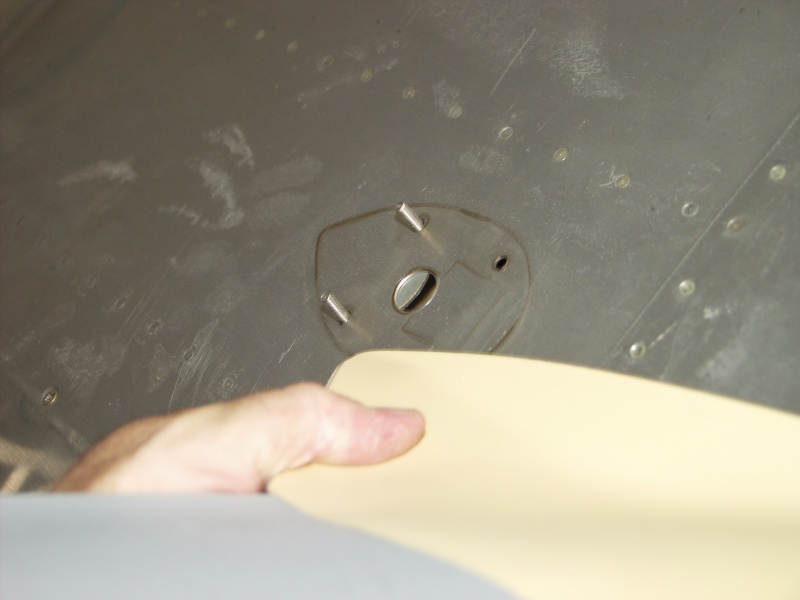
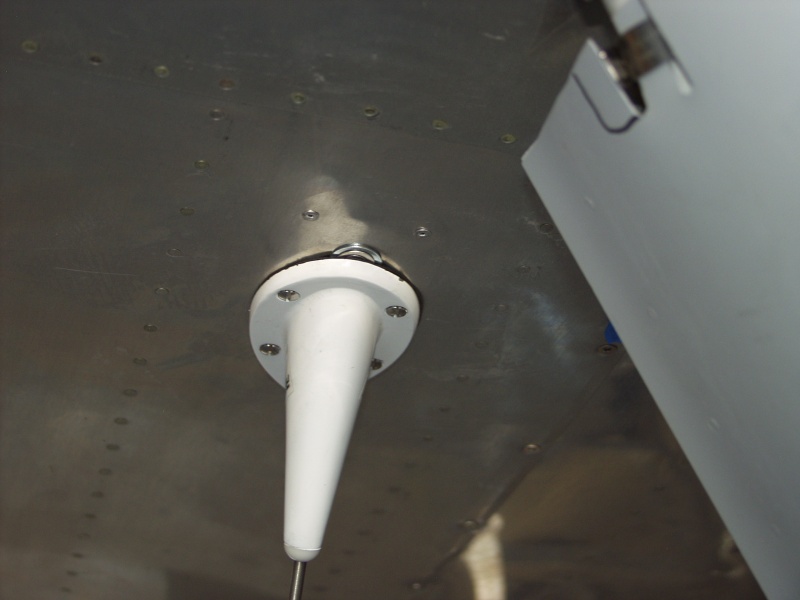
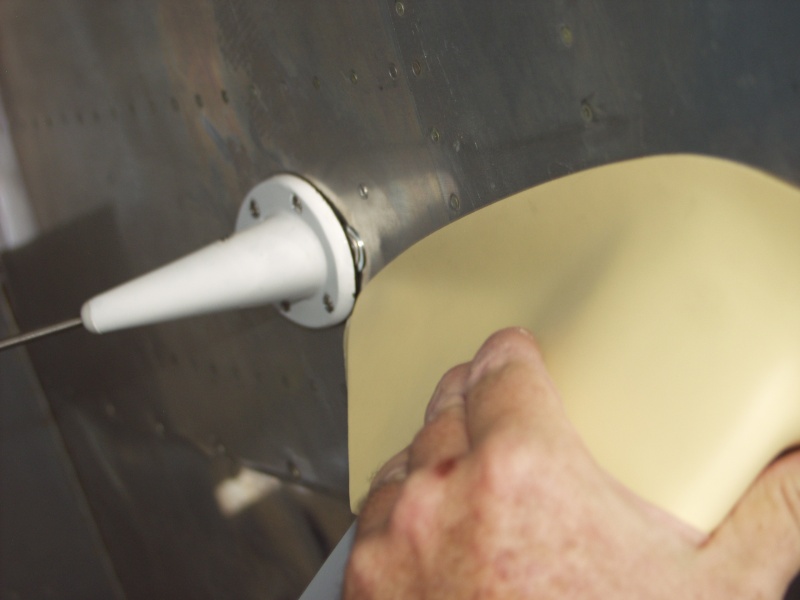
In order to get the leg fairings complete I need to be able to install the upper and lower intersection fairings to lock them in place. On the left side I installed the comm antenna too far forward in the first bay of the fuse so it was interfering with the back of the left upper intersection.
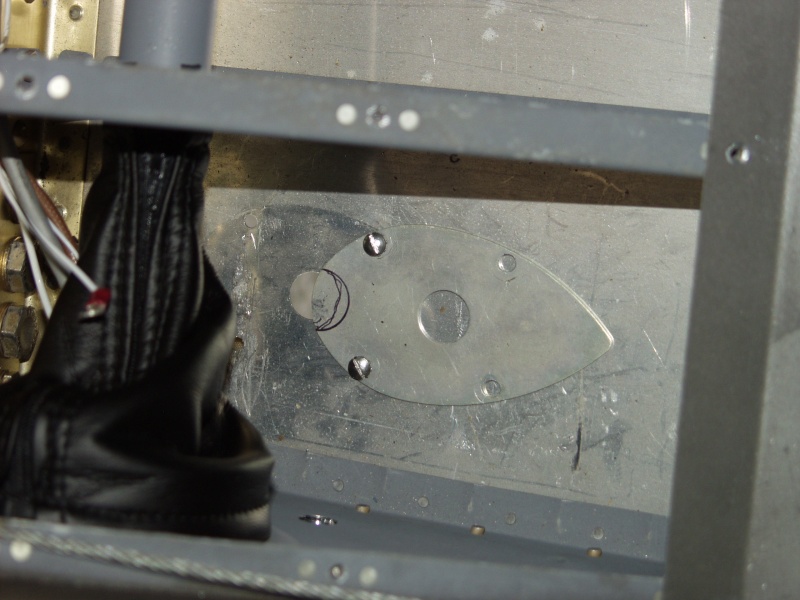
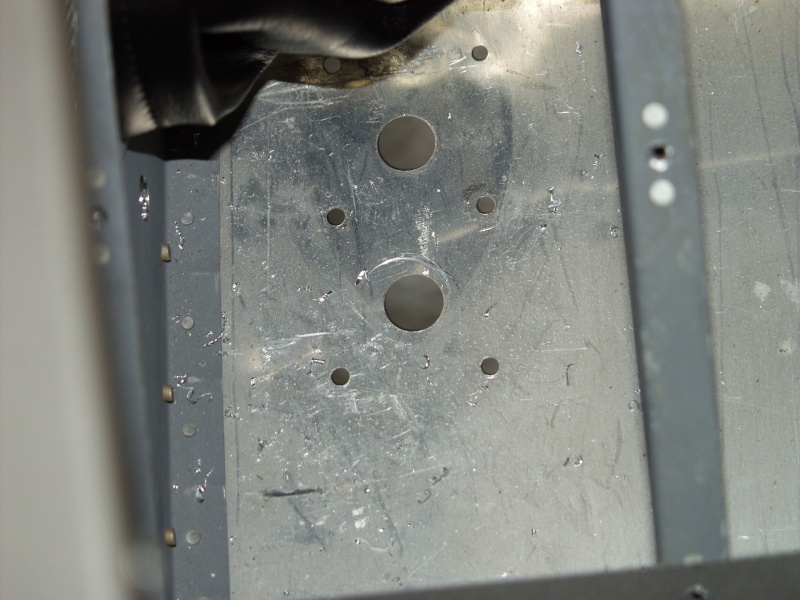
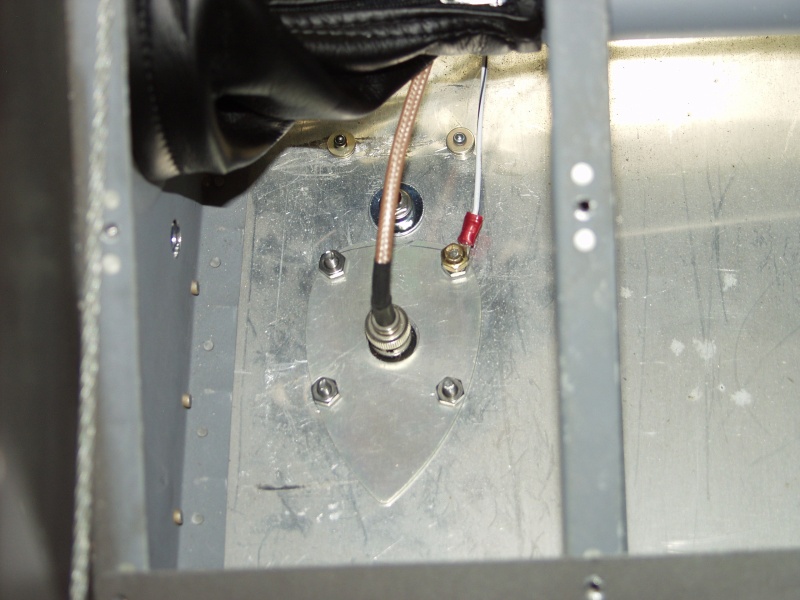
I removed the seats and floor pans yesterday so I was able to get right after it today. First I removed the 4 screws holding the antenna and the coax connection. I pulled the slack out of the cable to make sure I had enough to reach back a few more inches. Instead of drilling 4 new screw holes my plan was to use the rear 2 holes for the new front 2 holes. I used the backing plate as a template to drill the rear holes and the center holes starting with a small bit and then enlarging to final side.
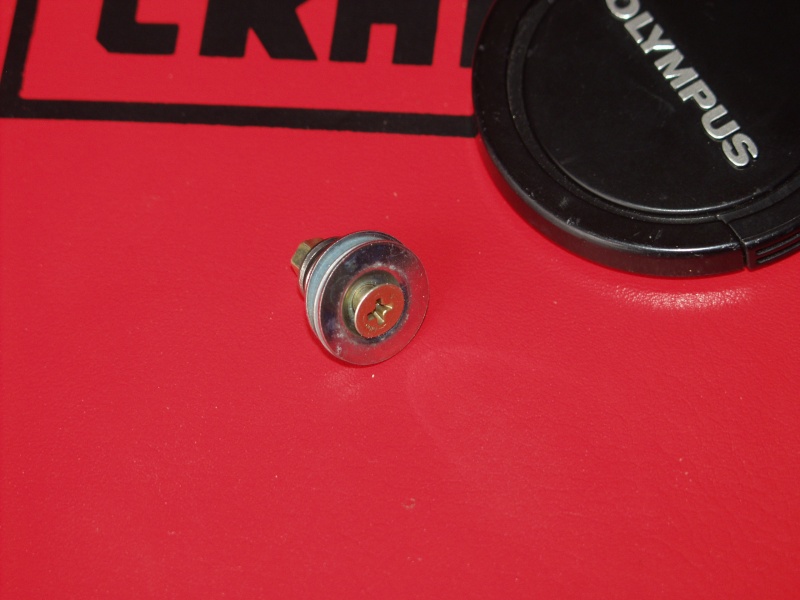
Then I trimmed the front of the backing plate to clear the large hole in front where the old coax connector passed thru. I used #10 tinnerman washers nested together to fill the front hole which allows the screw to sit below the surface and the front of the antenna to sit almost flush. Worked pretty good.
Last I used flush pop rivets backed up with washers to fill the 2 front screw holes. In the pic it looks like the front of the antenna is sitting up but that is really the black rubber gasket. This should work out well giving me clearance for the upper fairing I needed. Once everything was installed I fired up the panel and did a radio check with Unicom and back in business.
This website was built to document my work in compliance with the FAA requirements
needed to certify my aircraft.
My experiences and comments are by no means to be
considered as instructions on how to build any aircraft.
|
| |