Home
Preparation
Empennage
Wings
Fuselage
Engine
Finish Kit
Favorite Links
W & B Calculator
Van's Aircraft
Email Me

|
 |
Finish Kit Update October 2010 Updates
October 10, 2010
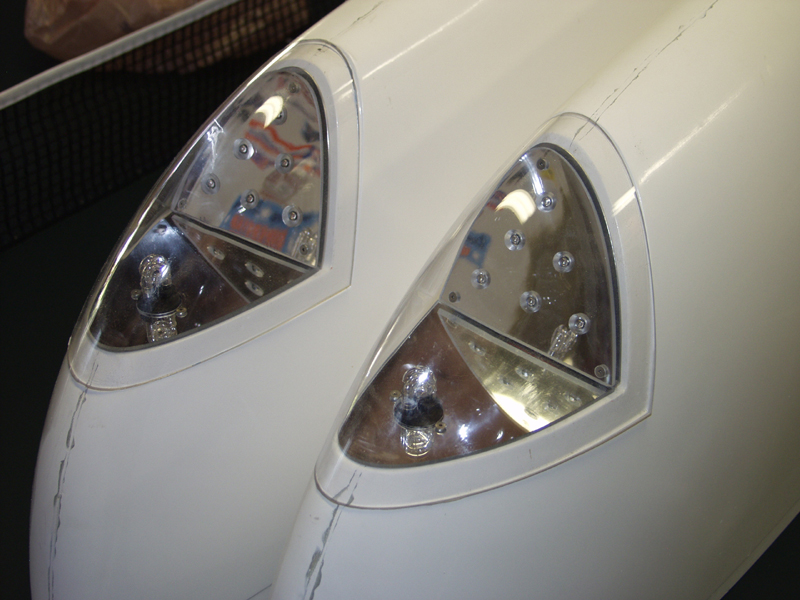
Wing Tip Lights and Strobes..... - 4.0 hrs
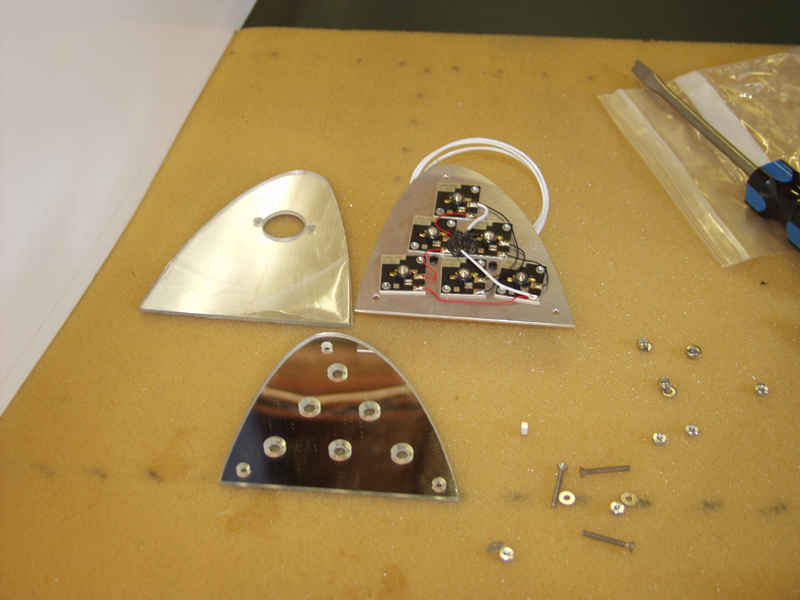
Today I knocked out the wingtip lights. I got these from Jeff a few years ago. I started the first one yesterday. That is when I could see that I was going to have to trim the glass. The Strobe piece fits flat against the fiberglass but the LED lights have a heatsink and the glass has a spacer bolt to hole the glass above the LED's.
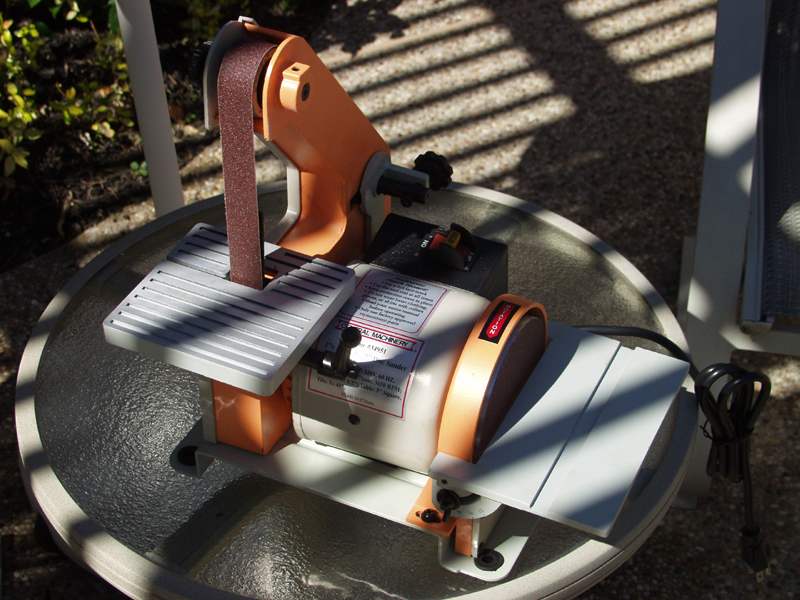
SO I started the day putting together my little belt disk sander that has been sitting on the bottom shelf of my bench forever. Once that was together I used it to cut the glass down to fit under the lens. With the spacer bolts in place it raises it just enough that it would hit the lens.
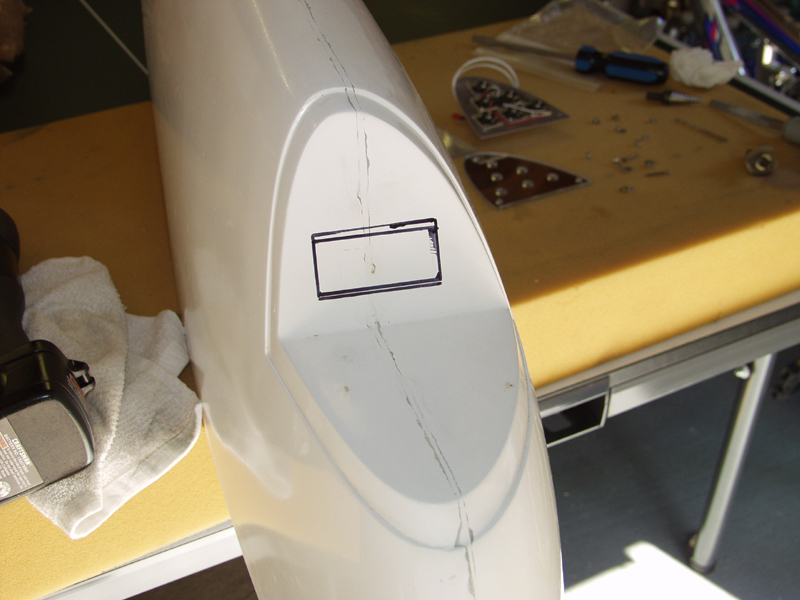
Next I got out the other tip and marked the hole for the heat sink. I drilled 4 holes in the corners and used the dremmel to cut the hole. Once the heatsink LED's are in place I used the holes as a drill template for the 3 holes. You have to take it all apart to use the holes and to trim down the glass so it takes several times to get it right. Put it back together and test fit and mark. Trim and do it again.
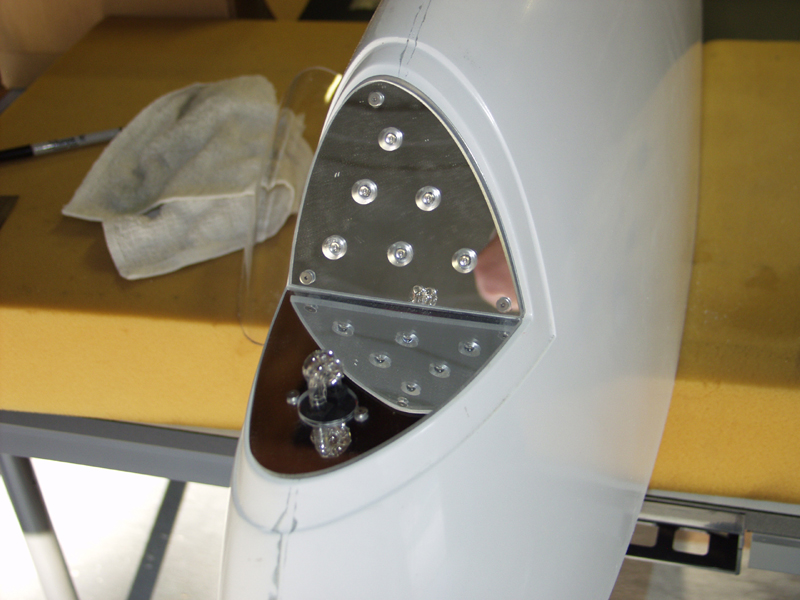
Once the LED is in place I set the strobe piece in place and marked it to trim fit. Same drill just trim and fit until you can see the lens will clear.
Last you drill a hole for the strobe bulb to fit from behind and then drill 2 screw holes. Then you put the mirror in place and fit the bulb in from the back and install screws. All I have left is 2 nutplate on the bottom and top corners to hold the lens in place.
This website was built to document my work in compliance with the FAA requirements
needed to certify my aircraft.
My experiences and comments are by no means to be
considered as instructions on how to build any aircraft.
|
| |