Home
Preparation
Empennage
Wings
Fuselage
Engine
Finish Kit
Favorite Links
W & B Calculator
Van's Aircraft
Email Me

|
 |
Finish Kit Update November 2009 Updates
November 29, 2009
Rudder - Tail Strobe - Elevator Tips.... - 4.0 hrs
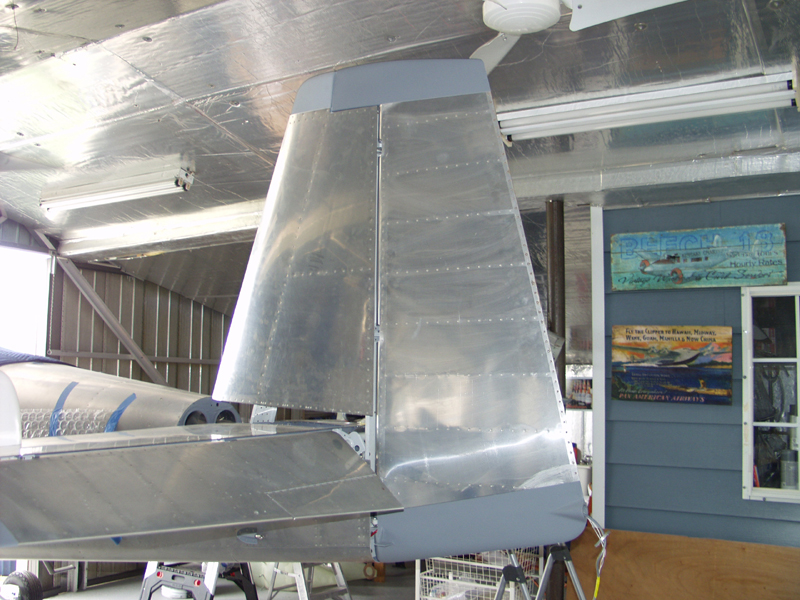
Today I mounted the rudder. First I used the cool tools to get it hung. Had a bit of a problem pulling the wire first and keeping it in position while I climbed up the ladder and held it in place while I slipped the fitting tools in place. Really a 2 man job. Once it was hung then there is getting the bolts in place with the washers. Even with the bolt and washer holder it was a pain. I bet it took over an hour just to get the 3 bolts in and locked down.
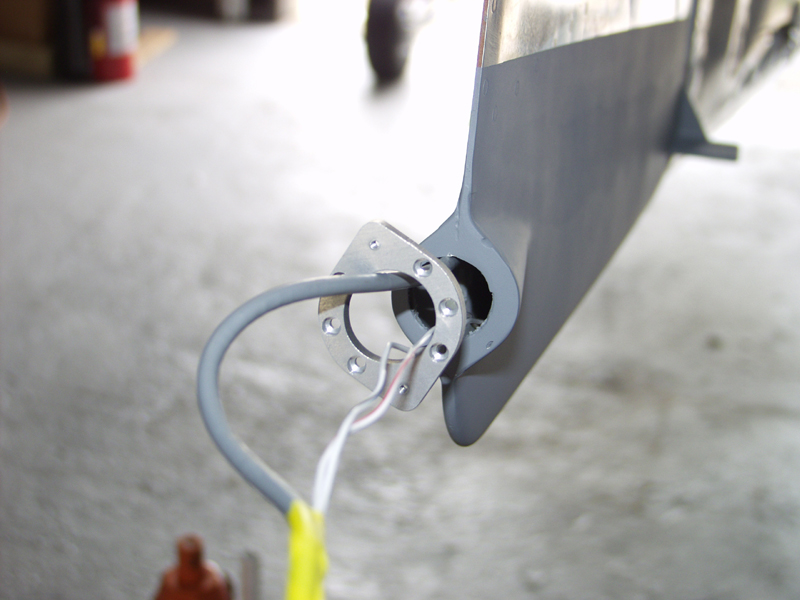
Next I mounted the strobe holder I bought from Cleveland tools. This is a piece made of aluminum that gets riveted to the fiberglass giving you a nice solid piece to screw the light in place. Worked like a champ.
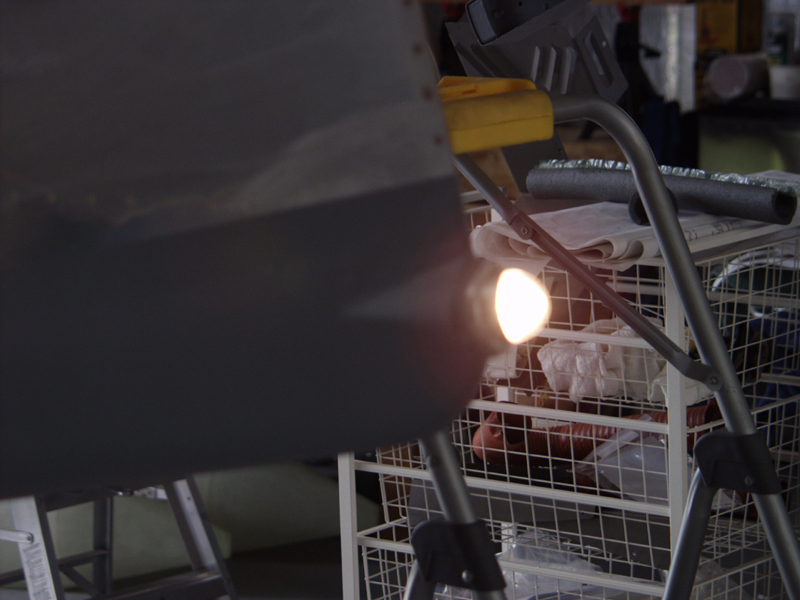
Powered up the light and it worked, then the strobe and it worked. So I just had to pull out the cool LED tips and hook them up to the sides of the fuse. From the outside of the hangar it looked like a real plane in their with the flashing stobes. Just no wings yet!
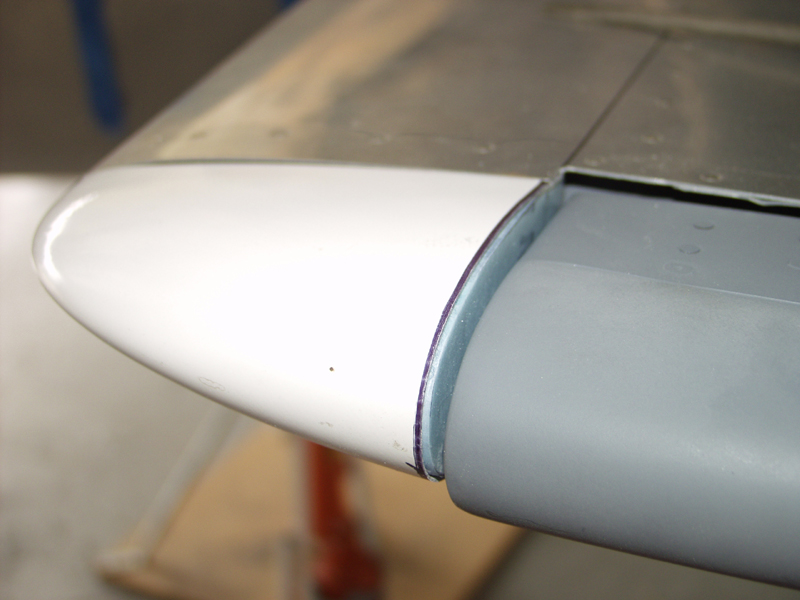
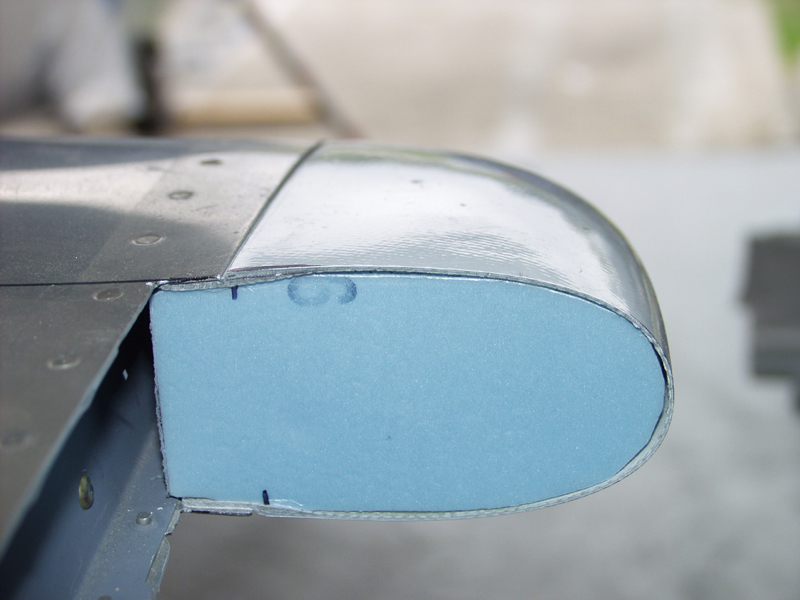
Next I started workin on the Horizontal Stab tips. First I clamped the elevators in place and marked a line onto the HS on the top and bottom. Then I used the line to transfer another line onto the tips. Used the bandsaw to do the initial cut. Dressed it up with a scotchbrite disk. Next I cut out 2 pieces of foam board the shape of the tips. Used the grinding wheel to smooth them out. Next I will glass these in place and they will be ready to mount.
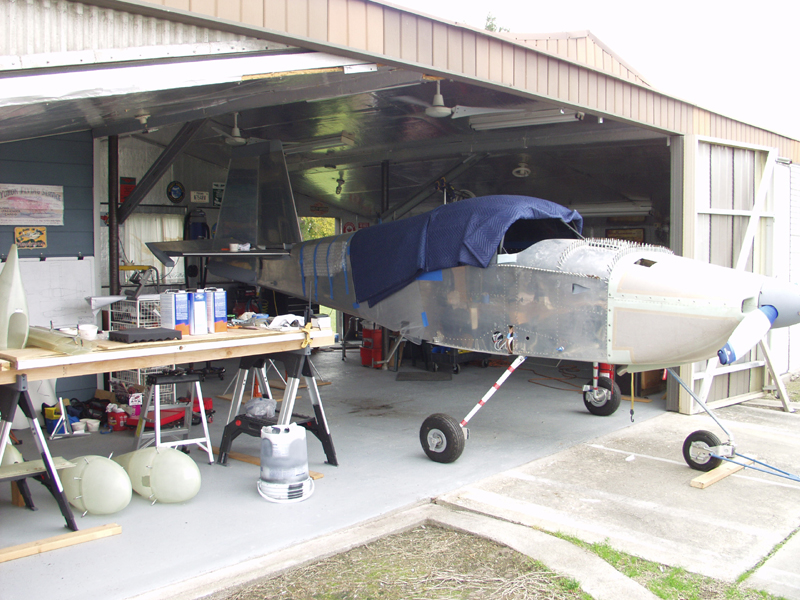
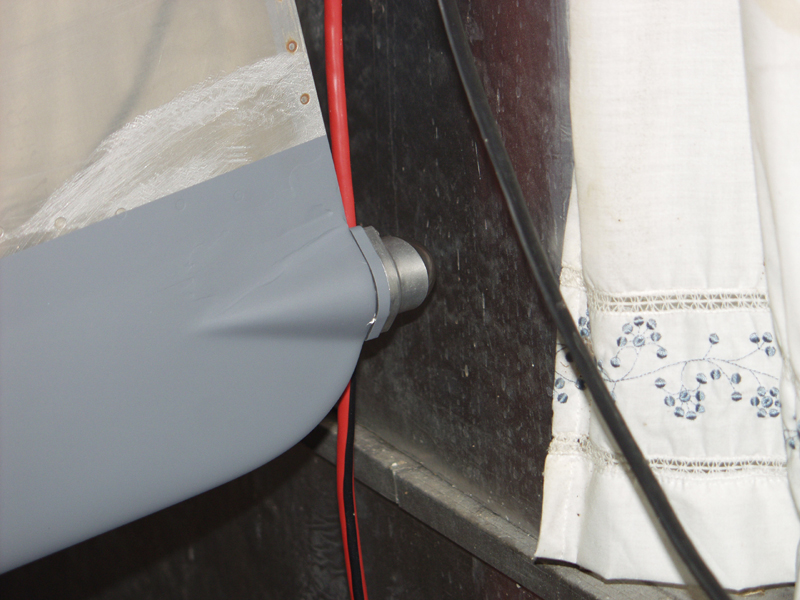
The last pic shows just how tight it is front to back with the depth of the hangar. The tail strobe is just about 1 inch from the back wall with the Spinner about 6 inches from the hangar door. WOW.
This website was built to document my work in compliance with the FAA requirements
needed to certify my aircraft.
My experiences and comments are by no means to be
considered as instructions on how to build any aircraft.
|
| |