Home
Preparation
Empennage
Wings
Fuselage
Engine
Finish Kit
Favorite Links
W & B Calculator
Van's Aircraft
Email Me

|
 |
Finish Kit Update November 2010 Updates
November 23, 2010
Right Wing Tip and Tank Brackets ..... - 3.0 hrs
Ok I had the Quality Control Chief with me today. DAD! He is in for Thanksgiving and wanted to see the plane. It was good because things went easier today having the extra hands.
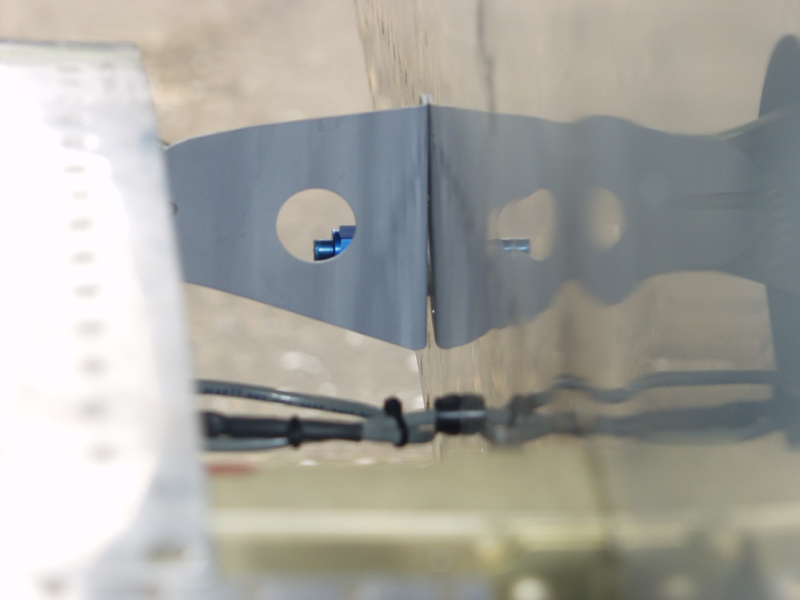
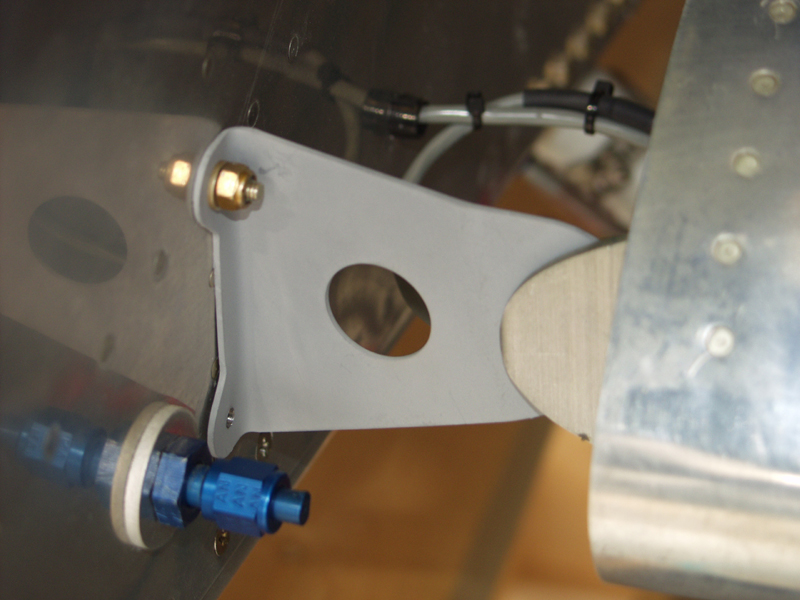
Started with bending the 5 degrees on the tank brackets. On each side of the fuselage there is a hole in the top that needs to be drilled out for an AN3-6A bolt and then you match drill the bottom holes with the bracket. After the bend I shot them with primer and set aside to dry.
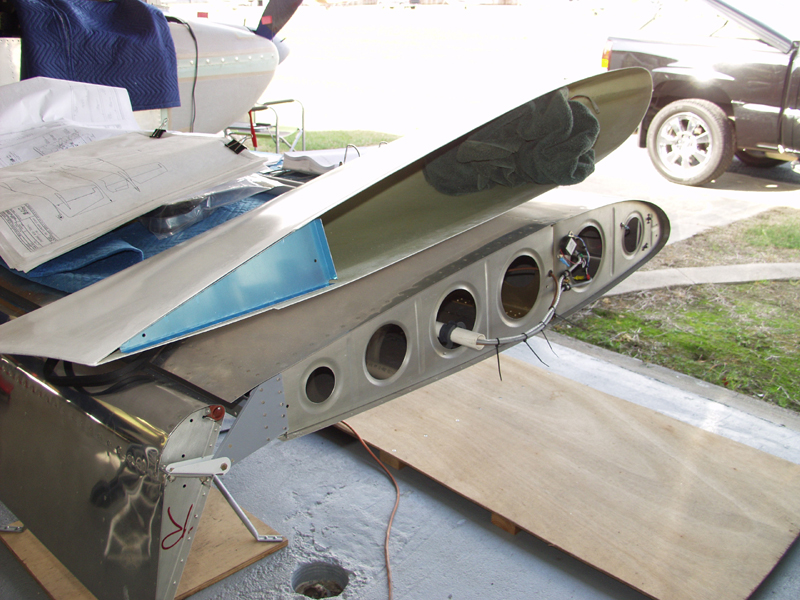
Next we test fit the Right Wing Tip. I used the same method as the left. After test fitting as was the other side the flange on the tip is wider than the edge distance of the wingskin to rib clearance. I used my block coarse fiberglass tool to sand the edges. Got this close enough to start drilling but need to move to the tank brackets while I have the extra help.
Moving back to the tank bracket I enlarged the rivet hole to 3/16 and while I climbed inside the fuse I installed the AN bolt while dad fed the nut and washer on from the outside. We did the other side as well. Next I checked the plans and found a large nutplate gets mounted on the alum flange on the wing tank. I was thinking you just installed the bolt and washer nut but thats not the case. Now with my newly cleaned hangar where exactly are those platenuts???? On with the hunt.
This website was built to document my work in compliance with the FAA requirements
needed to certify my aircraft.
My experiences and comments are by no means to be
considered as instructions on how to build any aircraft.
|
| |