Home
Preparation
Empennage
Wings
Fuselage
Engine
Finish Kit
Favorite Links
W & B Calculator
Van's Aircraft
Email Me

|
 |
Finish Kit Update November 2009 Updates
November 22, 2009
Last 2 months update.... - 20.0 hrs
Well I finally got around to do an update on building progress. The last 2 months have really sucked. First off the computer crashed and so getting everything back in place to provide updates has been a pain. Then work has been nuts. Our wonderful President and Congress really needs to be replaced! And the sooner the better. This crap has got to stop. The US government can't even do what they are really supposed to do, much less run all of these businesses. Especially when 99.9% of these idiots have no experiece with anything regarding business. Anyway I took all the pictures down and tried my best to recreate what I have done since the last update. As near as I can tell about 20 hours work and several different areas.
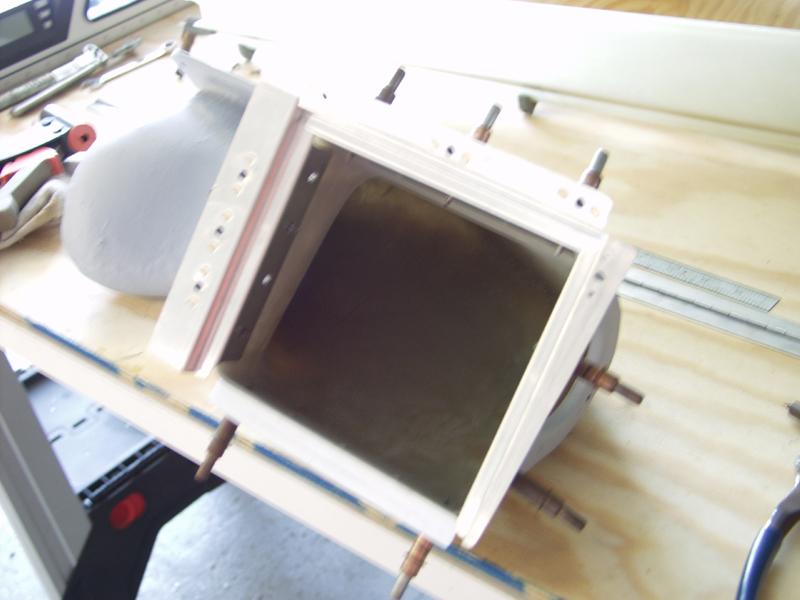
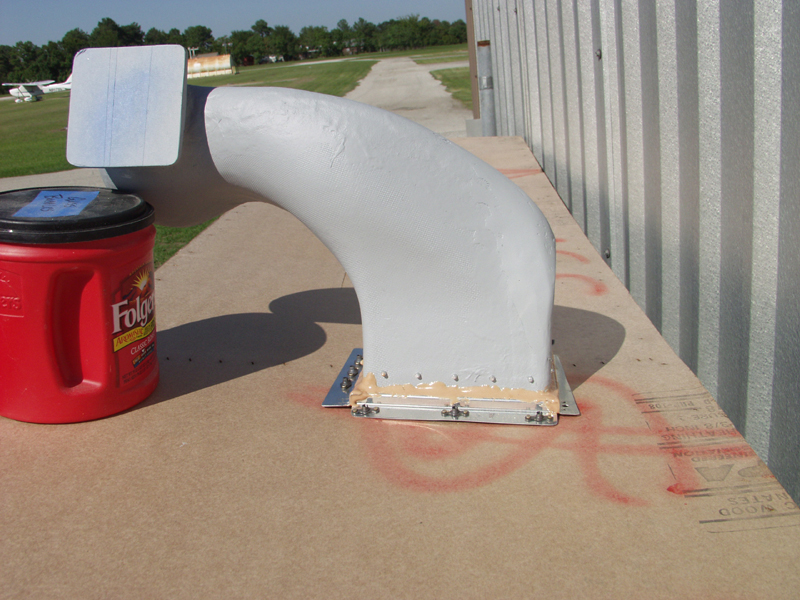
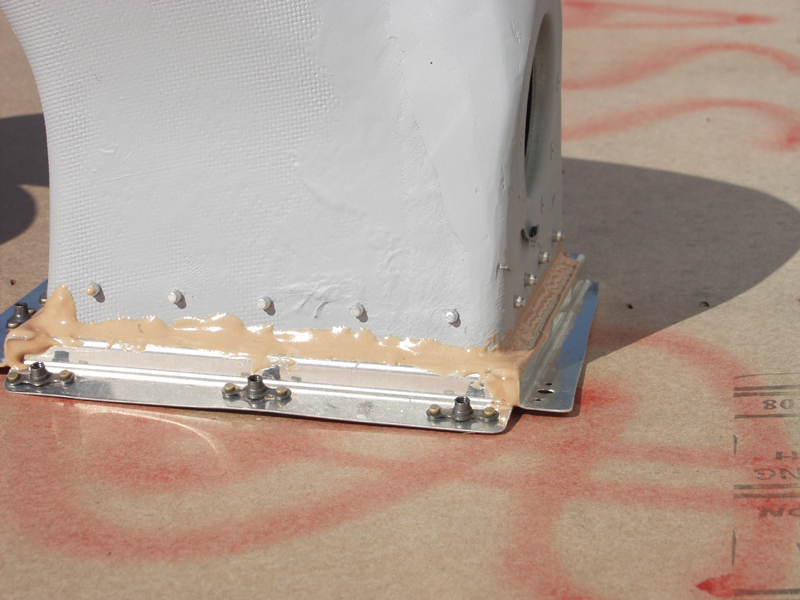
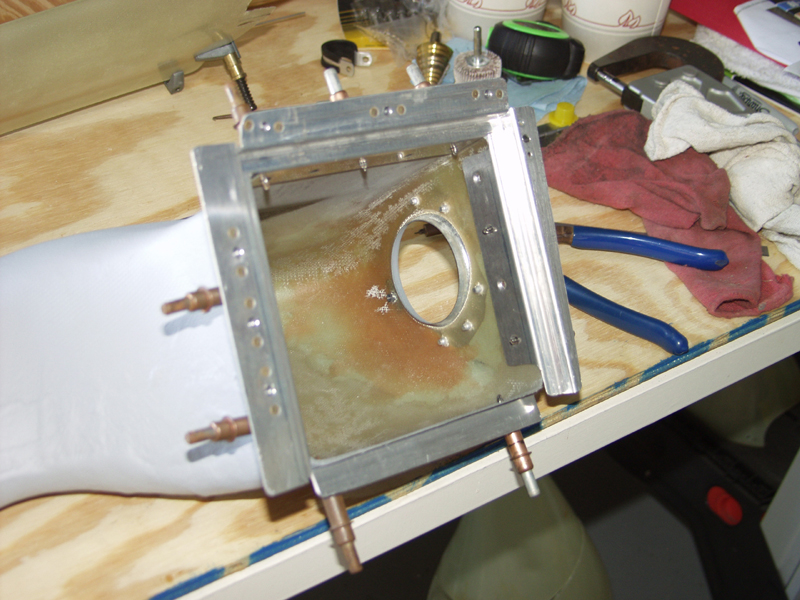
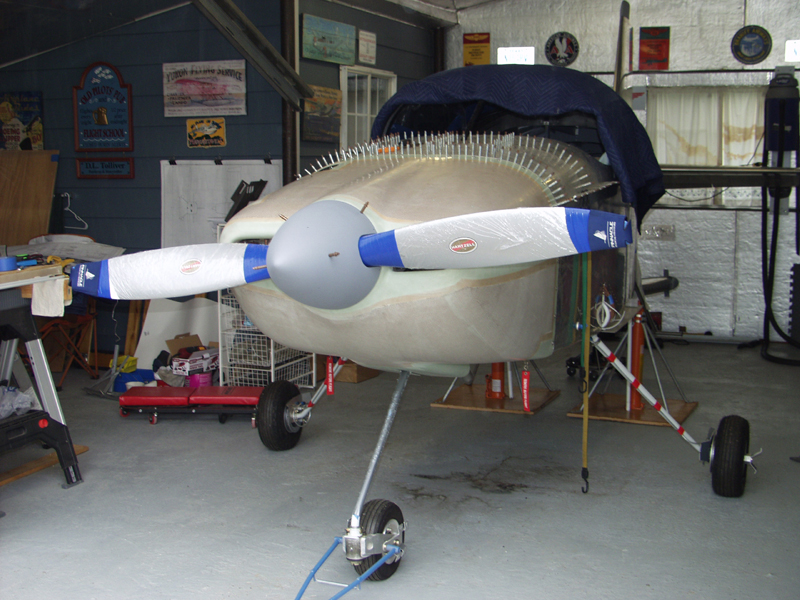
The first thing I did while I was waiting for the new front wheel pant I tore up was the airbox. I had it done but it was just clecoed together. First I took all the frame parts off and primed the fiberglass. Just makes it look better. Next I removed it and riveted the air cleaner frame in place. With that complete I mixed up some epoxy with flox, beads and cabosil. The cabosil works great at making the epoxy keep its shape otherwise it would just run all over the place. No matter how thick you make it with the flox and beads it still trys to seek its own space.
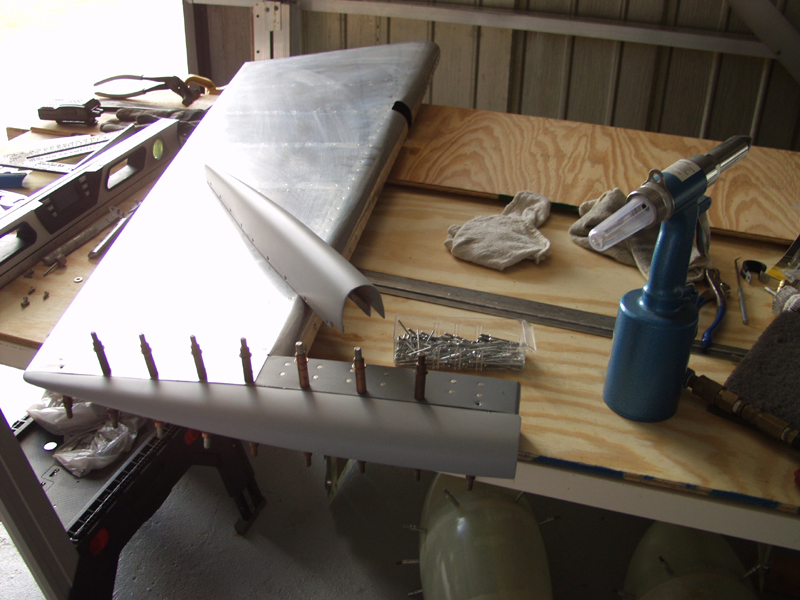
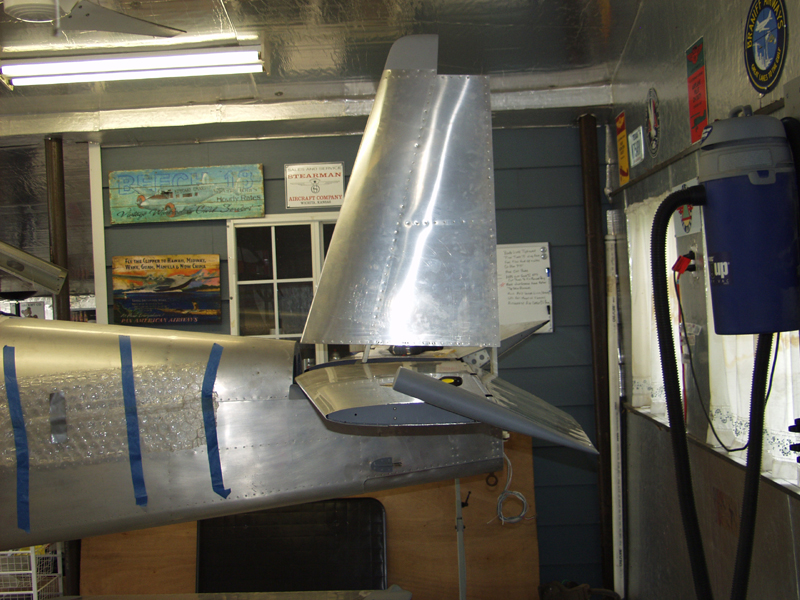
Next while things were curing I primed the rudder tip and bottom. Still a few pin holes but hey the paint shop can fix it right.
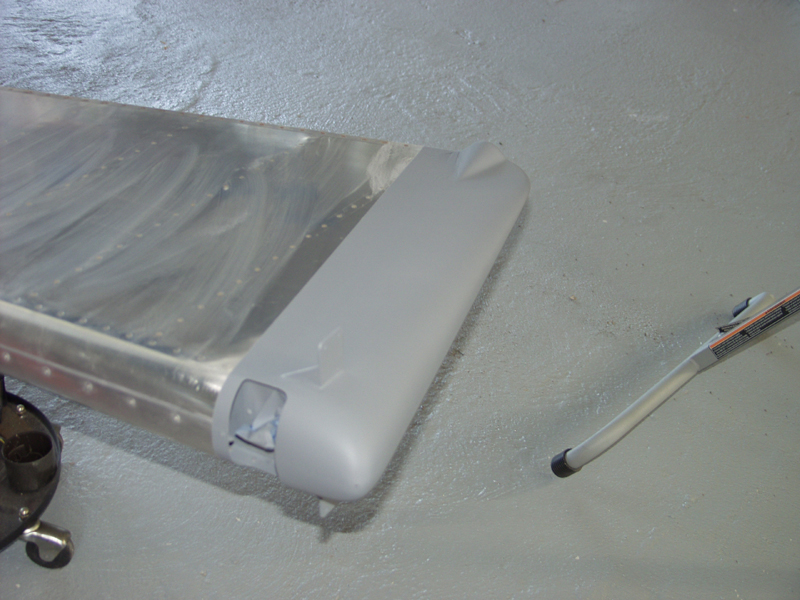
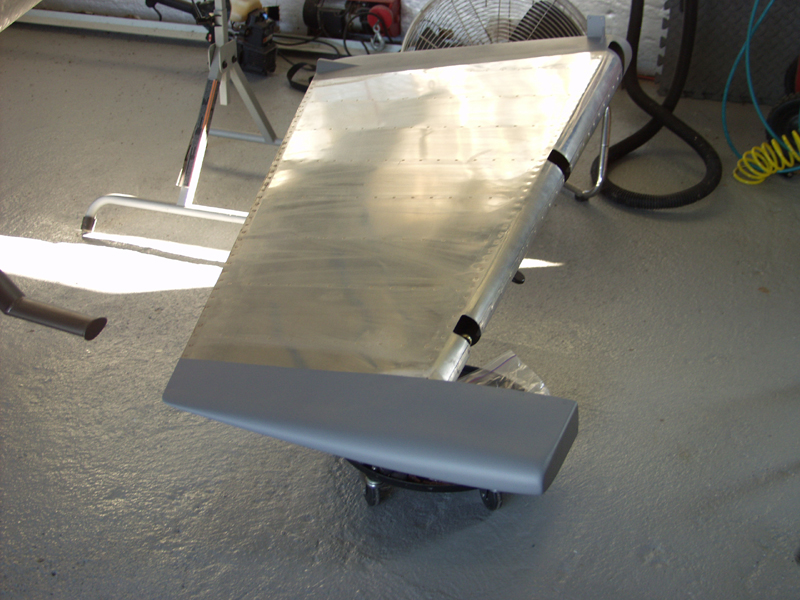
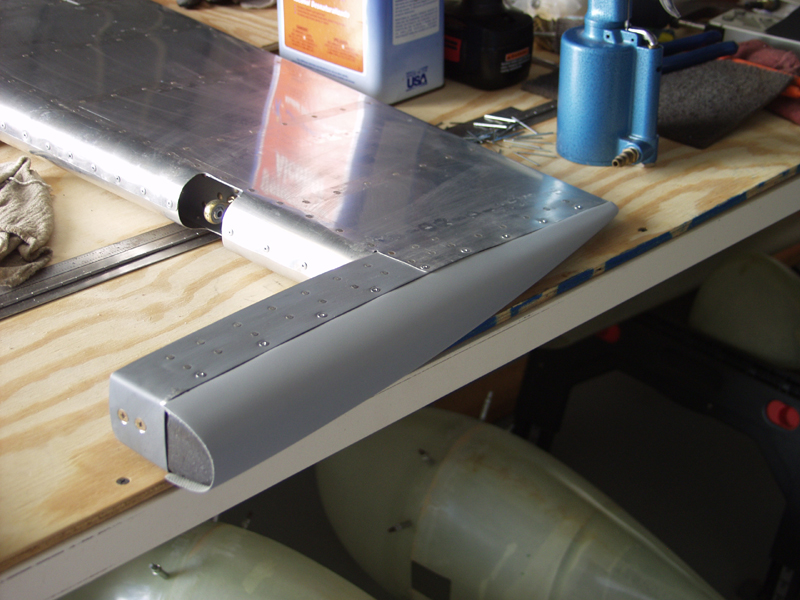
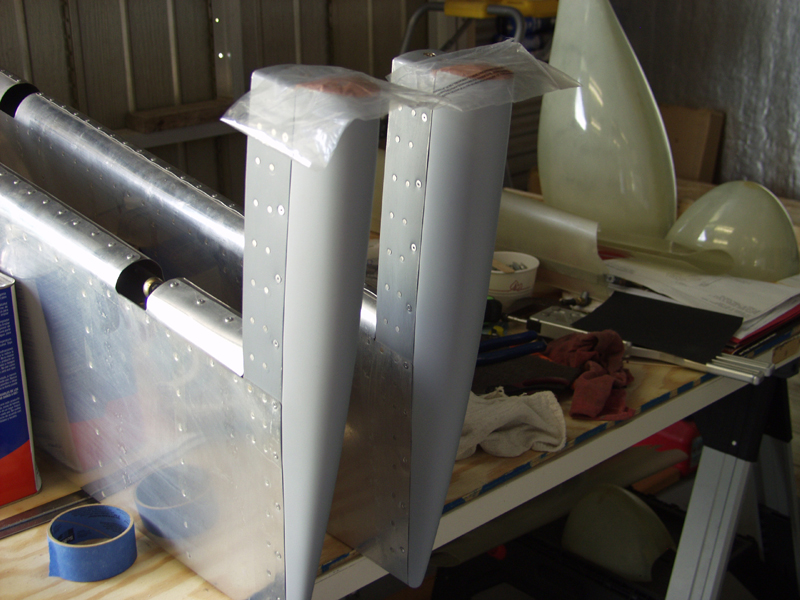
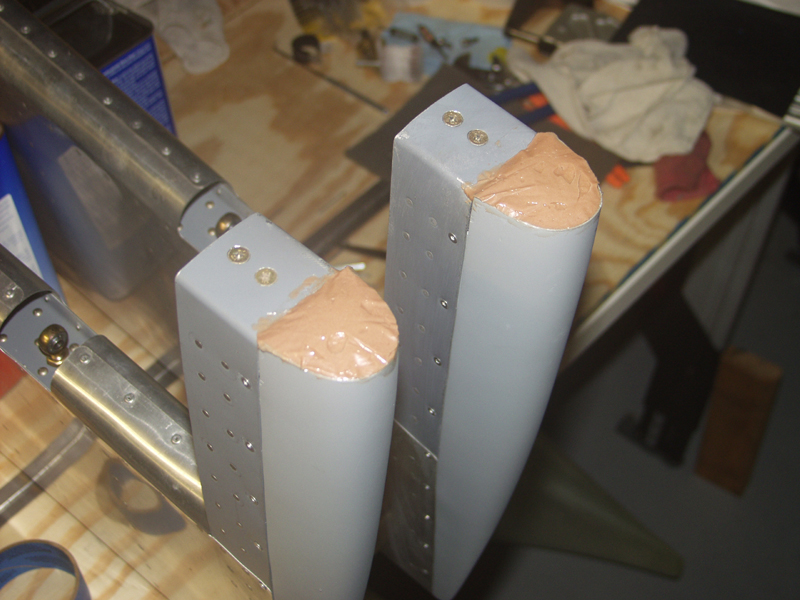
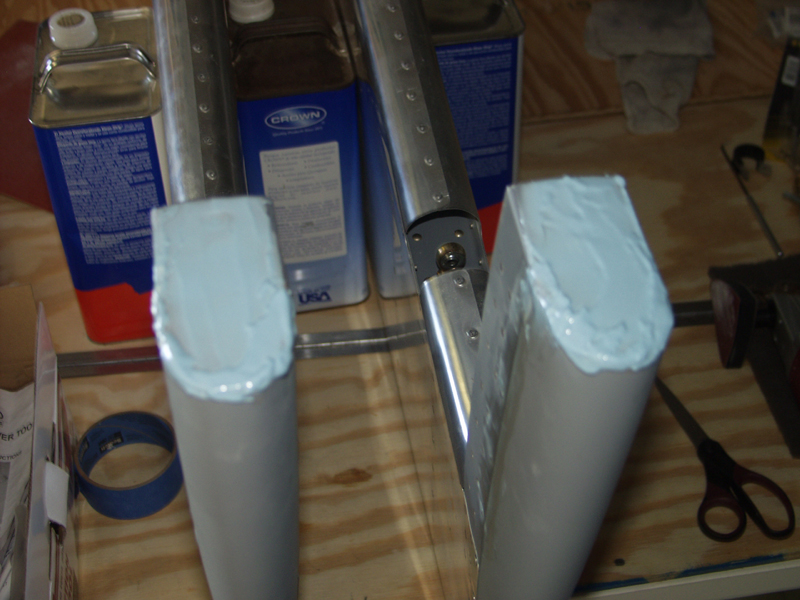
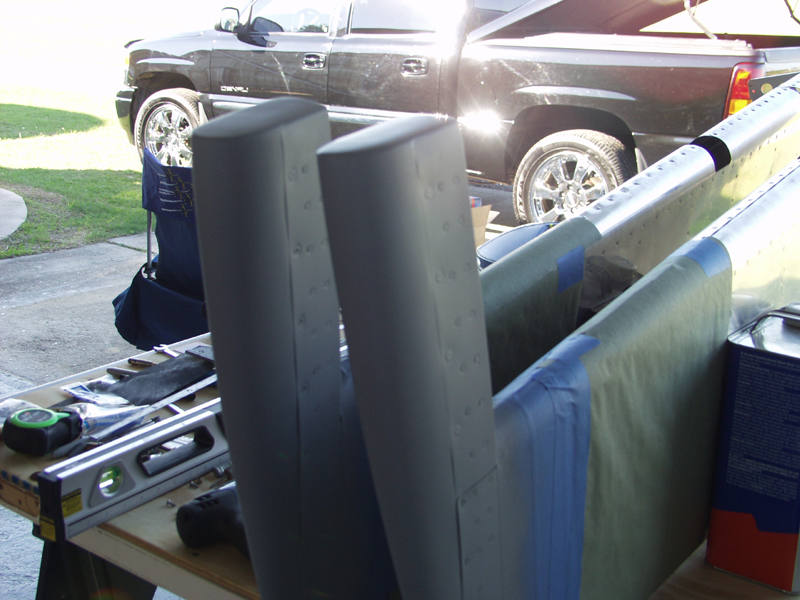
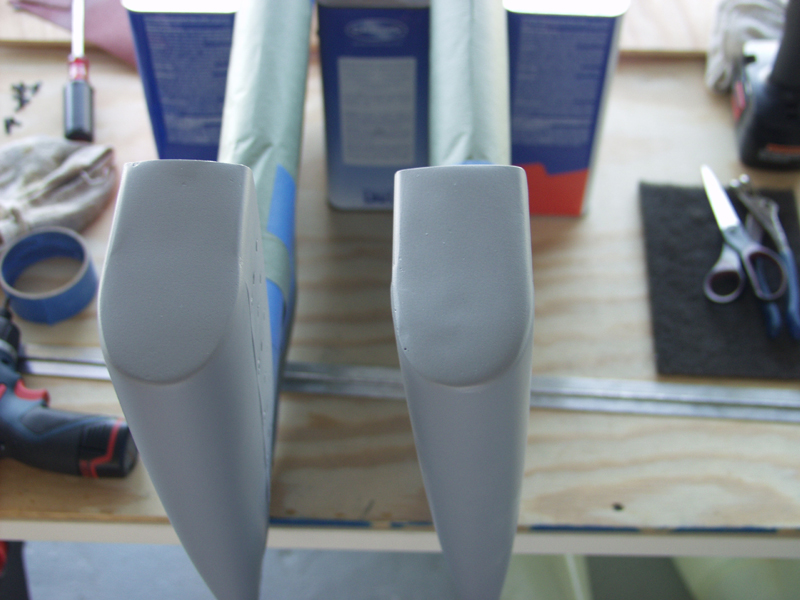
Then I moved on to the elevator tips. I cut the tips a bit long over the weights. My thinking is to leave a space to fill with a thick mix of flox, beads and cabosil. Once it cures grind it to shape with a sanding disk. So that is what I did. Counter sunk the tip for the rivets. Primed the tips and then riveted in place. Mixed up the filler and filled it with the surface raised and domed. Then I put some plastic over it to shape it in place. Once it was cured the plastic came right off. Once I cleaned it up with the sanding disk and scotchbrite pad it was still had some holes. So I mixed up another batch of Superfil. I laid this on above the surface again and it cleaned up really nice with no holes. Once I got a good smooth shape I primed the tip again and its good to go.
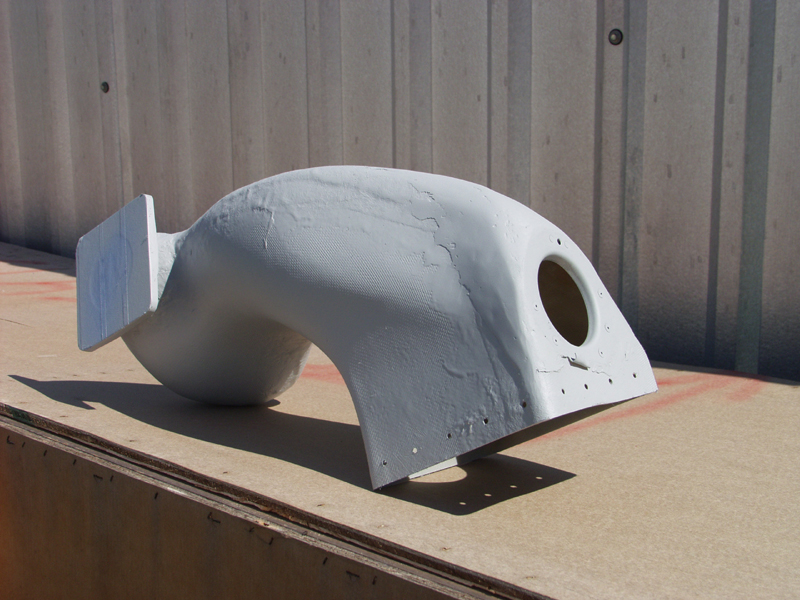
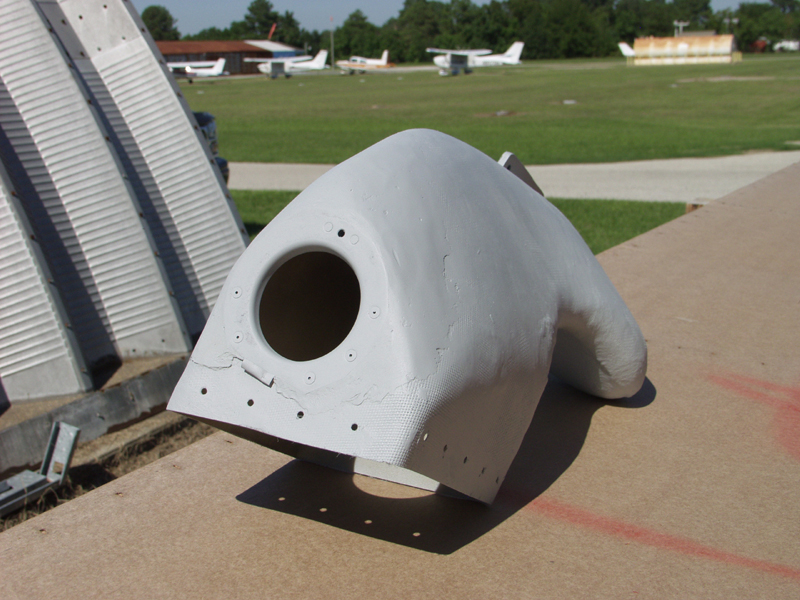
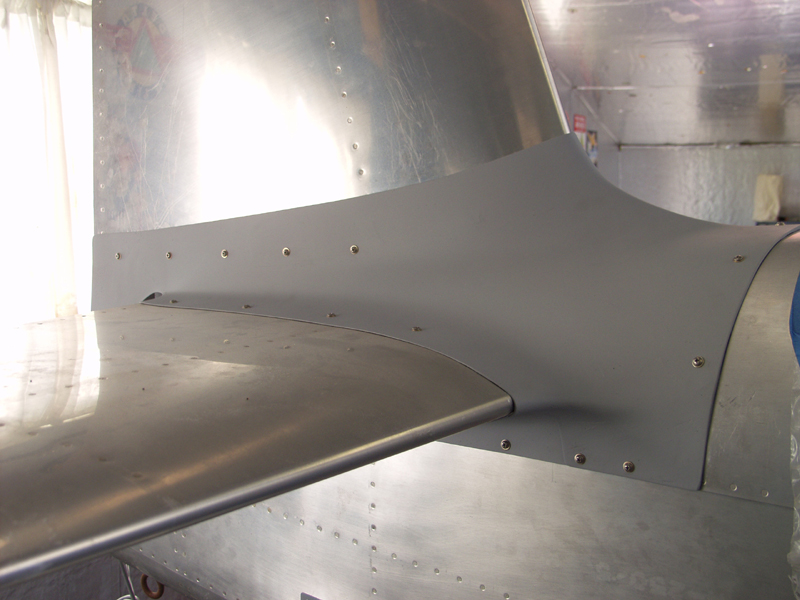
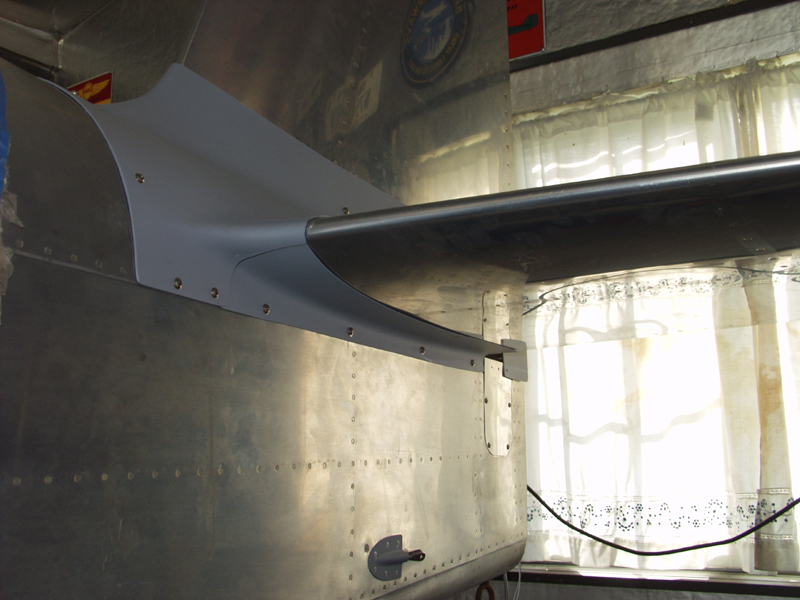
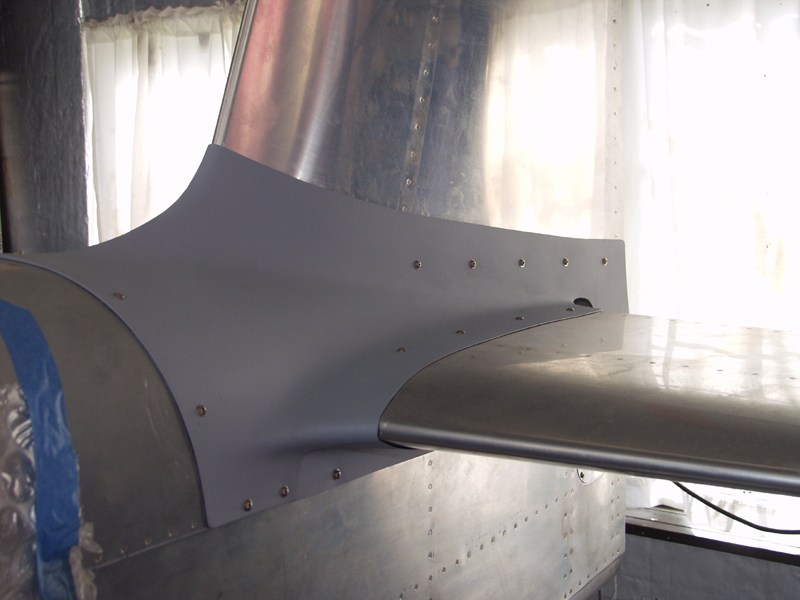
Next I started on the empanage fairing. I started working on the pinholes. What a pain in the ass. It looks perfectly smooth until you shoot some primer. I drilled out the holes larger to install rivnuts. It takes this special too but these should work better than trying to install nutplates on the curved fuselage skins. Still need to do some more work on the pinholes but its getting there.
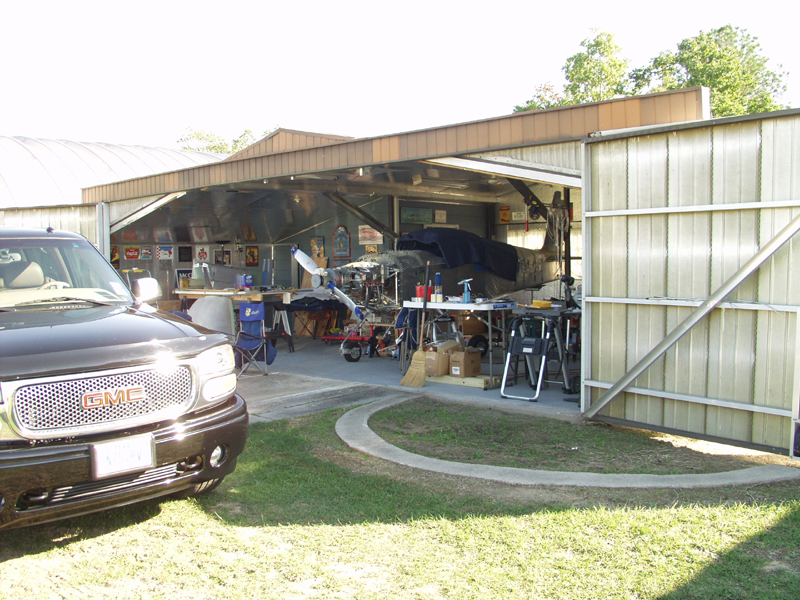
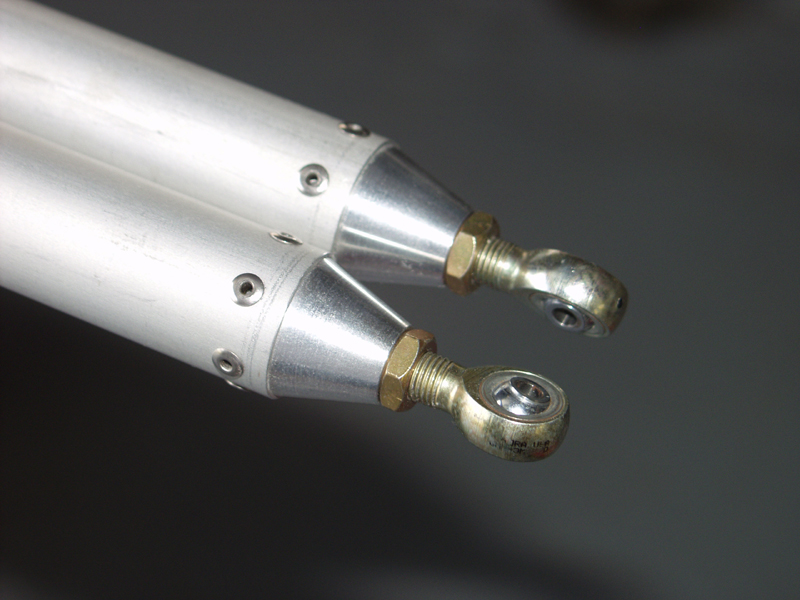
Next I cut the aileron torque tubes and fabbed them up. Had a really nice day weather day so I opened the hangar up and did a cleanup. I love being at the airport on days like this. Lots of planes flying. This is the best time of year. No wind..... no clouds... no heat just perfect.
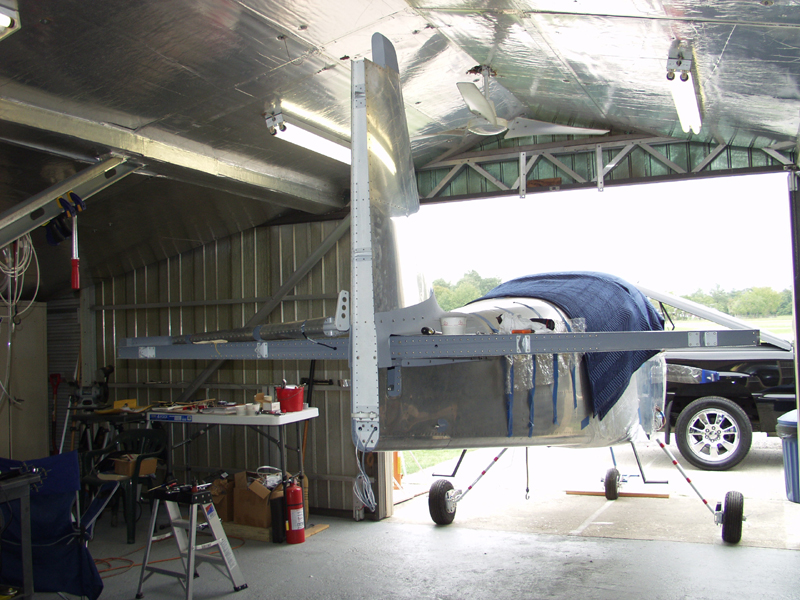
Last I pulled the plane out a bit to work on mounting the elevators. I installed the cowl again to check for fit and clearance on the baffles. All I have left is to rivet the front pieces and install the rubber seals. Next I used the temporary assembly pins from Avery Tools. These things are cool. They are pointed so they slide in the bolt holes easily and then the handle unscrews just leaving the pin inside the slots to keep the skins from getting bent. These allow you to hang them and then push them out with the bolts. Next I will mount the rudder the same way. Well this gets me current. Hopefully I can get some work done over the holidays.
This website was built to document my work in compliance with the FAA requirements
needed to certify my aircraft.
My experiences and comments are by no means to be
considered as instructions on how to build any aircraft.
|
| |