Home
Preparation
Empennage
Wings
Fuselage
Engine
Finish Kit
Favorite Links
W & B Calculator
Van's Aircraft
Email Me

|
 |
Finish Kit Update November 2011 Updates
November 13, 2011
Installed New Antisplat and Leg Fairings with Intersection Fairings...... - 8.0 hrs
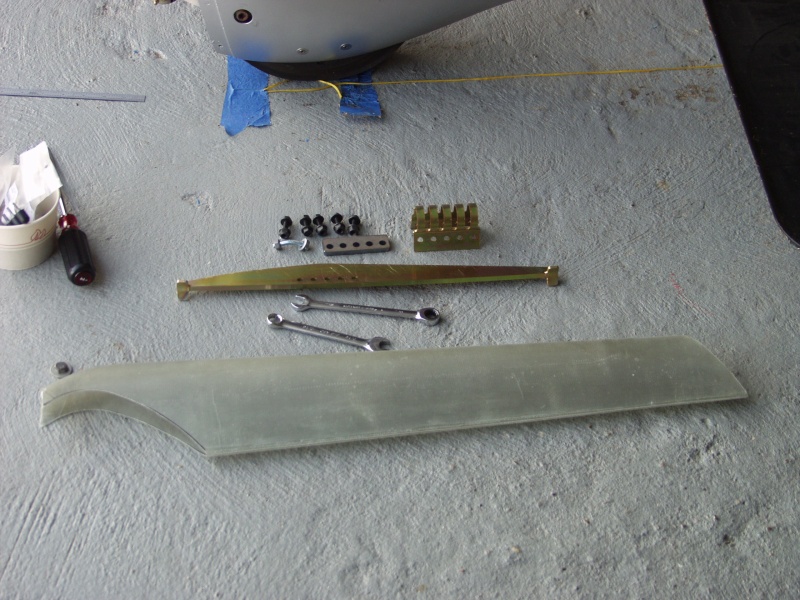
Earlier this week I received the Antisplat "Nose Job" from Perftech. So Saturday I started to do the install. First it was time to remove all of the tape I put on the front gear to protect it during the cowling install. It was purty baked on but I got it all of with a razerblade scraper and some MEK. Once that was done I marked the gear per the instructions for the bracket position and then used the actual brace to mark the top and bottom locations. I put a wrap of electrical tape to protect the gear and I should be able to watch this for marks over time.
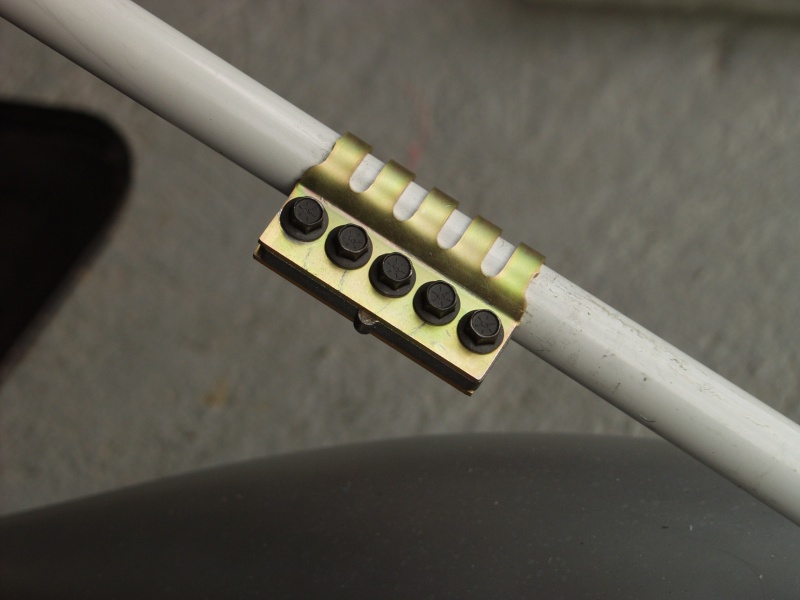
Next I used a rubber mallet to knock the clamp onto the gear. This thing is stout. I tried to use visegrip clamps to sqeeze it closed but that was impossible. I went and bought a big 11 inch pair and no go still. Next I tried a large clamp and just squeezed it several times until it was close enough to install the jig piece. Once that was in place I installed all 5 bolts and tightened it up. Good to go then. I removed the bolts and installed the brace. With the Large C clamp it was a non issue. Wish I would of tried that first.
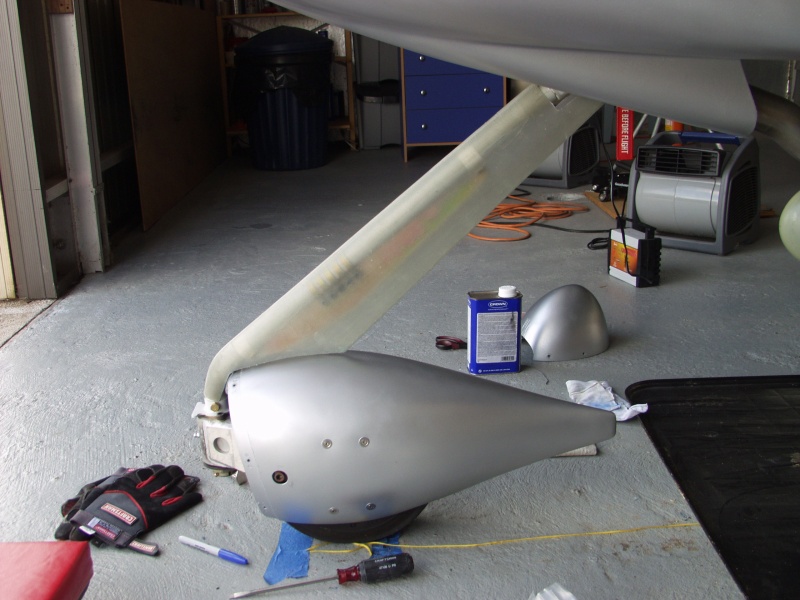
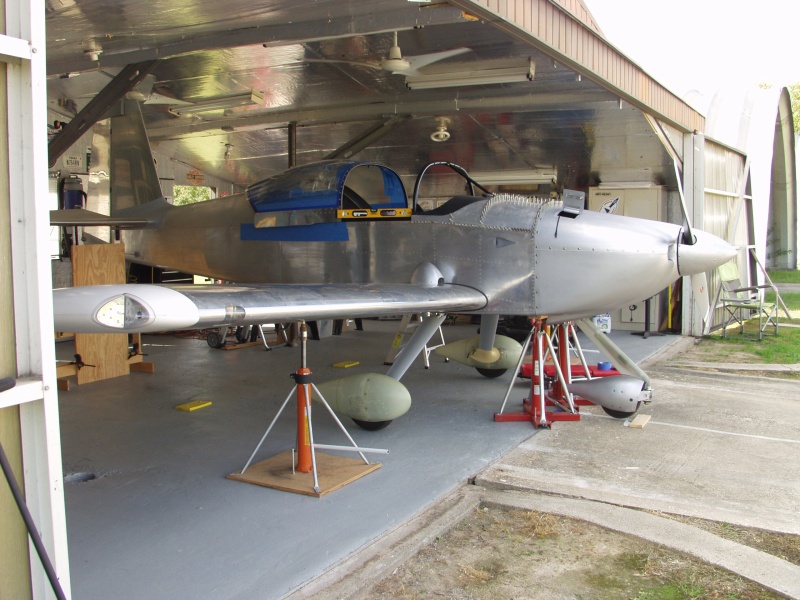
Next I used the old leg fairing to mark the new one for cutting to fit the upper area and then the lower area to clear the nose wheel fairing. This fairing is much better. It is acrually so stiff I may not even need the rear hinge.
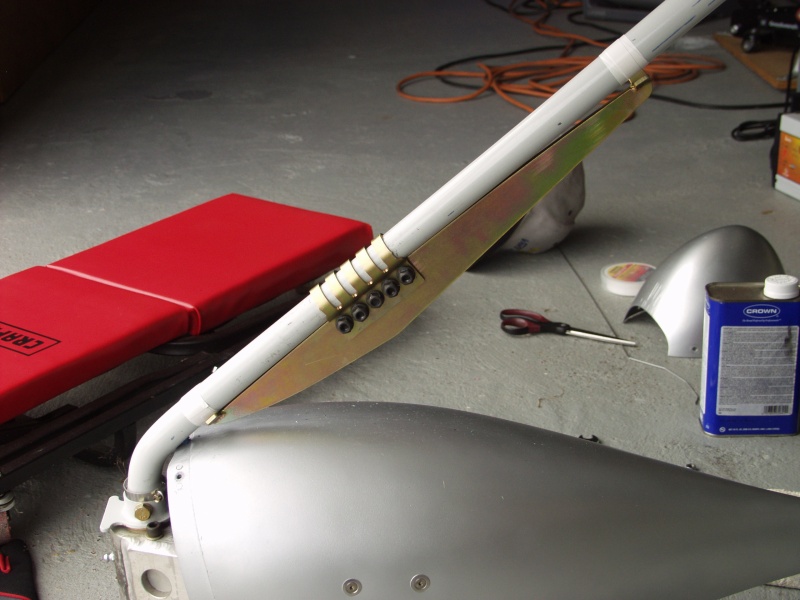
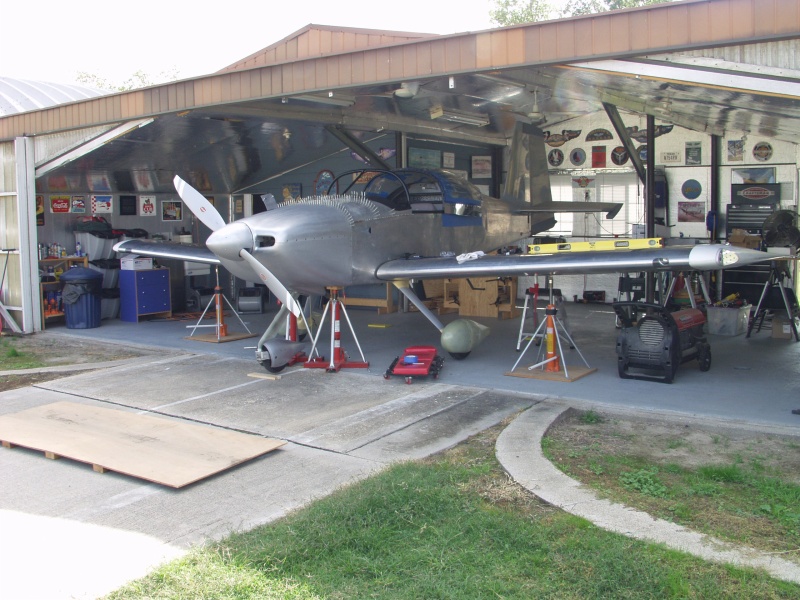
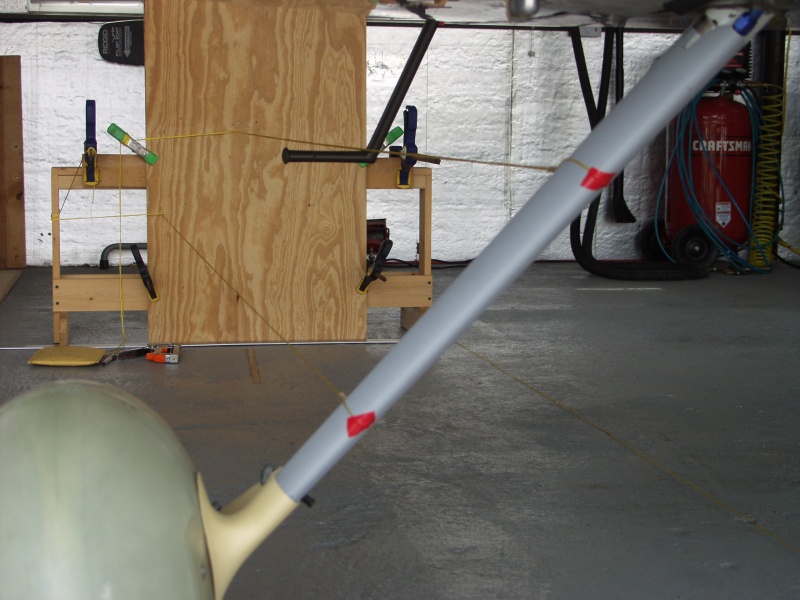
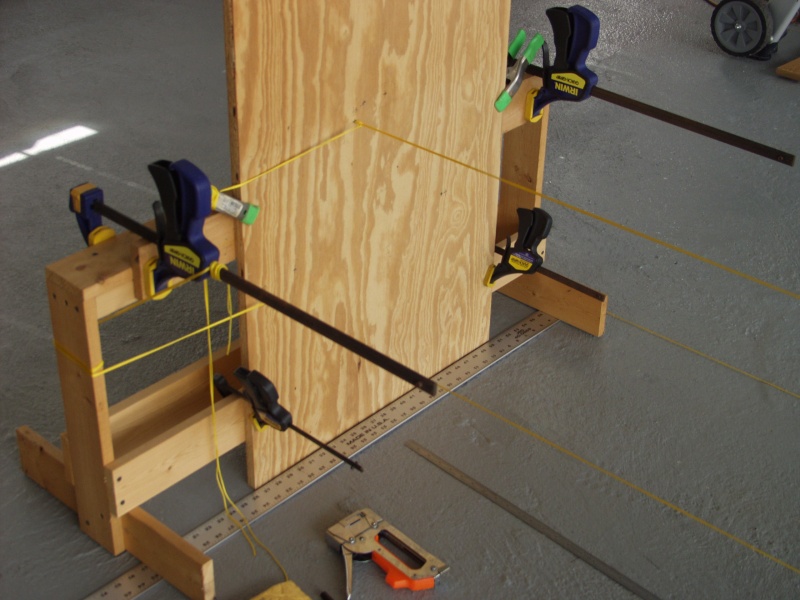
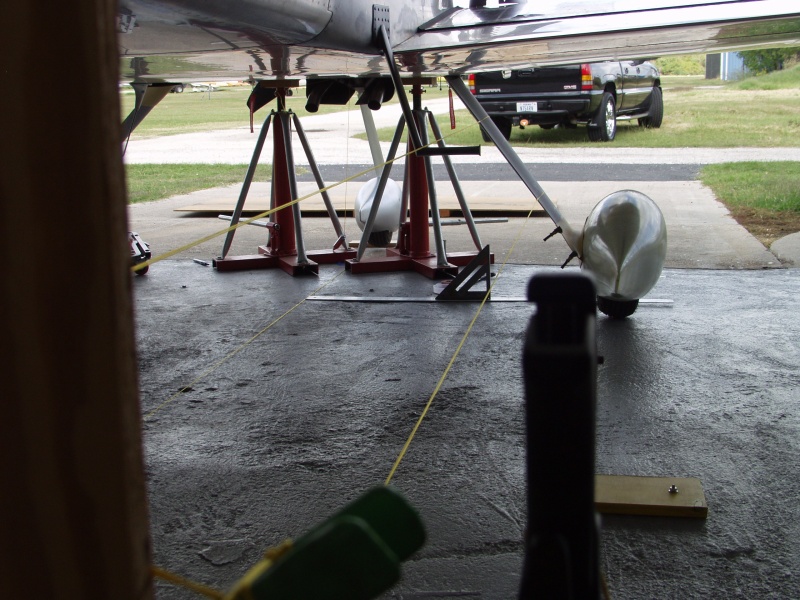
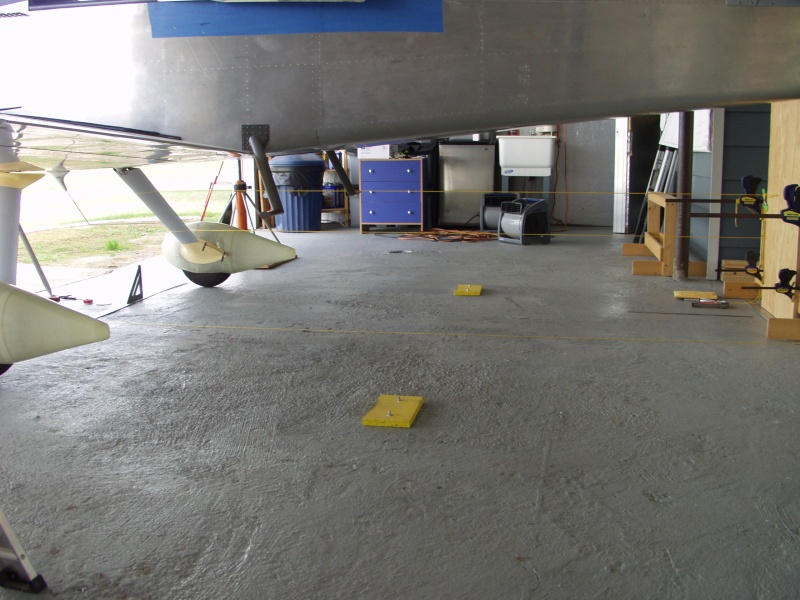
Now it was time to get the plane leveled up to install the intersection fairings. I pulled the plane partially out to allow better access around the plane. I borrowed Gary's wing stands to jack up the firewall and engine and put mine at the wing jack points. first I leveled the wings and then the fuselage. I used plumb bobs to mark the center line and then with the jig in place I started on the right and marked 2 points on the gear fairing. Took measurements out from the center line and then up from he ground to the marked points on the gear fairings.
Last I repeated these measurements to the jig board at the rear of the plane and then mounted the string lines from the jig board to the marked points on the gear fairing. I doubled the string thru plastic tubing to allow for better measurements at the trailing edge of the gear fairings. Then I kept the trailing edge in place as I moved the bottom fairings into postion and drilled and clecoed. Then repeated the process for the upper fairing.
Then I repeated the process for the left side. Removed everything and then did a engine start and taxi test before I cleaned up and put her back in the hangar.
This website was built to document my work in compliance with the FAA requirements
needed to certify my aircraft.
My experiences and comments are by no means to be
considered as instructions on how to build any aircraft.
|
| |