Home
Preparation
Empennage
Wings
Fuselage
Engine
Finish Kit
Favorite Links
W & B Calculator
Van's Aircraft
Email Me

|
 |
Finish Kit Update May 2012 Updates
May 28, 2012
More Windscreen Work...... - 7.0 hrs
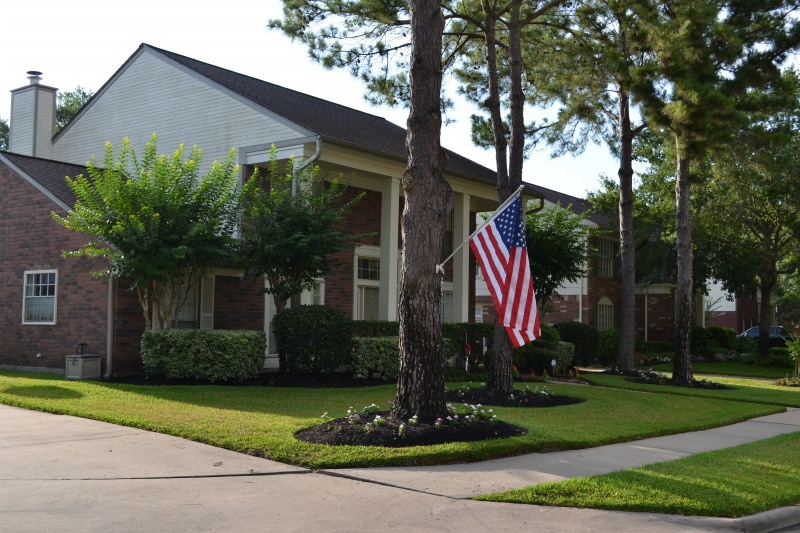
Raised the Flag at the house before I left in observance of Memorial Day. Please pray for our fallen soldiers that have given this right of Freedom!
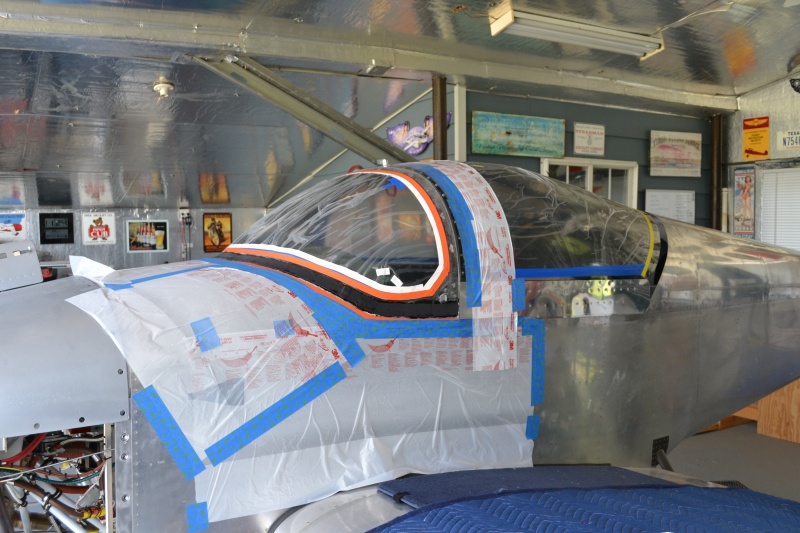
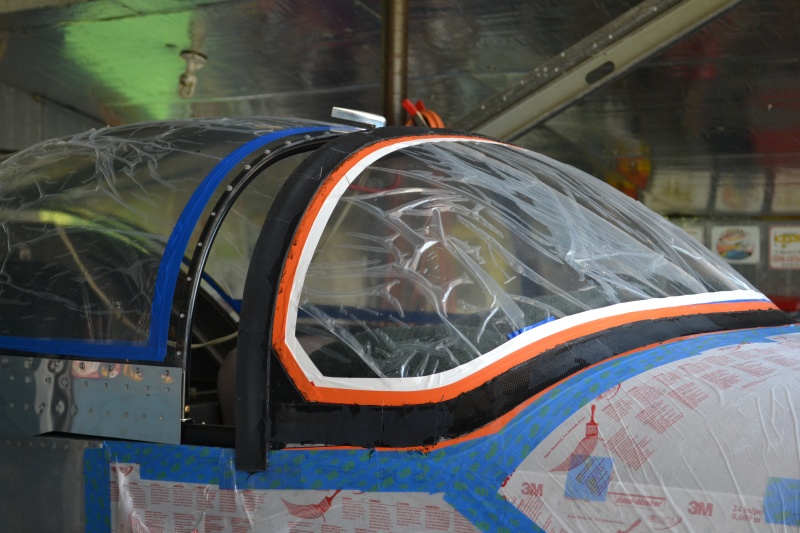
Well today is finally the day to add the fairing above the canopy. To start out I needed to pull off the peel ply from yesterday and sand out the rough spots. Once that was complete I used the compressor to blow it clean and then used denatured alcohol to clean the surface. Not on the glass of course.
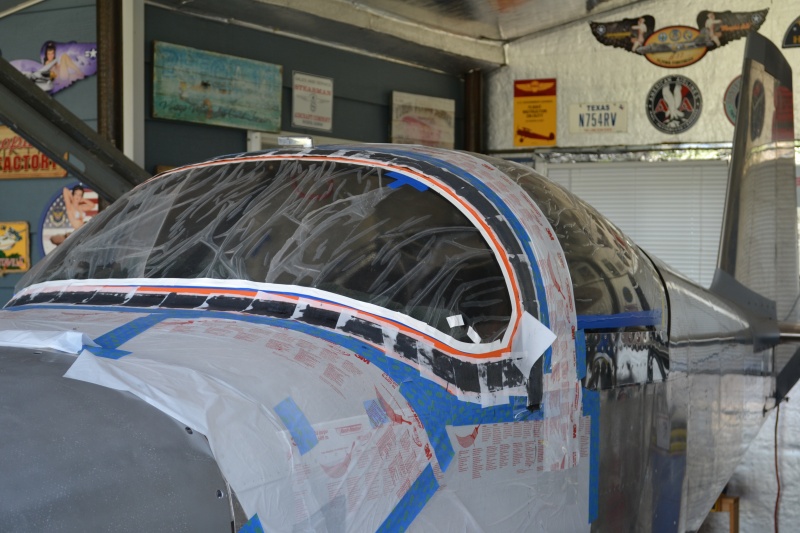
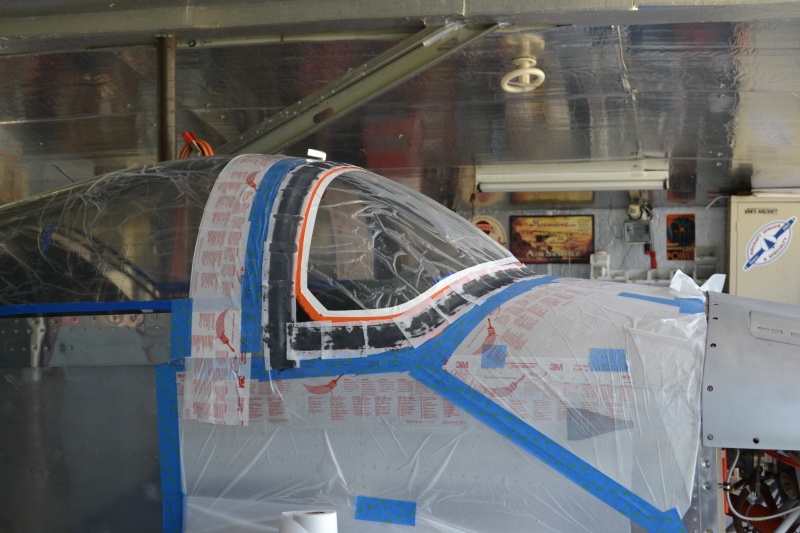
Next was a taping mission. The deal here is to get the epoxy and fiberglass to stick to the windscreen and not the canopy. Also I wanted to protect the aluminum cause I knew today was going to get messy. I used some painters plastic to tape off the areas I wanted protected. This too quite a while. Once done I used that to lay down a barrier on the canopy and then clear packing tape over that. Next I layed a board covered in plastic across 2 sawhorses for a work surface. This process needs to keep moving because in this hot weather the epoxy kicks off and starts to set if its in the pot.
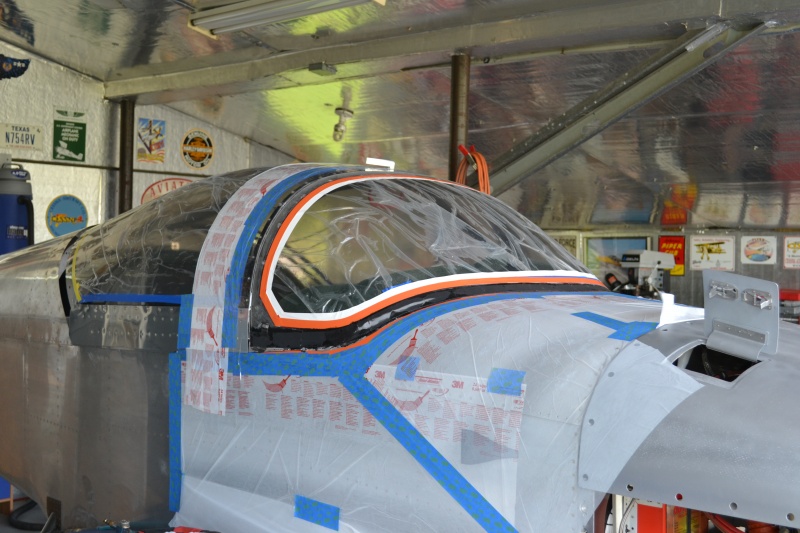
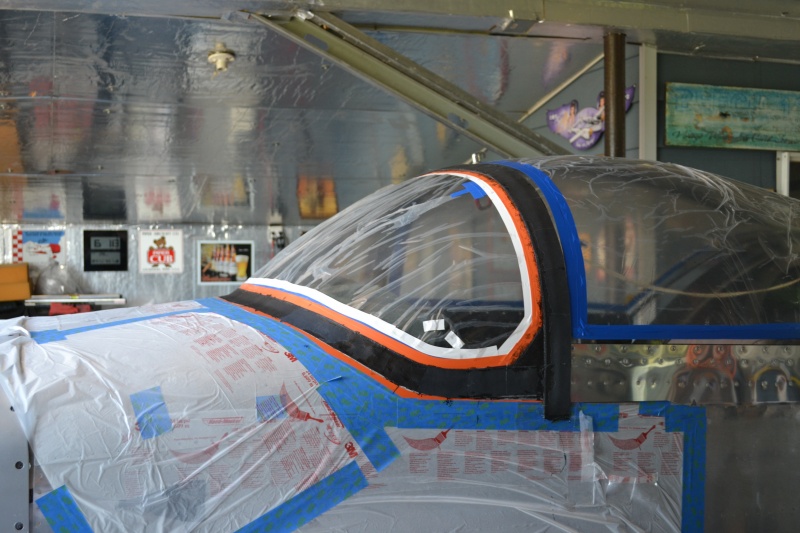
Ok time for a deep breath and get after it. I measured off some pieces and then mixed up some epoxy with black dye. I wetted out 2 pieces at a time and then laid them between the tape lines. I laid up 2 more overlaping just before the bends and then worked my way down the sides. I mixed up another batch and proceeded again for a total of 4 layers. Everything you have heard about this being difficult and messy is beyond words.
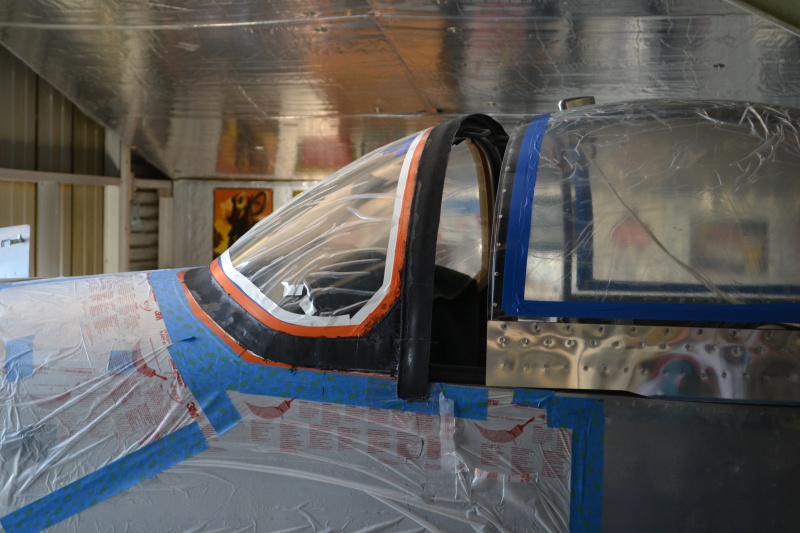
Once that was complete I added peel ply and wetted it out smooth. Next I put down a piece around the front edge of the canopy. This should be the last piece for the front as I have built it up to where it needs to be.
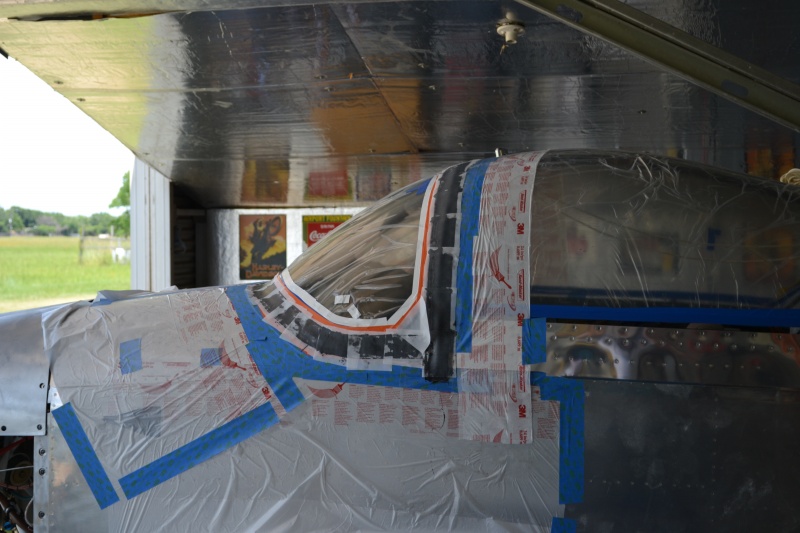
Ok then it was time to let it setup. So I went home but then later in the evening after it started to cool down I had to go check on it. I removed one of the peel plys and all looks good. Should just need some sanding and filling. As I looked at the top of the canopy that sinking feeling started in where you start to wonder if you just glued this thing shut never to be opened again. I got a old gift card that I was saving for smearing filler and pryed up a spot in the middle and starting working it around the back edge of the new fairing. It seemed to be lossening nicely but the canopy would not budge. So I continued around the entire edge. Then I have it several tugs and it broke free. Yippee I can sleep now!!!!!
This website was built to document my work in compliance with the FAA requirements
needed to certify my aircraft.
My experiences and comments are by no means to be
considered as instructions on how to build any aircraft.
|
| |