Home
Preparation
Empennage
Wings
Fuselage
Engine
Finish Kit
Favorite Links
W & B Calculator
Van's Aircraft
Email Me

|
 |
Finish Kit Update May 2011 Updates
May 08, 2011
More Cowl Work ..... - 8.0 hrs
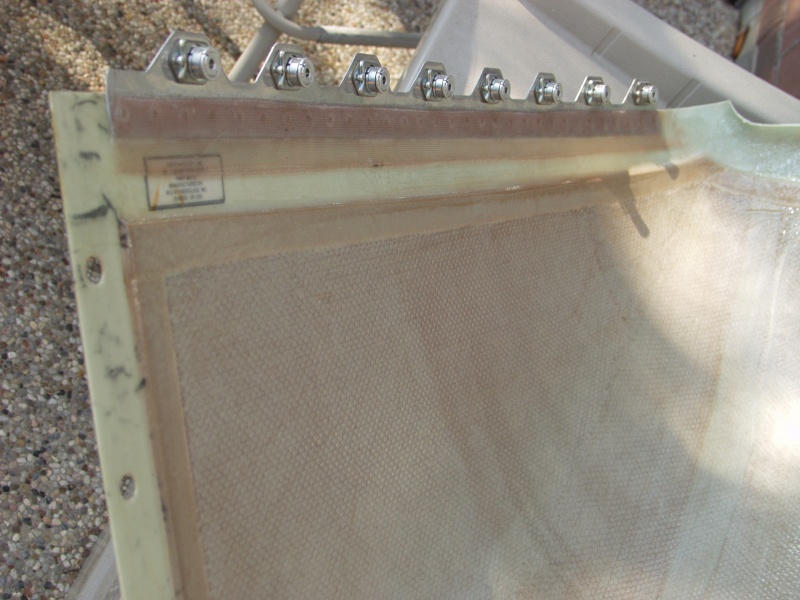
This is a weekend update. When I got home Friday I got out the bottom cowl and did a 2 ply layup over the rivets to give the camlock strip strength. On Saturday morning I laid up the other side. While that set up I headed out for the hangar.
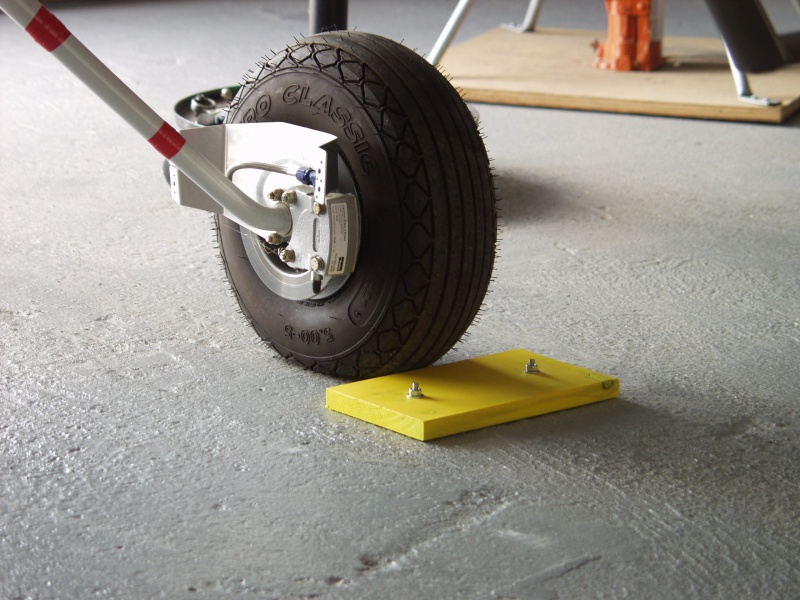
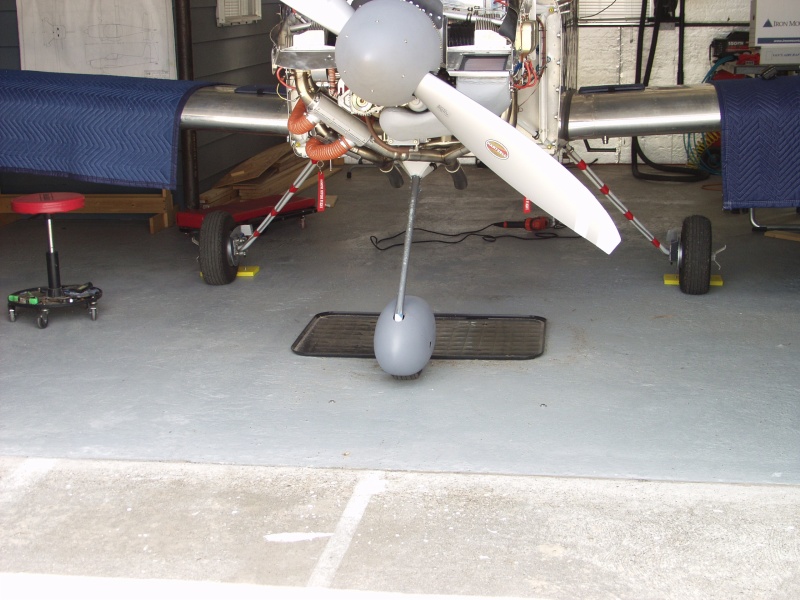
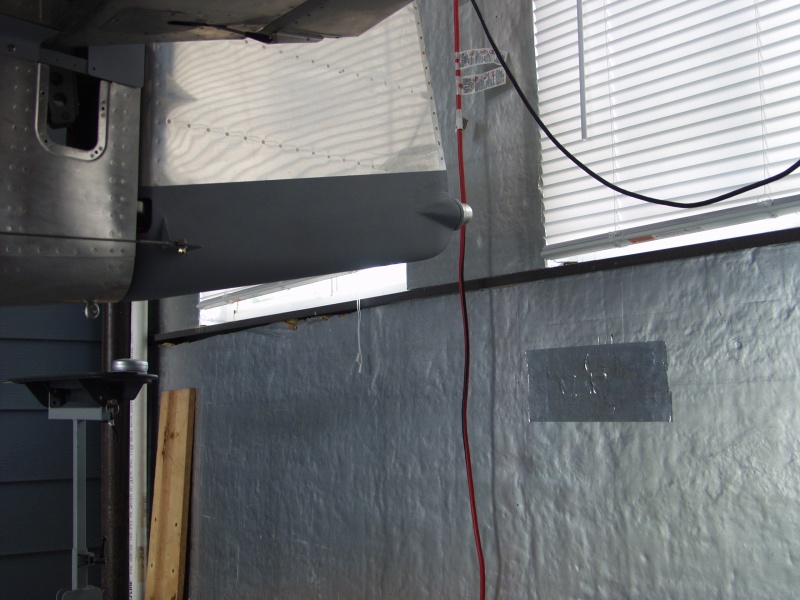
When I got to the hang I made sure the plane was exactly where I wanted to park it in the middle. I put the 2 new chocks I made and drilled 2 holes on the drill press. With these placed behind each wheel I drilled holes for anchors in the concrete. I inserted anchors and bolted them into the floor. With this setup I can just push the plane in until it hits the chocks and the tail should be about 6 inches from the back wall like the picture.
Next Gary came over and we did another engine start. This time we did a full run and the temps came up nice and even on EGT and CHT. CHT never got over 300 on all 4 cylinders. I did a mag check and cycled the prop several times. Gary kept an eye out for any leaks. Did a shutdown and double checked again and things look great.
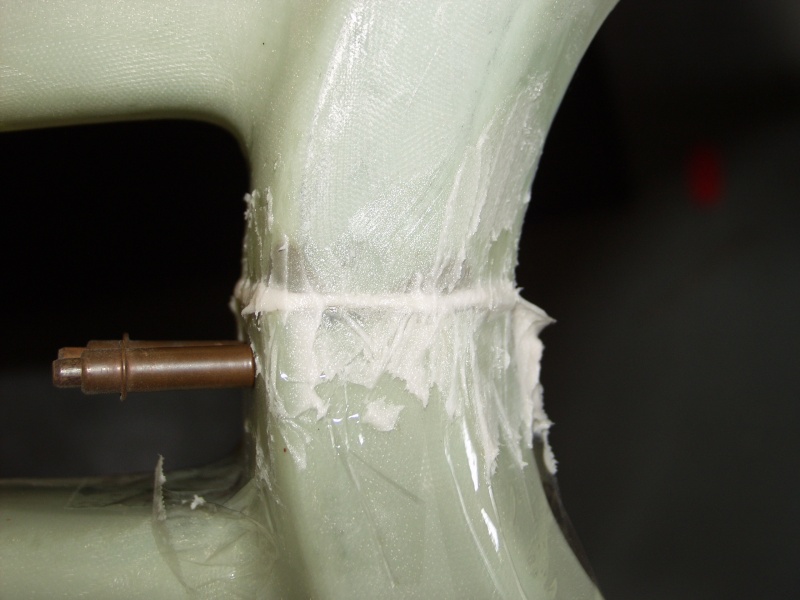
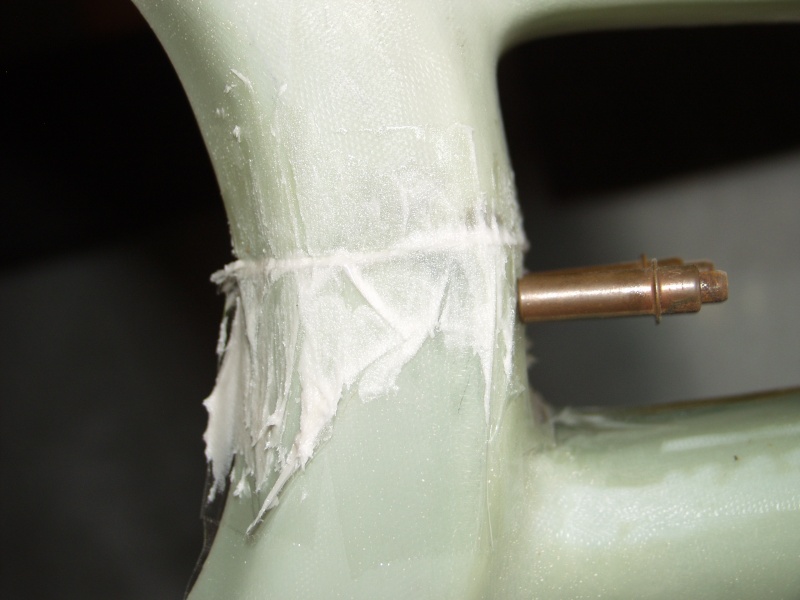
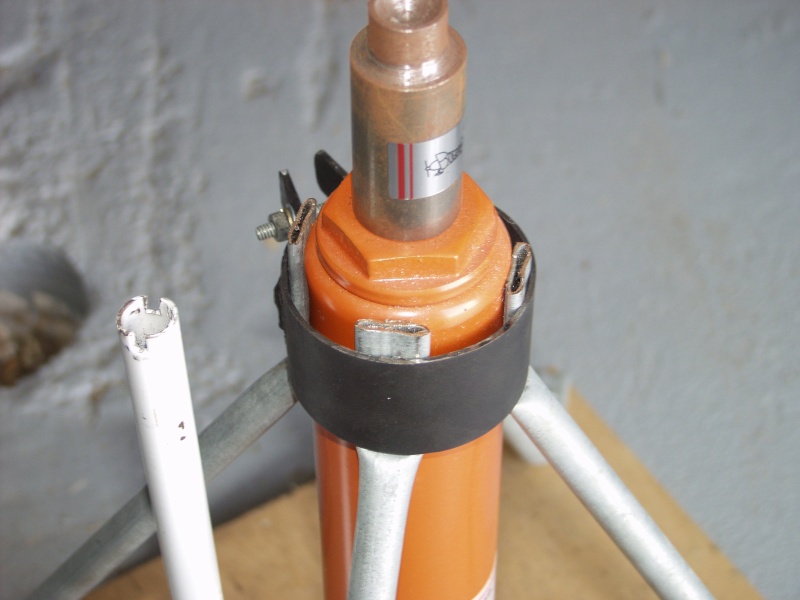
Kirby ended up taking the new pipe pieces that a neighbor cut up for me and welded the bolt tabs on for me. I removed the hose clamps and installed the pipe clamps. Came out great. Thanks Kirby!
When I got home the other side camlock strip fiberglass layout was setup nice so I put the top and bottom together. I cut 2 pieces of aluminum to fit the left and right cowl corners. With these pieces inserted I mixed up a batch of epoxy with cotton fiber, micro balloons and cabosil. Whenever you use this kind of mixture you need the cabosil to keep the epoxy from running. Even if its thick it will run without it. I smoothed in the mixture in the front corners in the top and bottom of the outside corners. This will make them stiffer and line up better. The alum still had the protective plastic in place so the epoxy shouldnt stick when it sets up.
I also put tape on the top cowl half on the inside of the prop spinner area. The goal of this is to squeegie the mixture in this area and leave it thick. When it sets up I use a scotch brite pad on a diegrinder to buff it down flush with the cowl surface. Once its all flush the cowl halves should come apart and the tape should break free. This gave a much better fit and once primed it should look much better.
This website was built to document my work in compliance with the FAA requirements
needed to certify my aircraft.
My experiences and comments are by no means to be
considered as instructions on how to build any aircraft.
|
| |