Home
Preparation
Empennage
Wings
Fuselage
Engine
Finish Kit
Favorite Links
W & B Calculator
Van's Aircraft
Email Me

|
 |
Finish Kit Update May 2011 Updates
May 01, 2011
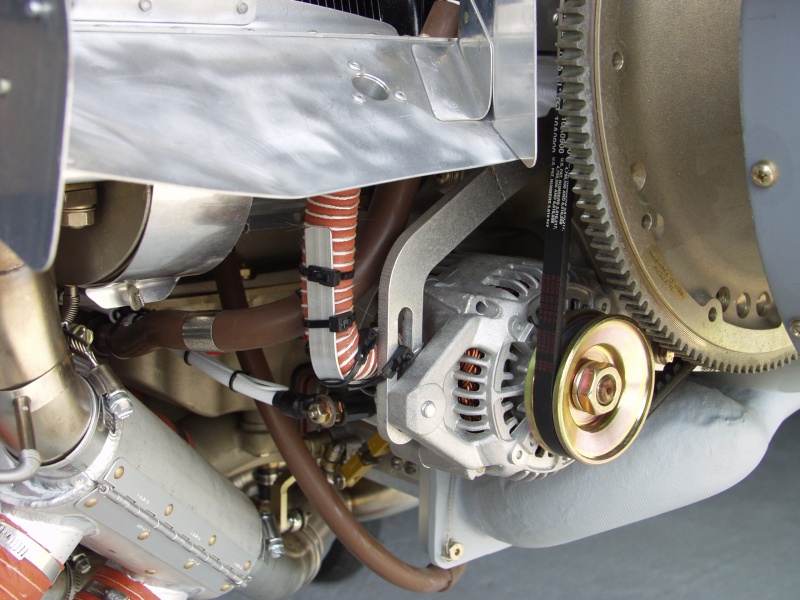
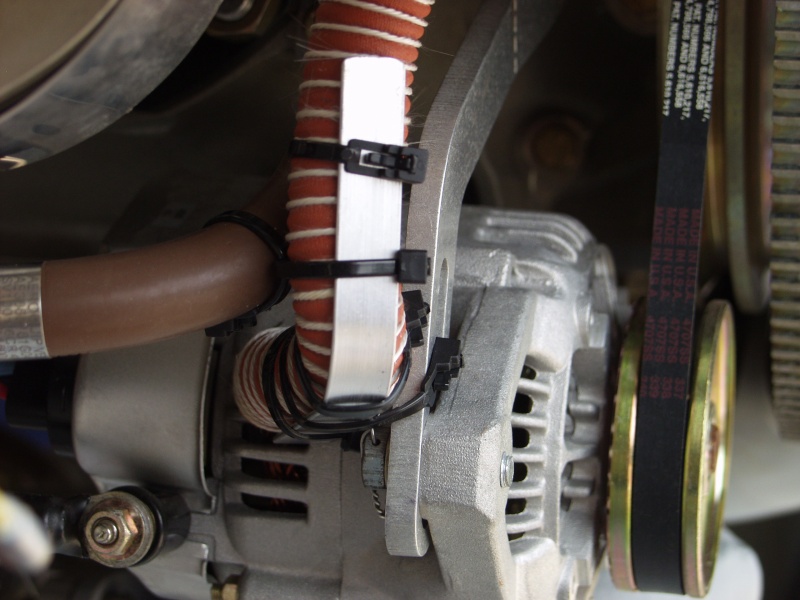
Alternator Blast Tube and Cowl Work ..... - 5.0 hrs
Got to the hangar this morning and it was already hot and humid. Grabbed the scat tube and started looking at the best route to blast air into the alternator and figured if it had a stiffener I could tie it off to the prop oil hose that passes right by it. I cut a piece of aluminum and bent it to go on the back side of the scat tube and tie wrapped it to to tube. I also used connector tie wraps to the oil line. Then to get the tube to follow the correct angle to force air into the back of the alternator I tie wrapped it to the alternator bracket.
Next I got some degreaser out and climbed under the plane to get all the oil off the belly of the plane. The next engine start and run up should be clean! Keeping my fingers crossed!
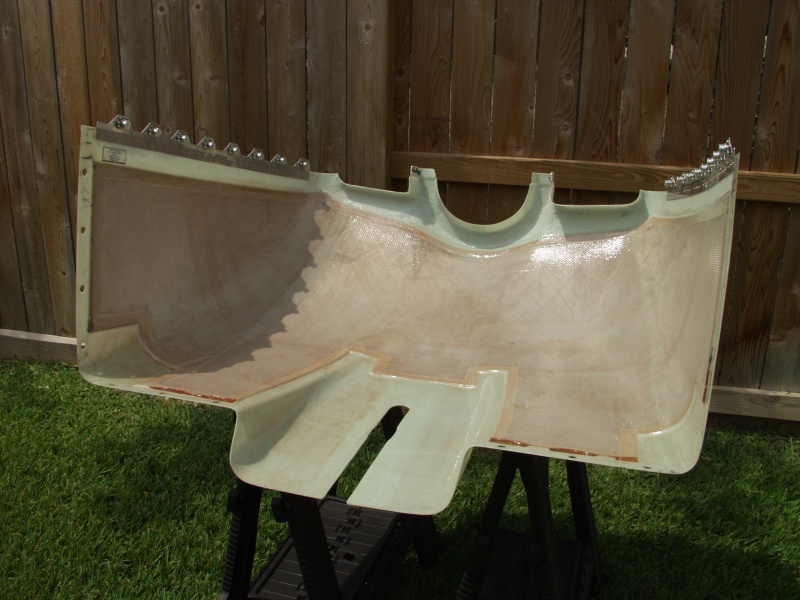
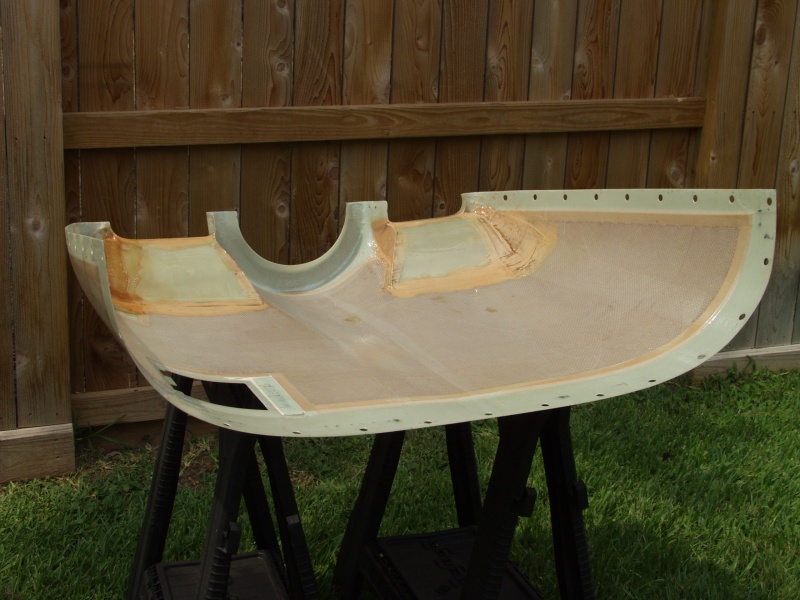
Next I fit the bottom cowl piece up under the prop and checked for final fit to the front baffles. Still need to install some baffle material around the inlets but I need some final fiberglass tweaks. Also need to seal the pin holes with squeeged epoxy. I decided it was really hot by this time and I could take all the stuff home and do it in the back yard.
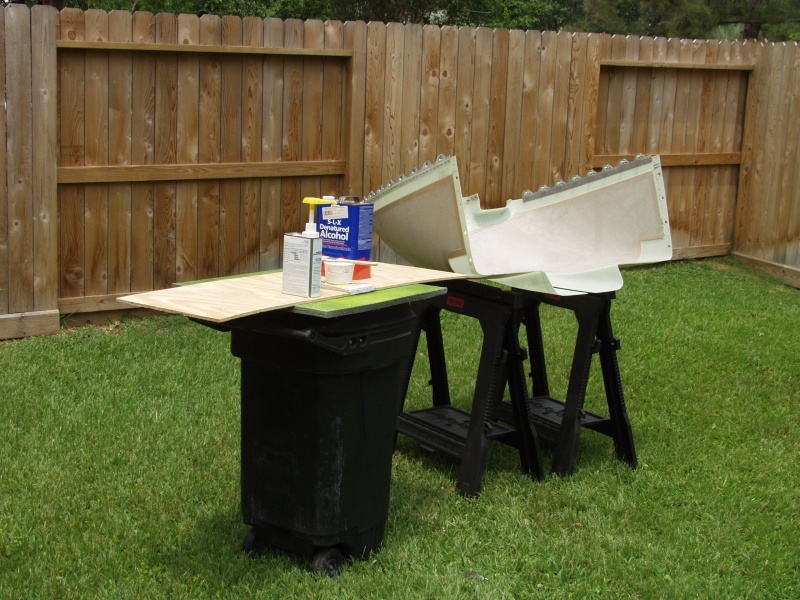
I loaded up the cowls and fiberglass stuff in a travel tub. When I got home I setup some saw horses in the back yard and turned on the tunes and the waterfall on the pool. At least the surrondings are feeling cooler all ready.
I mixed up the first batch of epoxy and brushed it inside the bottom. Then I used a plastic scraper to squeege it into the holes and remove alot of the epoxy. Alot more comes off than you would think. I kept working my way around until all surfaces were covered. I did not do the last inch up to the cowl fastener strip. I am going to use 1.5 inch fiberglass fabric over the rivet areas to give this strength and seal up this area. Next I set that aside to start to cure and moved on to the top cowl. Same process and this went faster as it is not as much surface area.
This website was built to document my work in compliance with the FAA requirements
needed to certify my aircraft.
My experiences and comments are by no means to be
considered as instructions on how to build any aircraft.
|
| |