Home
Preparation
Empennage
Wings
Fuselage
Engine
Finish Kit
Favorite Links
W & B Calculator
Van's Aircraft
Email Me

|
 |
Finish Kit Update March 2011 Updates
March 26, 2011
Seat Area Carpet Install ..... - 3.0 hrs
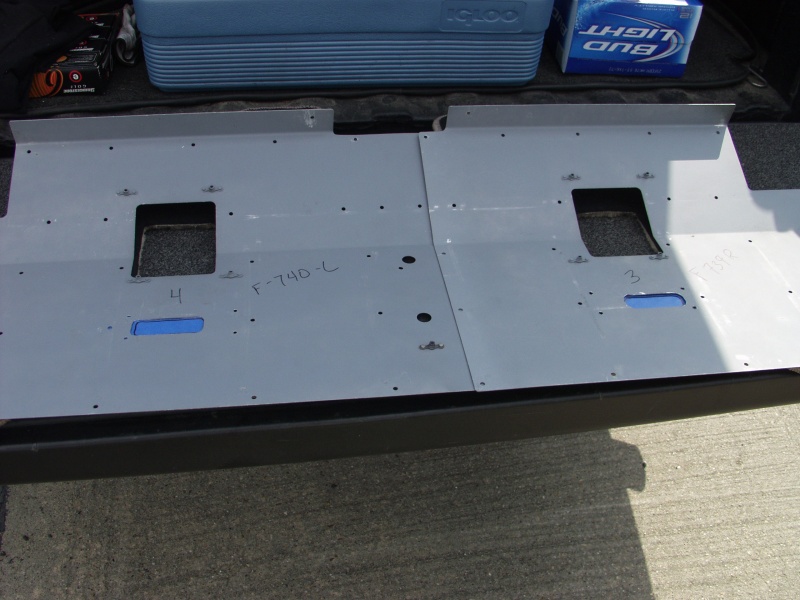
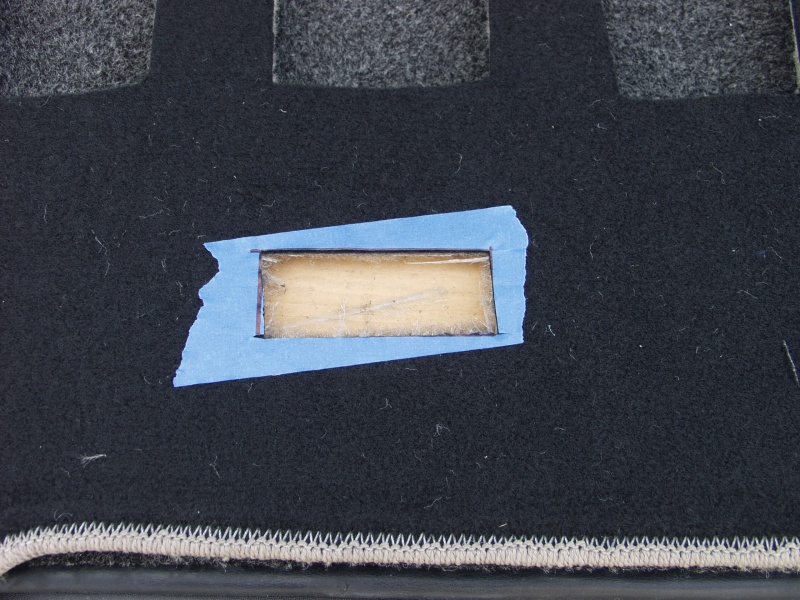
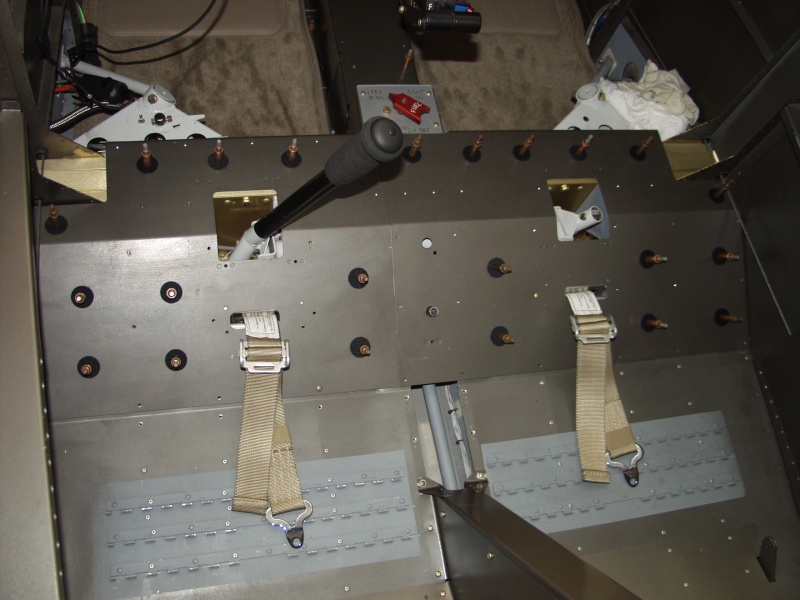
Ok on arrival at the hangar I removed the seat pans and vacummed up all the little crap that has accumulated under the floor and area. I used the seat pans to mark the carpet to cut the holes for the crotch straps. Don't remember him asking me if I had them or not but I do. I applied tape to draw out the square and then made a square just a bit larger than the hole. Used a razor blade to cut the holes.
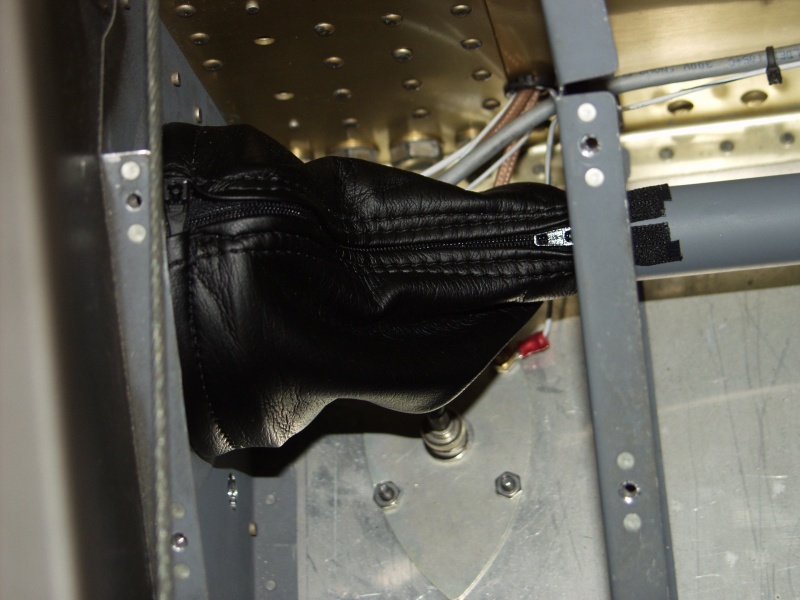
Next I installed the left pushrod boot. This keeps the cold air from leaking in thru the hole in the side of the fuselage. Mainly a winter time thing.
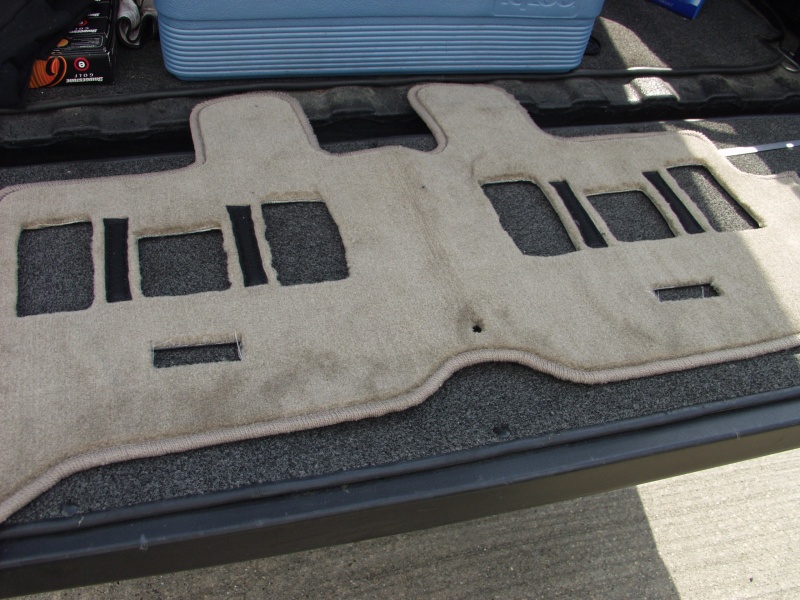
Next I drilled holes in the floor pans to install the velcro hook disks supplied with the carpet kit from Classic Aero Designs. This carpet setup is nice. It has velcro finish on the bottom of the carpet which allow it to stick to these disks. All you have to do is drill #30 holes and use the supplied pop rivets to hole the hook disks in place. This holds the carpet nice and smooth to the floor. The carpet has cutouts to let the velcro hook pads on the bottom of the seat cussions to stick to the floor pans as well.
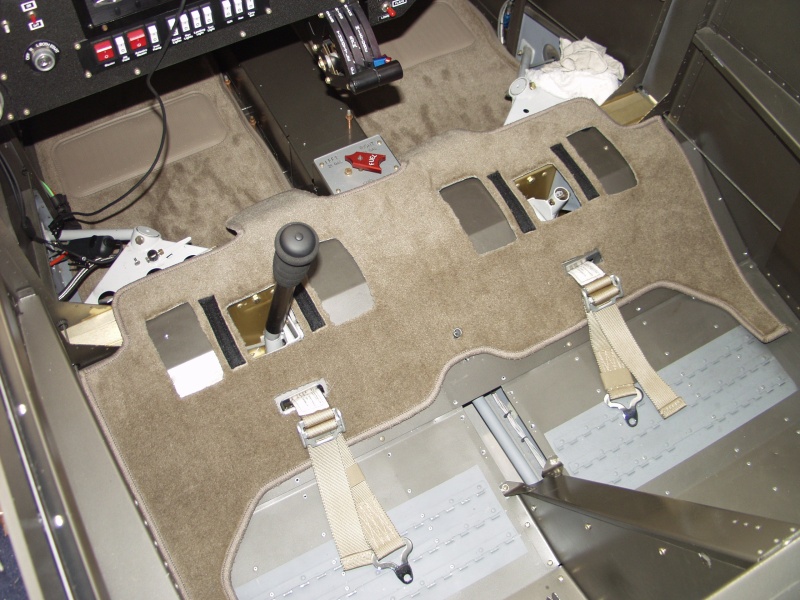
The last pic shows the seat carpet piece in place. It even has a hole for the aileron trim handle to poke thru. There is matching pieces to go behind the seats over the seat belt install points. This makes it all match with the baggage area and the front floor set.
This website was built to document my work in compliance with the FAA requirements
needed to certify my aircraft.
My experiences and comments are by no means to be
considered as instructions on how to build any aircraft.
|
| |