Home
Preparation
Empennage
Wings
Fuselage
Engine
Finish Kit
Favorite Links
W & B Calculator
Van's Aircraft
Email Me

|
 |
Finish Kit Update March 2012 Updates
March 18, 2012
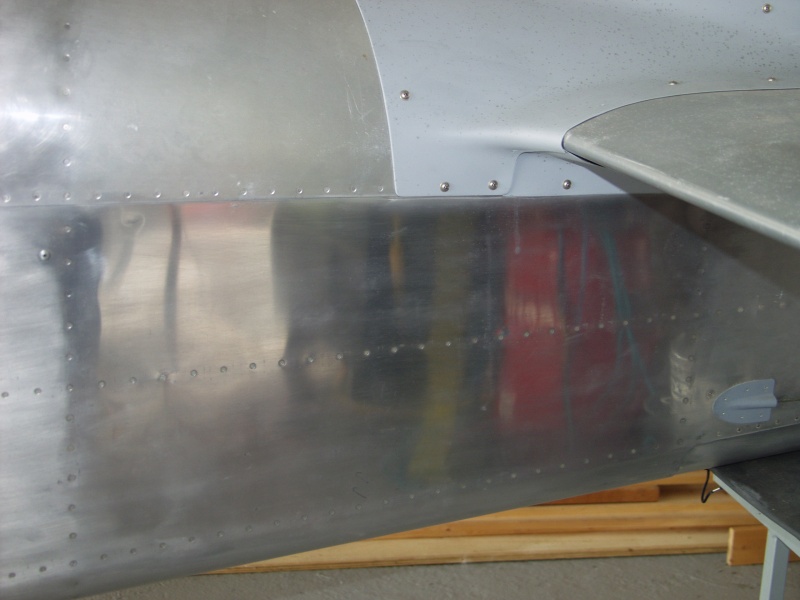
Installed N Number and Canopy Side Fairings...... - 7.0 hrs
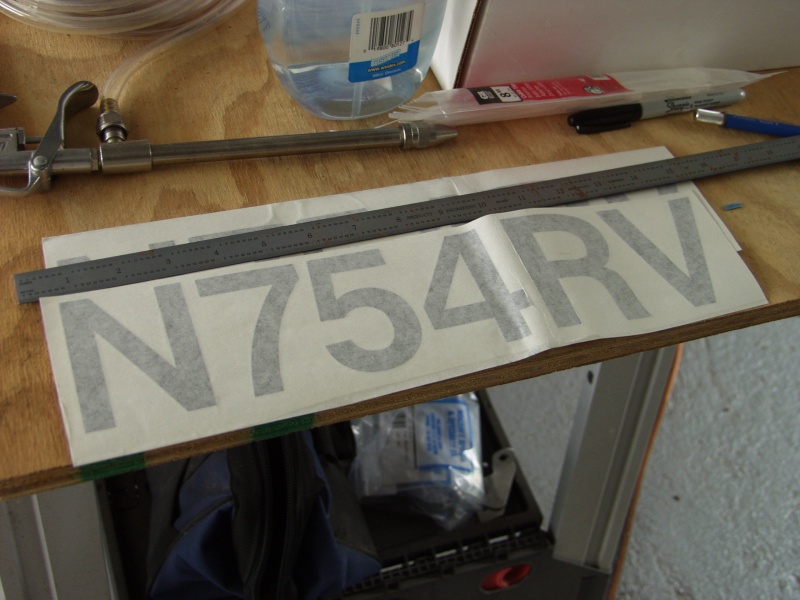
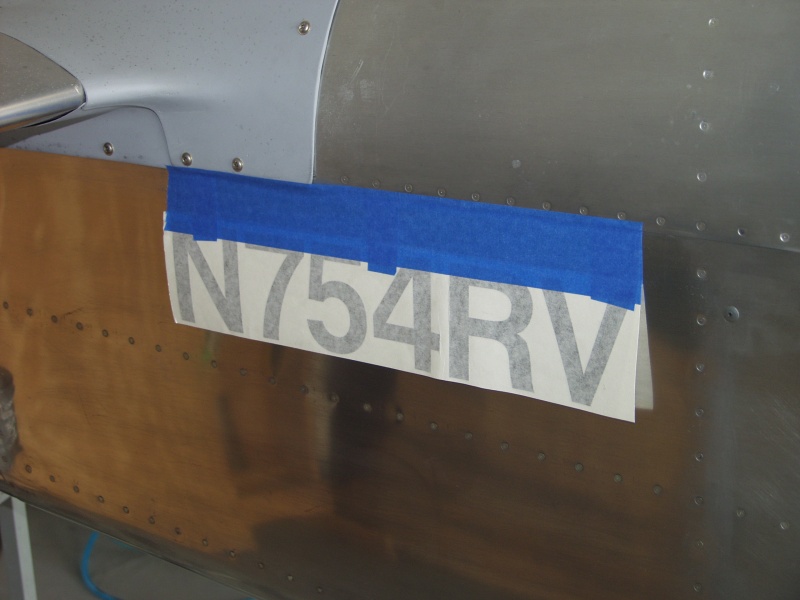
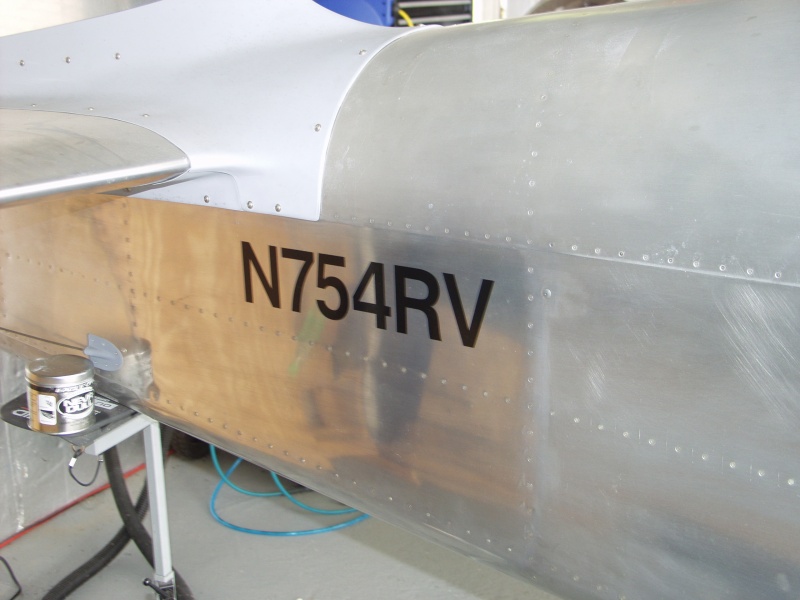
Finally got to work on the plane again. I used Never Dull on the sides to clean up the aluminum for a good finish to stick on. Next I installed the decals on both sides. The plane is now officially identified as N 7 5 4 R V.
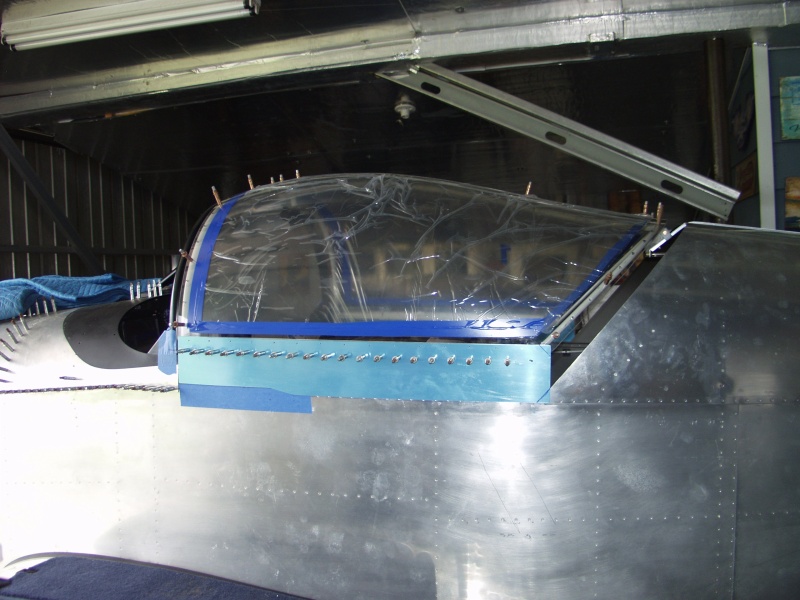
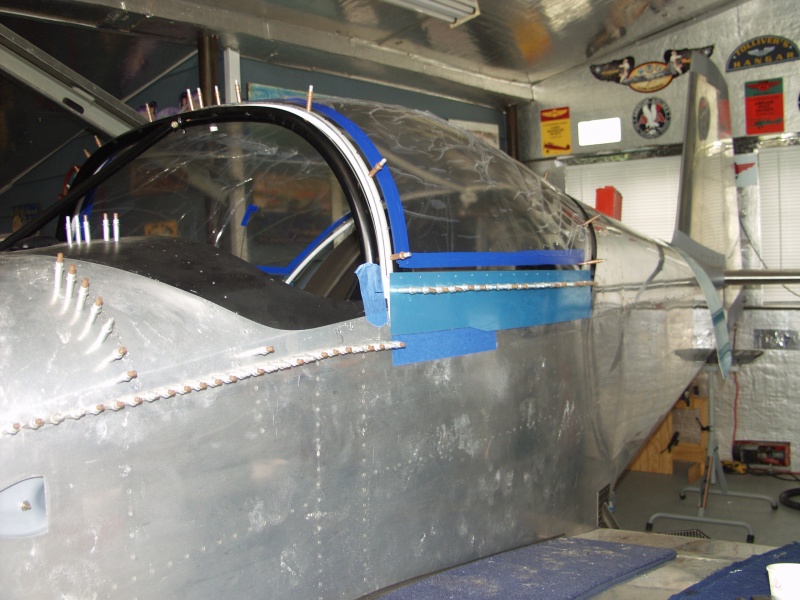
Next I removed the canopy and started fitting the side fairings with the inside piece that holds the glass in place. I fitted them to the frame and got everything straight. Next I marked the roll bar and the rear fuselage skin with index marks matched to the side horizontal tube of the canopy frame. This is where the side fairings get riveted to.
I used these index marks to draw a rivet line for this line of rivets and then I used the old one to trace the rivet holes since I already had those laid out before. Drilled and deburred the rivet line and the top line for the screws.
Next I put a piece of masking tape on the front of the fuse to draw index marks 1 inch below the canopy decks. I needed to trim the front of the fairings back 8 plus inches and then angle it down 2 and 1/8 to the bottom of the fairings. This allows the clearance needed as you open the canopy. The fueslage is wider in the middle.
I used the bandsaw to make the cuts and then cleaned it up on the scotchbrite wheel. I worked slow on this to keep the trimmed area very precise. This was the same method to trim the cowling to the firewall fit. Worked like a champ. Funny how things you learn in one part of the build help you down the road later.
Last I reinstalled the canopy and fit the side fairings back in place. Next will be to drill the top line for the screws holding the side glass. One step closer!!!
This website was built to document my work in compliance with the FAA requirements
needed to certify my aircraft.
My experiences and comments are by no means to be
considered as instructions on how to build any aircraft.
|
| |