Home
Preparation
Empennage
Wings
Fuselage
Engine
Finish Kit
Favorite Links
W & B Calculator
Van's Aircraft
Email Me

|
 |
Finish Kit Update July 2012 Updates
July 22, 2012
More Windscreen Work...... - 6.0 hrs
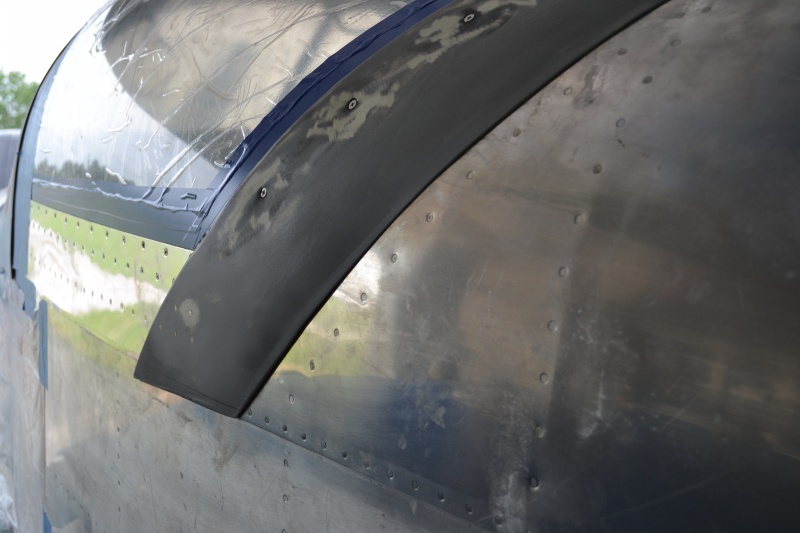
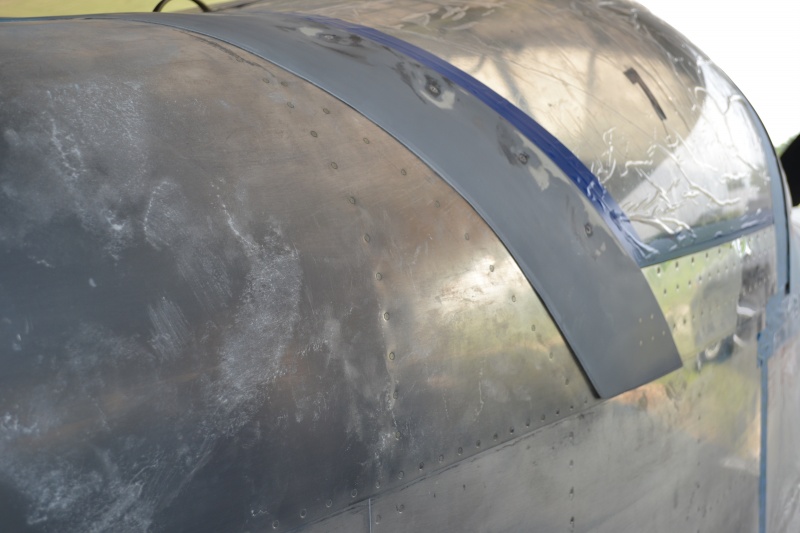
Today was a big day. Goal was to sand the windscreen and hope to get it to be able to prime and finish the rear fairing and to final fit and then start the major fill process.
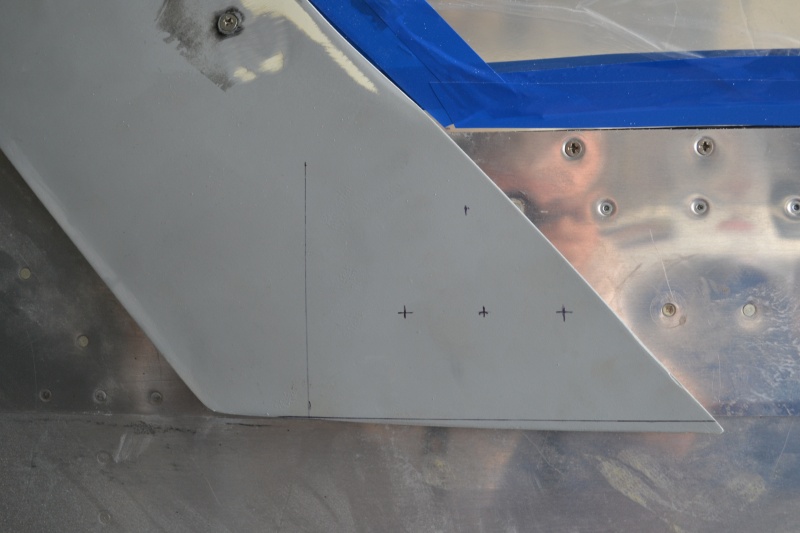
Started with the riviting to the side fairings. First I marked the rivet positions and then opened the canopy and while holding the rear corners in a prebent position drilled the center rivet hole. I installed a cleco and then drilled the left and right hole and then installed the rear rivet.
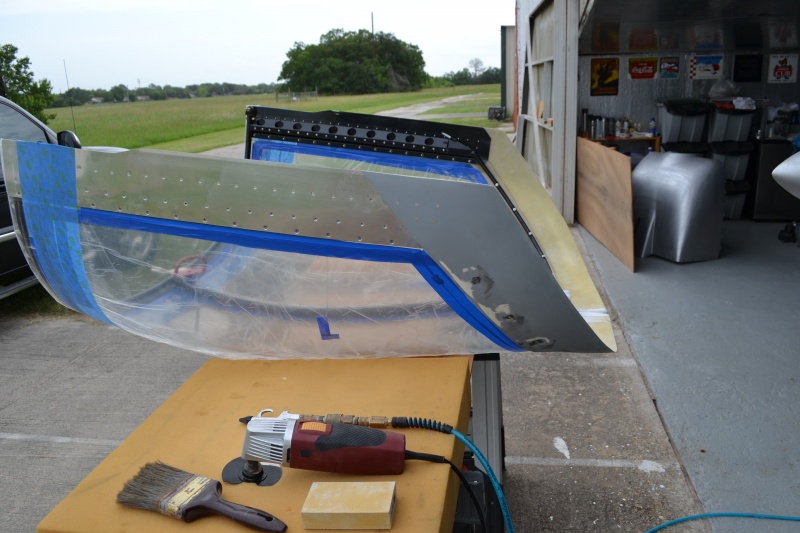
As you can see it came out pretty dang good. Next I flipped it upside down and replaced each screw with longer ones which would go thru both sides of the tube. I tapped both sides to #8 and then backed them up with slim nuts with star lockwashers and blue locktight. This held the glass much tigher all the way around.
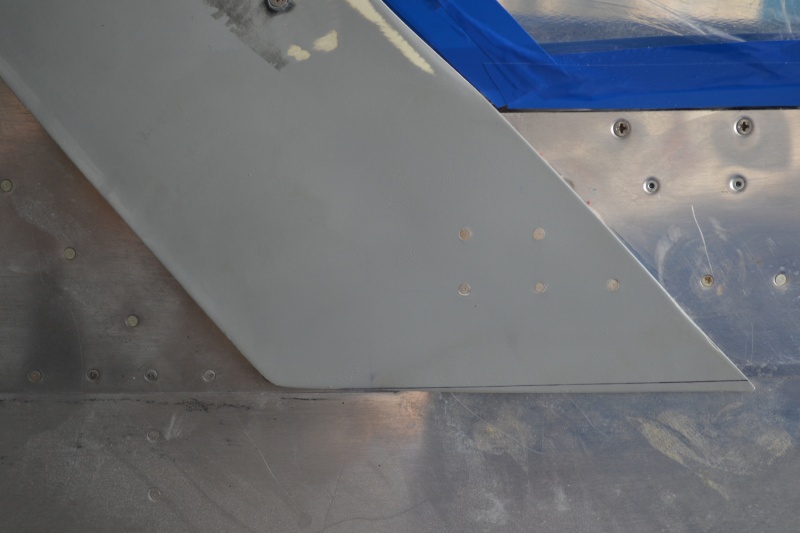
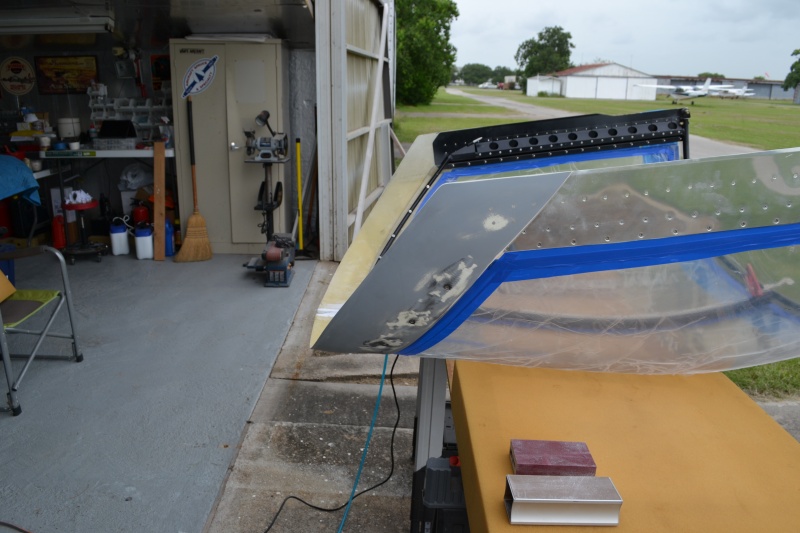
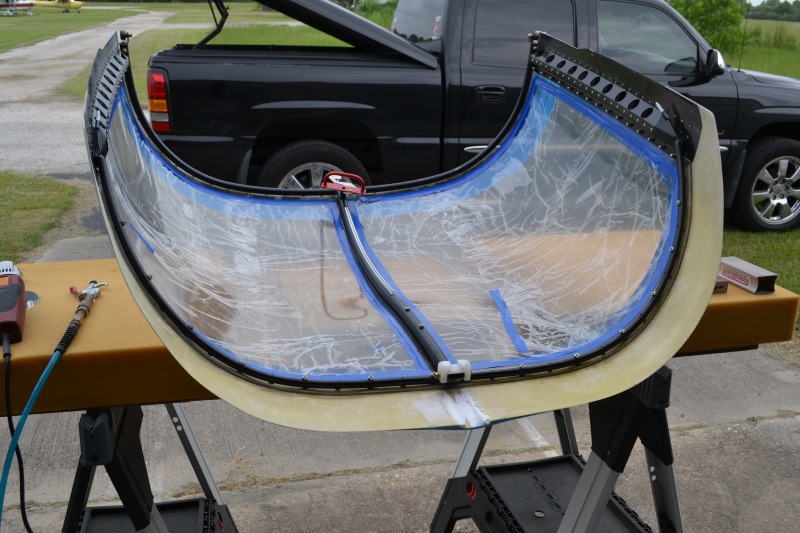
Then it was time to trim the bottom edges to match the side fairings. I used the same tool I used to cut the canopy. Went thru like butter. I tell ya no one should use a cutoff wheel anymore on plexi or fiberglass. It not only works better but much cleaner and better smoother cut.
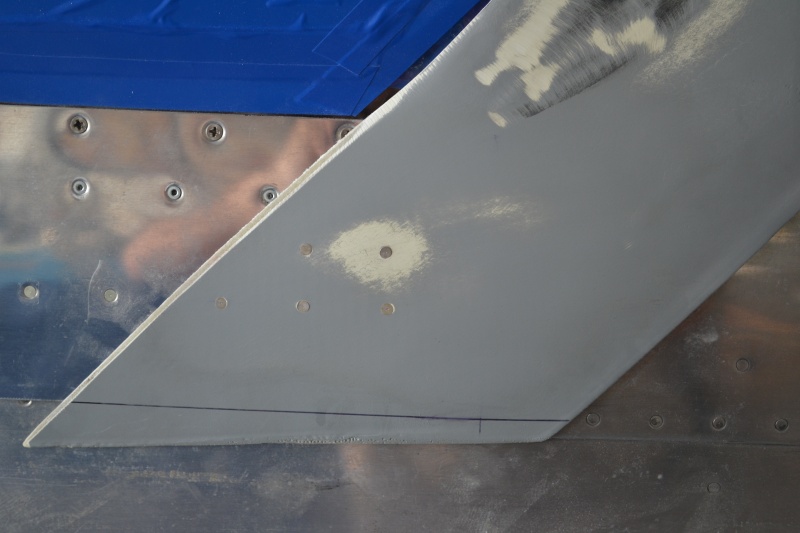
And last I used superfil to fill all the low spots where the screws are. Committed now for not removing easily but it will look better this way. Forgot to take a picture of this.
This website was built to document my work in compliance with the FAA requirements
needed to certify my aircraft.
My experiences and comments are by no means to be
considered as instructions on how to build any aircraft.
|
| |