Home
Preparation
Empennage
Wings
Fuselage
Engine
Finish Kit
Favorite Links
W & B Calculator
Van's Aircraft
Email Me

|
 |
Finish Kit Update July 2010 Updates
July 11, 2010
More Windscreen and Misc..... - 7.0 hrs
Today I decided the windscreen was close enough until I button it down to the top skin for good. But first I have to mark the outline of it to the topskin and remove it and the topskin to paint the area underneath the glass. I removed all the clecos and the center post and the skin was off. Next I marked and drilled the last braces that mount inside the canopy frame rail. These are ready to mount so Jim get ready.
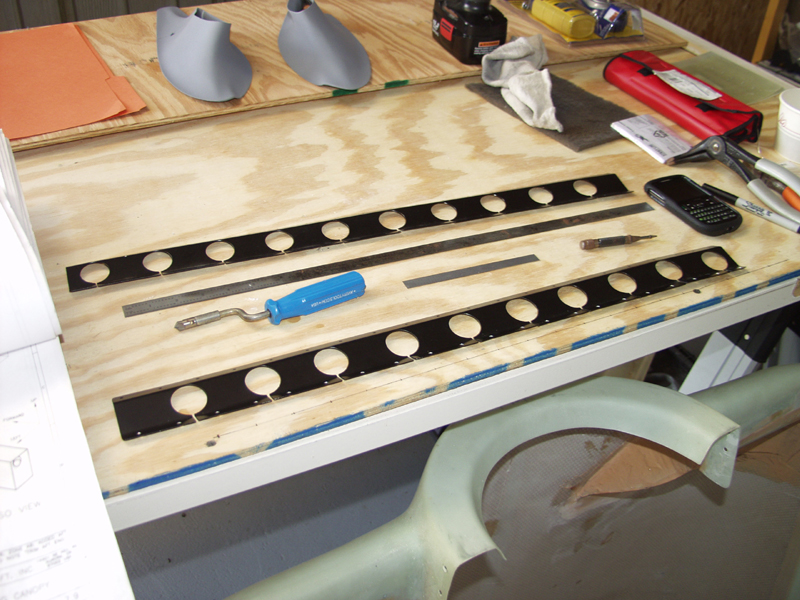
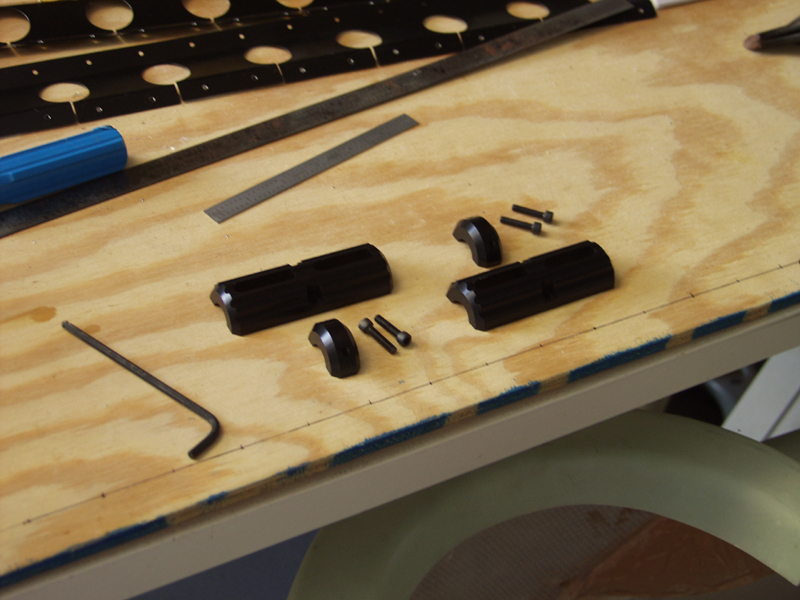
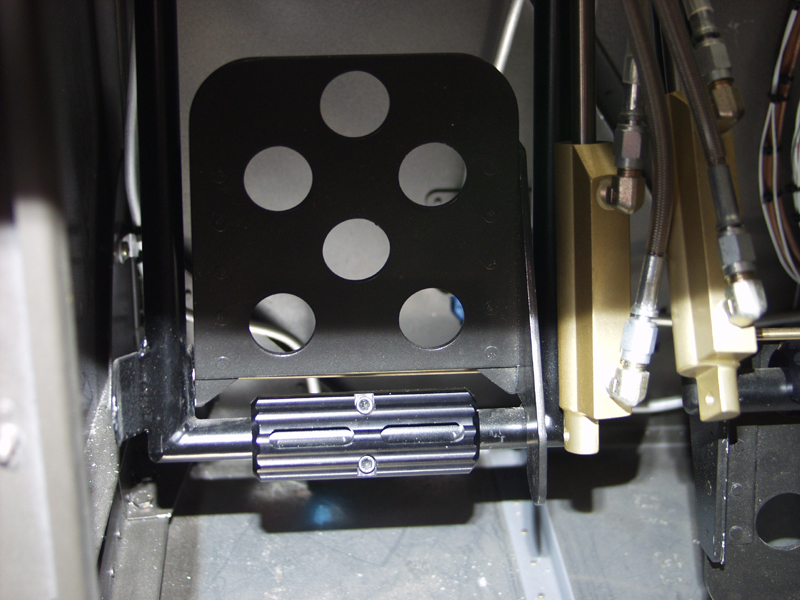
Next I got out the rudder pedal extensions I picked up from JD Air Parts a while back. I had been waiting to install these for when I had the top skin off so I could reach down from the top and not have to climb under the panel.
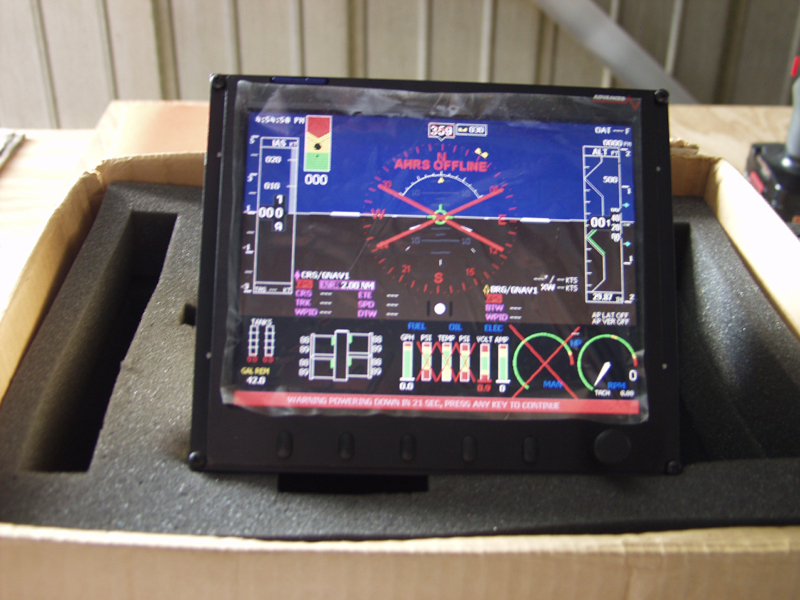
Next it was time to remove the EFIS screen to go back to Rob at Advanced to get the AHRS fixed. Also Rob said he would send me a trim ring so I can install it from the front instead of from behind. This will make it much easier to remove in the future if needed. I had to unhook all the pitot and static connections and 3 DB connectors to get it out. Then I pulled the panel from the front and finally got it out.
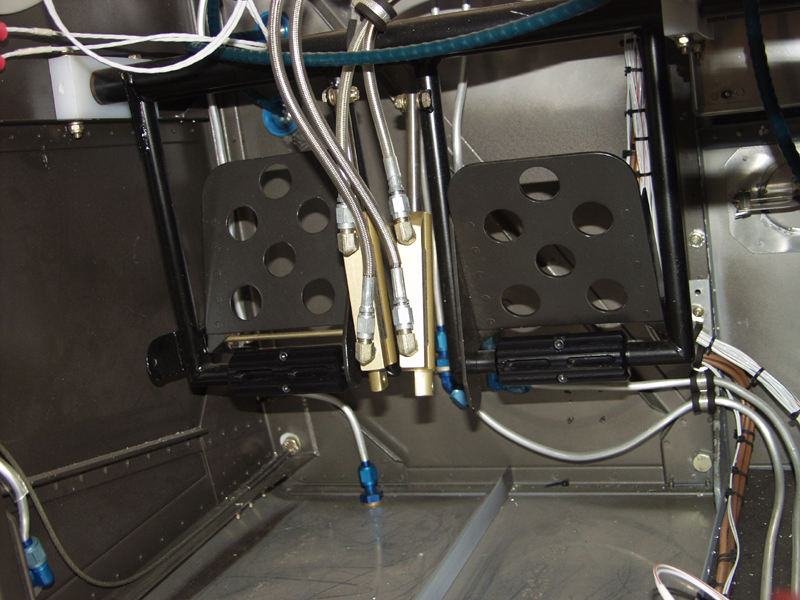
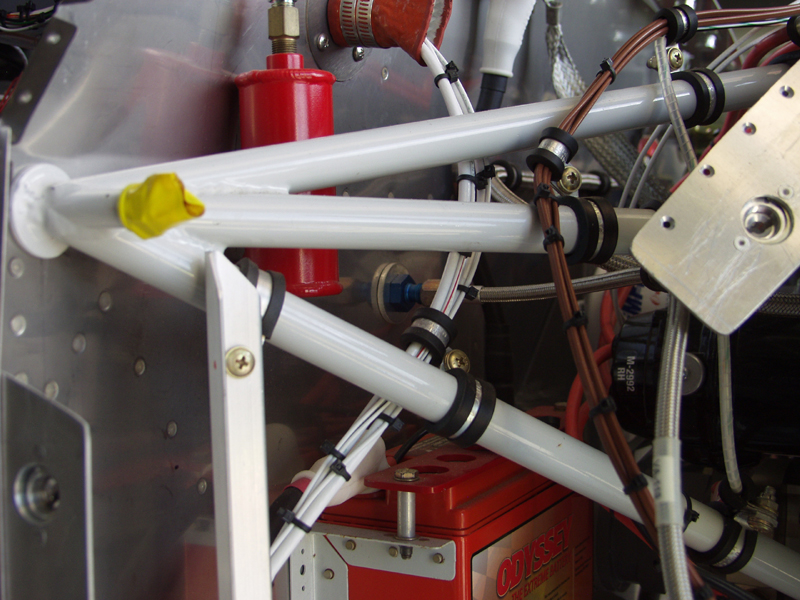
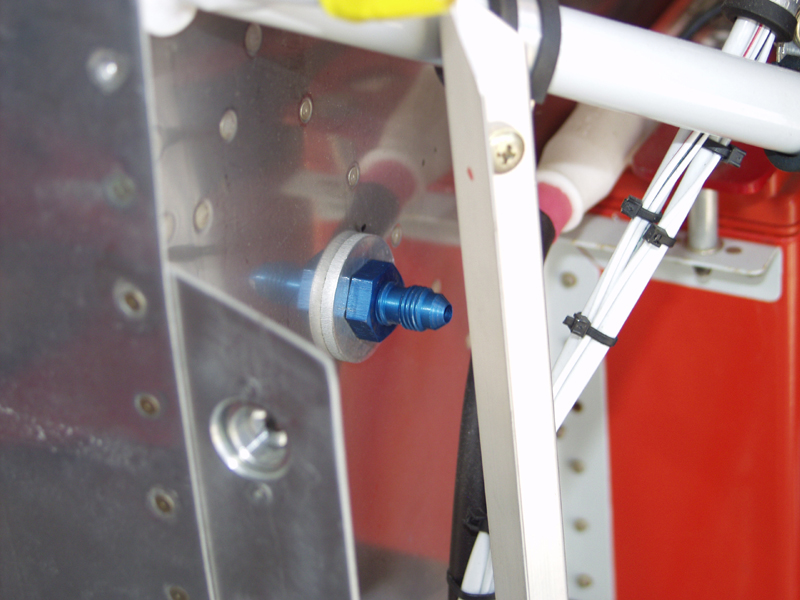
Now it was time to start doing the things on the list I made on the white board. This list has been things that I was waiting to do with the top skin off. First thing was to pull the fuel flow wires from inside to exit the firewall since I installed the Red Cube on the firewall. I found those wires and ohmed them out to confirm they were the right ones. Next I moved the MAP sensor hose from the stupid location I originally put it right above the battery box. One day I was standing there looking things over and it hit me.... how will I be able to pull the battery out with that bulhead fitting in the way. So that went on the list. Once the skin was off I could see the only thing I had to do was drill a new bulkhead hole as the sensor has a rubber hose from the sensor to the back of the bulkhead fitting. I moved it to the left of the battery box under the brake resevoir. Once that was done I removed the adel clamps and used the small one to tie it to the wiring bracket on the side.
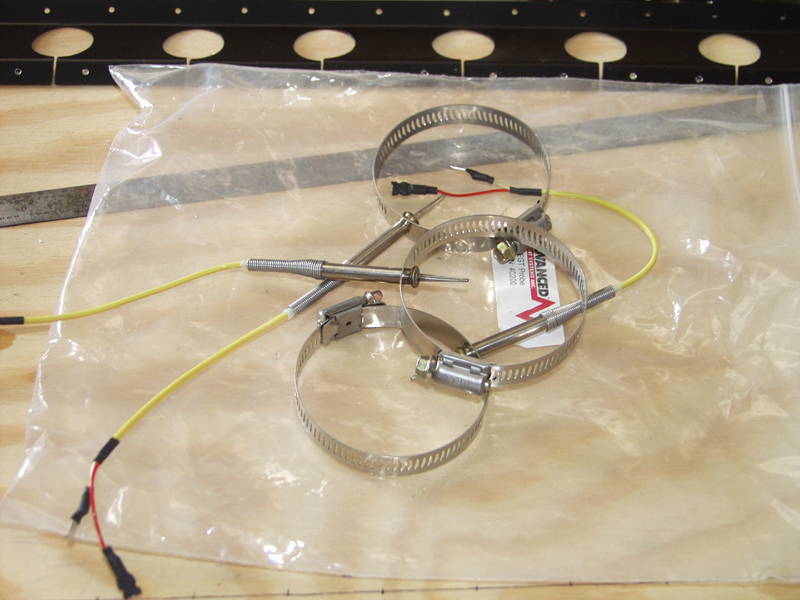
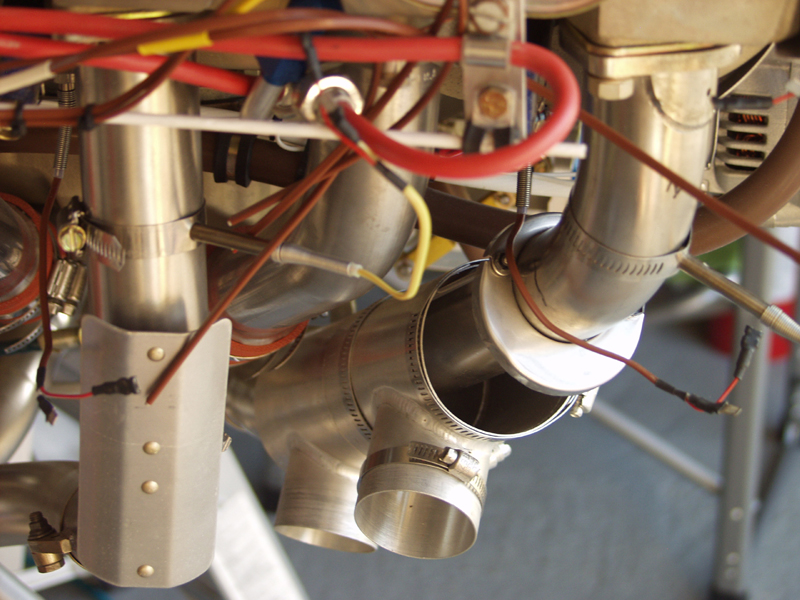
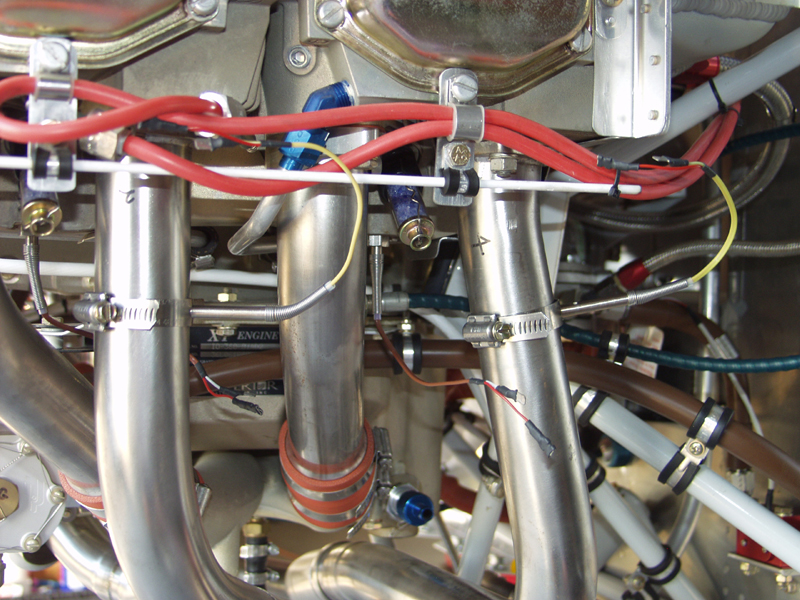
Next was the EGT sensors. I had marked these 3 inches down from the exhaust flange per the instructions. I used a punch and then #30 drill bit. Clamped them in place and trimmed the hose clamps.
Last was the Red Cube bracket. It was just clecoed in place so I used 4 4A bolts and metal lock nuts. Gary showed up at the hangar so I asked him to help as it was a long reach from the top to hole the wrench on the bolts as he racheted the nuts from the front. Wrenched the hoses on the connections and we are done. Next will be to drill the brake master cylinders to the bottom of the rudder pedals..... O Goody... I get to climb under the panel! ouch... I am getting to old for this stuff.
This website was built to document my work in compliance with the FAA requirements
needed to certify my aircraft.
My experiences and comments are by no means to be
considered as instructions on how to build any aircraft.
|
| |