Home
Preparation
Empennage
Wings
Fuselage
Engine
Finish Kit
Favorite Links
W & B Calculator
Van's Aircraft
Email Me

|
 |
Finish Kit Update July 2010 Updates
July 09, 2010
More Windscreen and Misc..... - 6.0 hrs
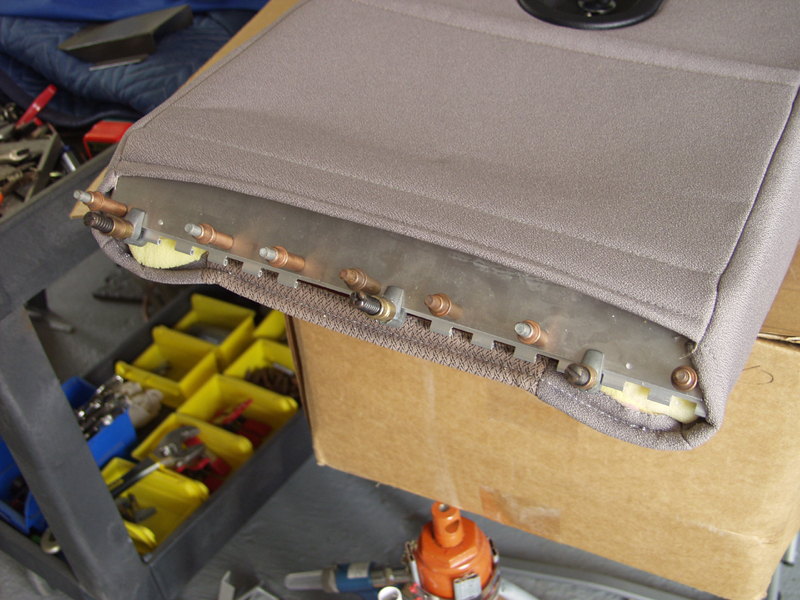
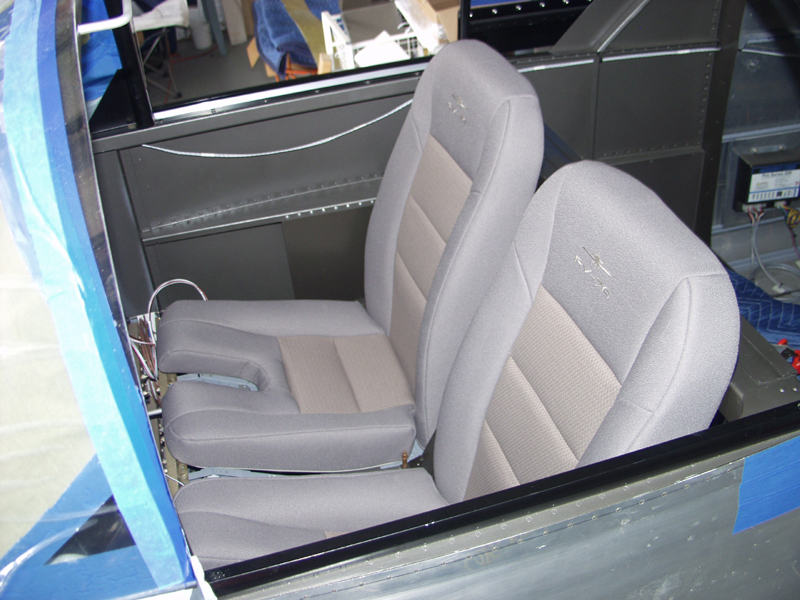
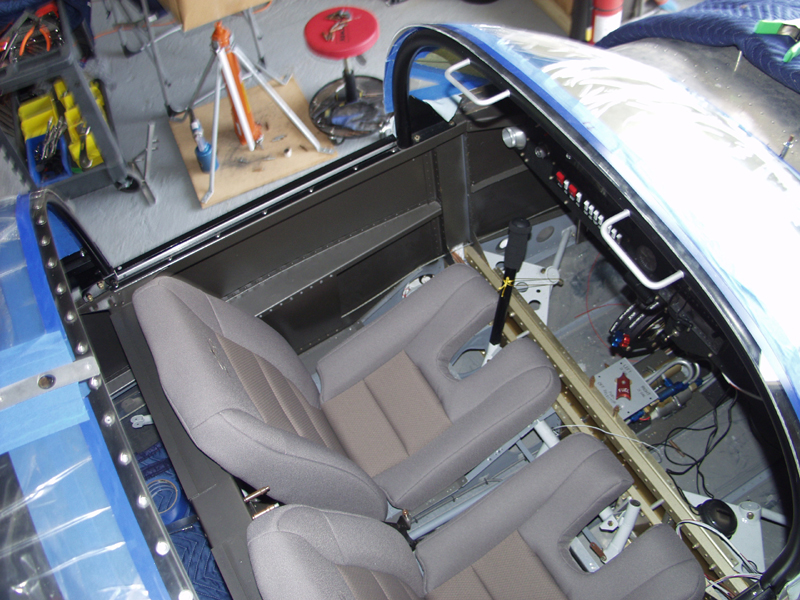
Got to the hangar this morning and installed the passenger seat. Same drill as yesterday. Cut off the middle eyelets from the hinge half that came with the seat and trimmed to length. Installed it to the seat pan with the removable pins I made. Get the seat bottom in position and match the back up to it. Then mark the hole positions of the seat back to the hinge. Remove it and clamp into positon outside the plane and drill the holes. Next you debur cleco and rivet. I am using the MSP42 steel pop rivets because they are quick and easy.
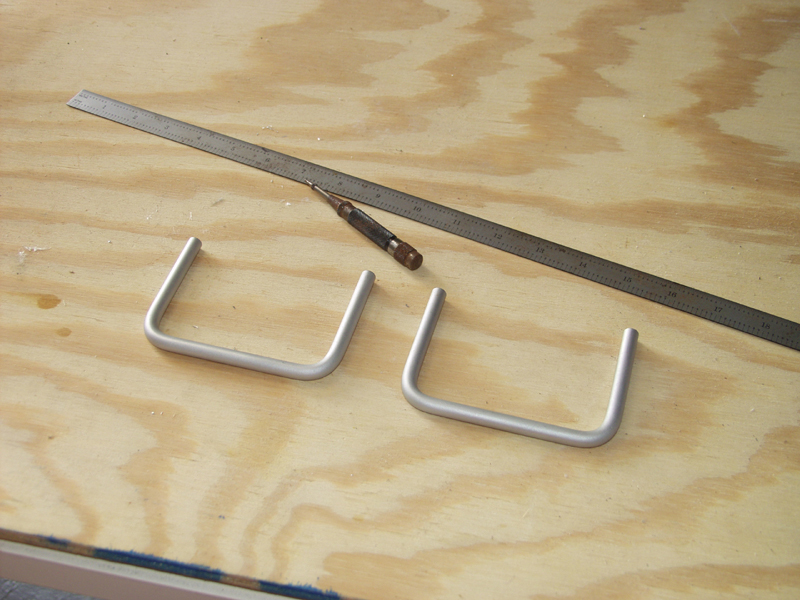
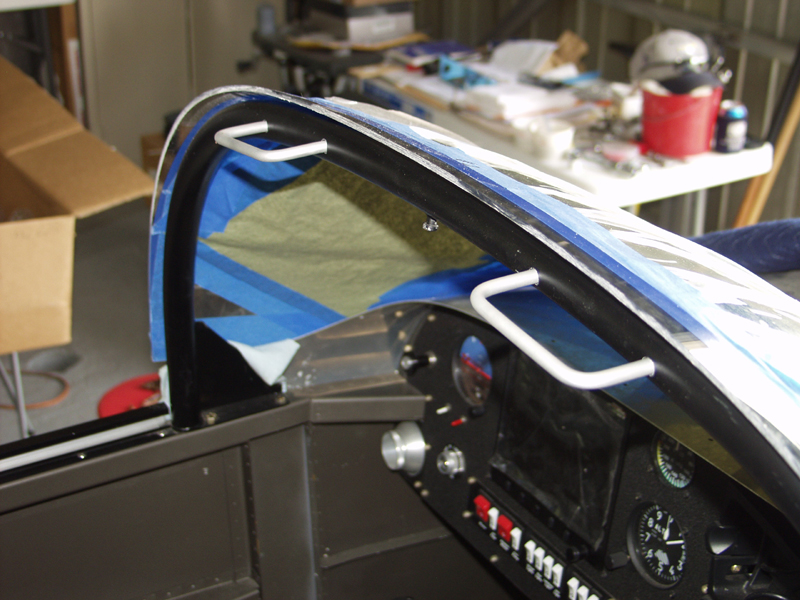
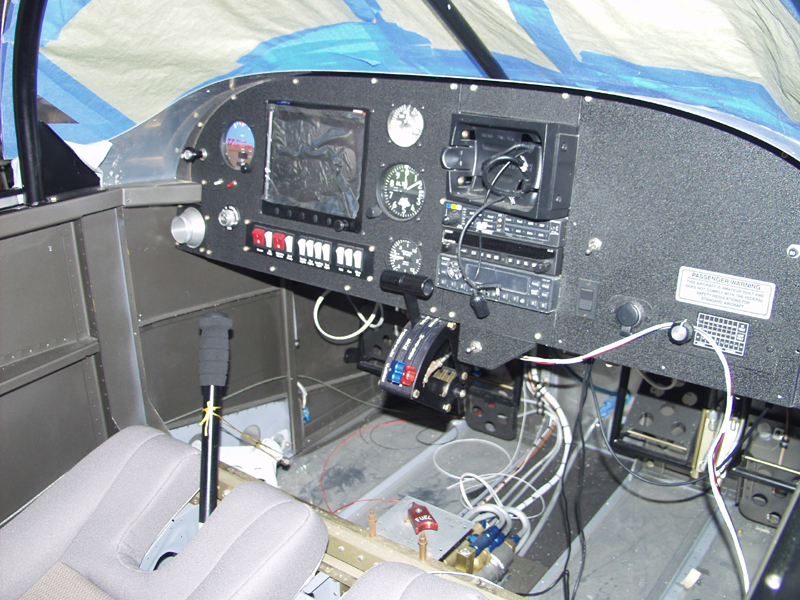
Next I dug out my roll bar handles I picked up from Aircraft Extras way back when. With these you drill #12 holes for a 3A bolt as they are threaded in the ends. On the cockpit side you enlage the holes with a unibit so the handle slides into the rollbar and the bolt pulls the handle up to the insde of the roll bar nice and snug. You have to be careful to allow clearence for the sliding canopy to clear the handles. Climbing in and out of a 6 or 7 can be challenging on a slider as the natural reaction is to want to put your hand on the bow of the sliding part of the canopy. Big no no! Any way I drilled these sitting in the seats and once installed they proved to be a very sturdy hand hold. I am trying to decide if I want to paint these red to match my lock handle on the slider. Probably not just due to constant hand holding rubbing the paint off.
Next was to do some more triming of the windscreen. With it in place there are still a few high spots that almost touch the slider when in the closed position. After marking and sanding with the airtool and a scotchbrite pad I next made up 2 hold down clips out of aluminum. I made these to allow the use of existing rivet holes close to where the front of the windscreen touches the top skin.
I think I have it close enough to go ahead and mark the paint line on the top skin. When the skin is on for the final riveting I just need to install the clips and do some final sanding with it in the final locked and drilled position. On the sides of the windscreen there are no rivet holes to use so I guess I will just make a clip for each side and drill a hole for the rivet to hold. It needs to be totally solid before I start the fiberglass layup process.
This website was built to document my work in compliance with the FAA requirements
needed to certify my aircraft.
My experiences and comments are by no means to be
considered as instructions on how to build any aircraft.
|
| |