Home
Preparation
Empennage
Wings
Fuselage
Engine
Finish Kit
Favorite Links
W & B Calculator
Van's Aircraft
Email Me

|
 |
Finish Kit Update January 2011 Updates
January 29, 2011
Pitot Tubing and AOA Tubing ..... - 4.0 hrs
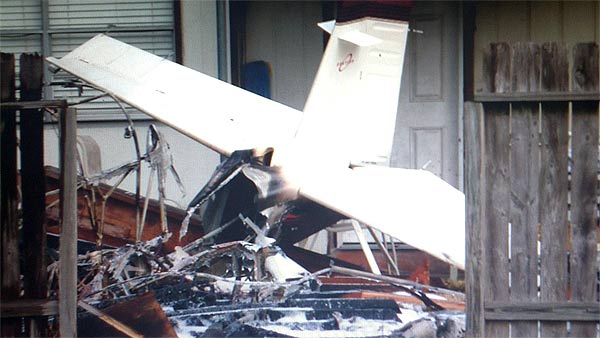
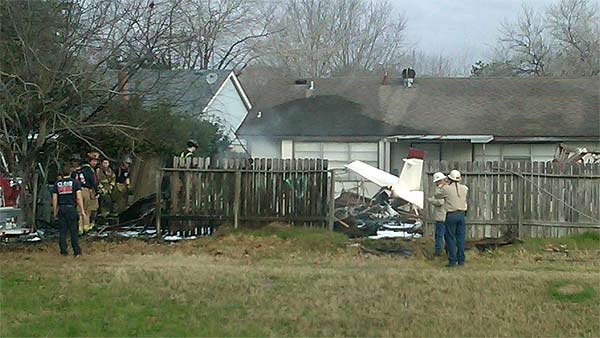
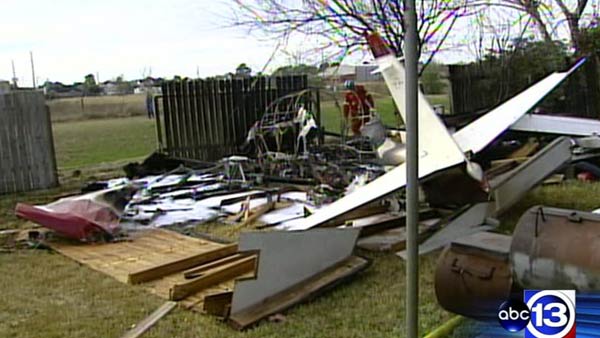
We had some excitement at Weiser today. A late model Mooney was coming in to Weiser around 8am and decided to do a go around. Fire officials say the College Station man was trying to land at a nearby airport but realized he was going too fast and when he attempted to take off and land again. Officials say his rear tire caught a fence and then took down an electrical pole and power lines. "He said he was losing control so instead of taking houses out, he put it in a ditch". Anyway the pilot walked away from it and no one else was hurt so the pilot gods were here today.
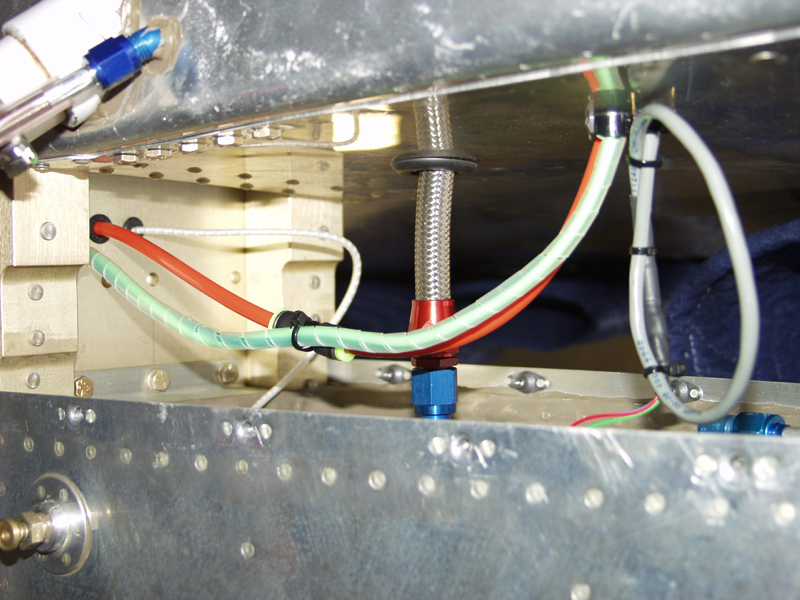
First today was to make the pitot connection to the wing run. I had to drill a hole next to the fuel sensor wire to install a snap bushing for the pitot and AOA wires. This just made more sense than trying to run more stuff in the wing root area where the control tube passes thru. I used one of the neat SteinAir connectors which you just push each end into the connector.
Next I had to drill another bushing hole in the wing spar to pass the AOA lines from the wing root. After the bushing was snapped in place I routed the blue and green tubes into the root area and used the included barb connectors to bring them together. Next I used some wire protector over the 2 AOA tubes to stiffen them up and tie wrapped them to the pitot tube. This should keep them from moving around to minimize chaffing.
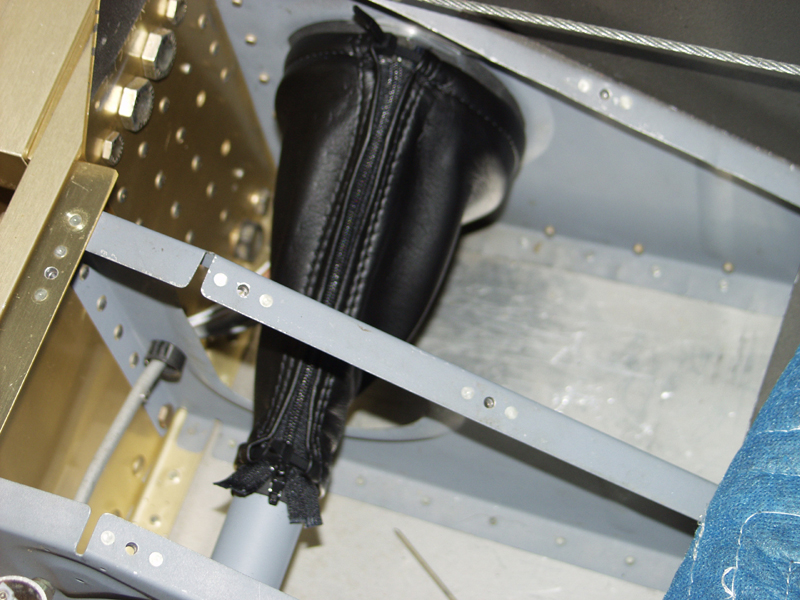
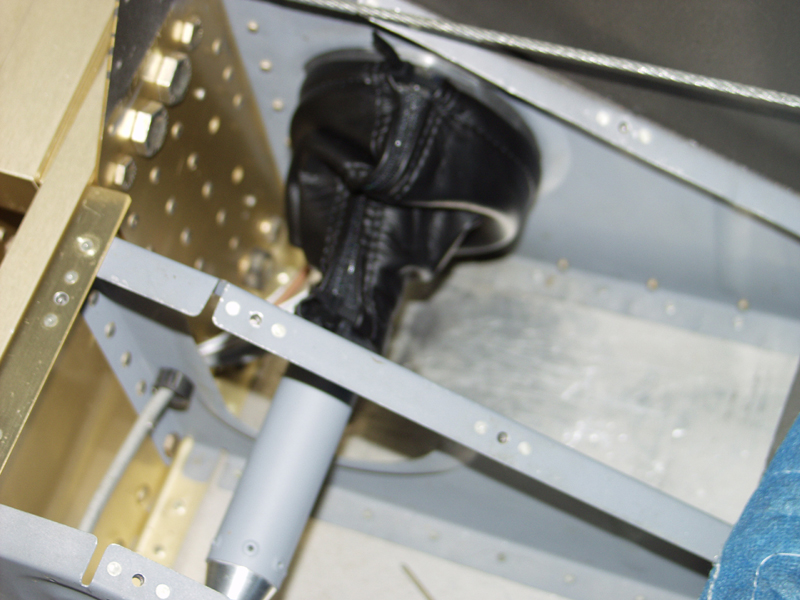
Last I installed the right side wing boot. I got these from the same company that made the seats. Classic Aero Designs. You basically install the ring in the side of the fuselage and use to pop rivets to hold it in place. The boot goes over this ring and when it zipped up you have a tie wrap on the wing root end and on the torque tube. The nice leather like material keep the air out and flexes nicely to not bind up the controls at all. The left side is going to be a bit of a challenge since the fuse skin and the outside wing rib are sandwiched much tighter. The included instructions say this is common and to use a stubby screwdriver to pry the pieces apart to make it fit. We shall see!
This website was built to document my work in compliance with the FAA requirements
needed to certify my aircraft.
My experiences and comments are by no means to be
considered as instructions on how to build any aircraft.
|
| |