Home
Preparation
Empennage
Wings
Fuselage
Engine
Finish Kit
Favorite Links
W & B Calculator
Van's Aircraft
Email Me

|
 |
Finish Kit Update January 2012 Updates
January 22, 2012
More trimming and fitting the frame...... - 10.0 hrs
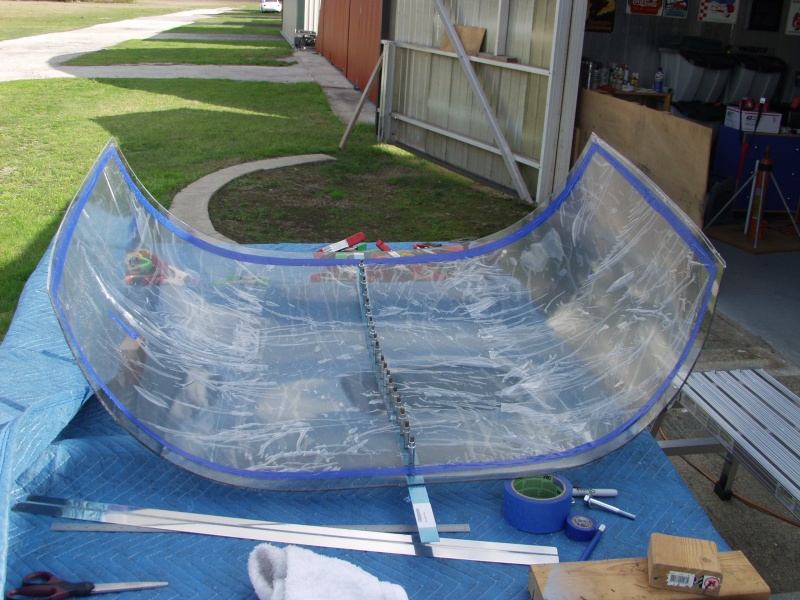
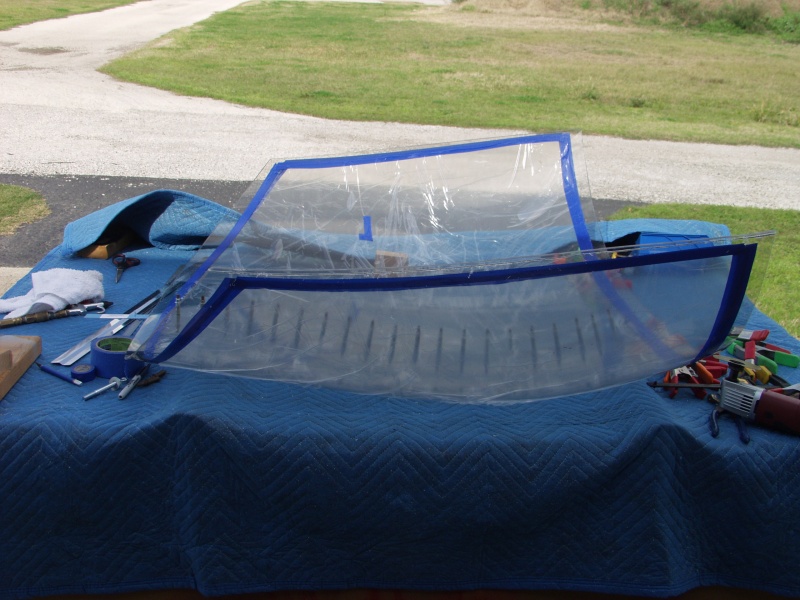
Saturday and Sunday both turned out warm so I was able to get some more work done on the canopy. First thing was to install and drill holes in the delrin blocks that the rear pins on the sliding frame slide in and lock in place.
I installed the brackets without the blocks in place and with the frame inplace I used a ruler to mark a line on the outside of the bracket. Next I installed the block and drilled in for the 2 screws and installed them. This allowed me to old them in the vice on the drell press. I rotated the drill deck to hold the vertical line in line with the drill then I rotated the deck to add the side angle of the pins.
I started with a #40 bit and progressed up to a 1/4 inch hole which is the size of the pins. Next I used a unibit to enlarge the start of the hole to be able to let the pins slide in place.
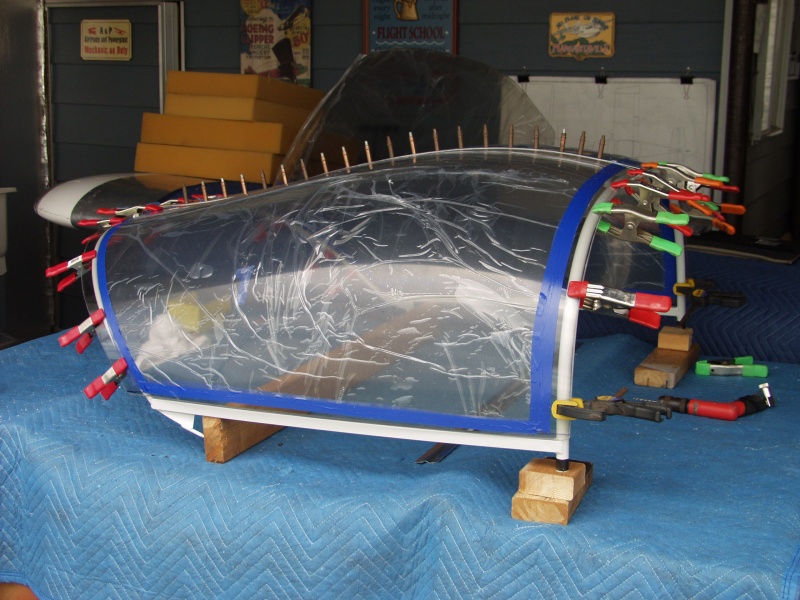
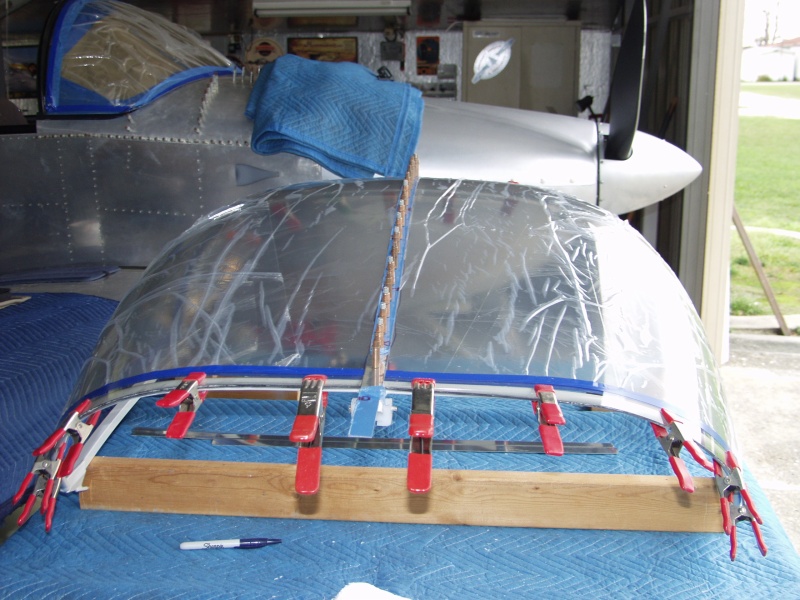
Sunday I removed the canopy frame and drilled all the holes to #40 on the top cross bar of the frame. Then I marked the next trim lines and removed the pastic and tapped with electrical tape. I trimmed to the marks and then removed the canopy from the frame so I could back drill the top center strip. Next I removed the strip and enlarged the holes to #30 in the strip and the canopy.
Last I used the multi tool and diegrinder to make the trims and cleanup the edges and then reinstalled the canopy with the strip clecoed in place. Alot of work the last 2 days just tedious.
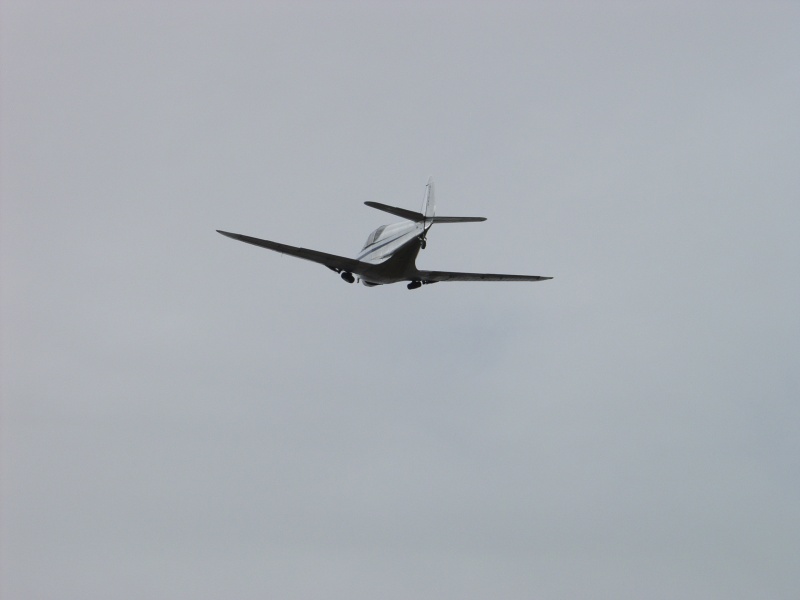
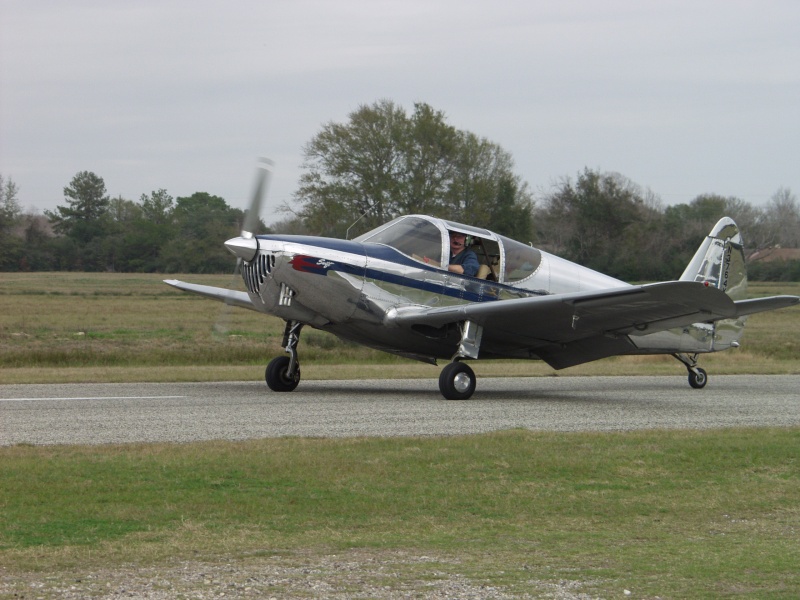
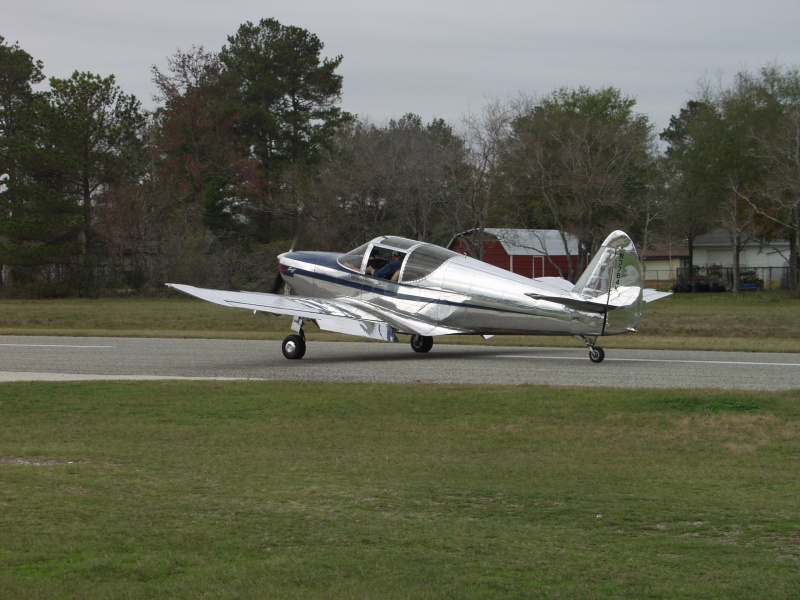
Kirby finally got his landing gear problem figured out and took it up for a test flight. He has one nice looking Swift. I snapped a few shots on takeoff and landing.
This website was built to document my work in compliance with the FAA requirements
needed to certify my aircraft.
My experiences and comments are by no means to be
considered as instructions on how to build any aircraft.
|
| |