Home
Preparation
Empennage
Wings
Fuselage
Engine
Finish Kit
Favorite Links
W & B Calculator
Van's Aircraft
Email Me

|
 |
Finish Kit Update January 2011 Updates
January 08, 2011
Wing Root Fairing and Torque Tube Install ..... - 4.0 hrs
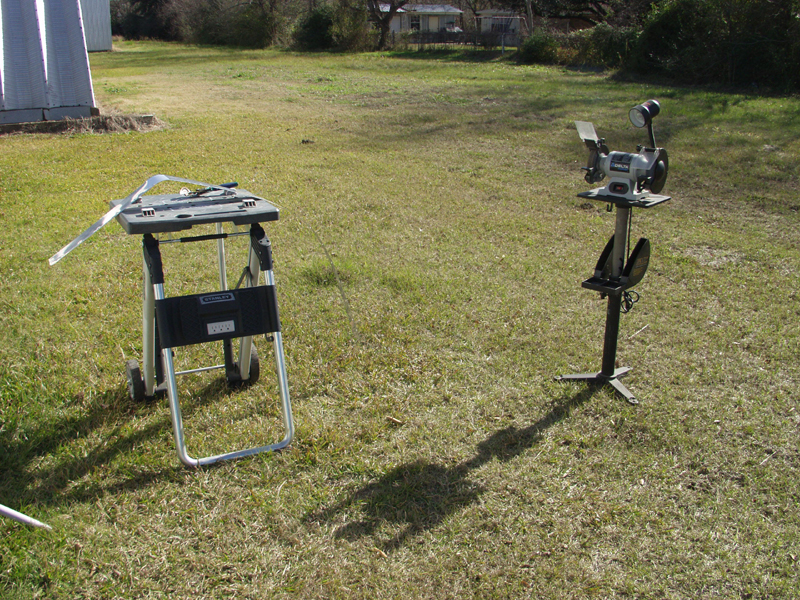
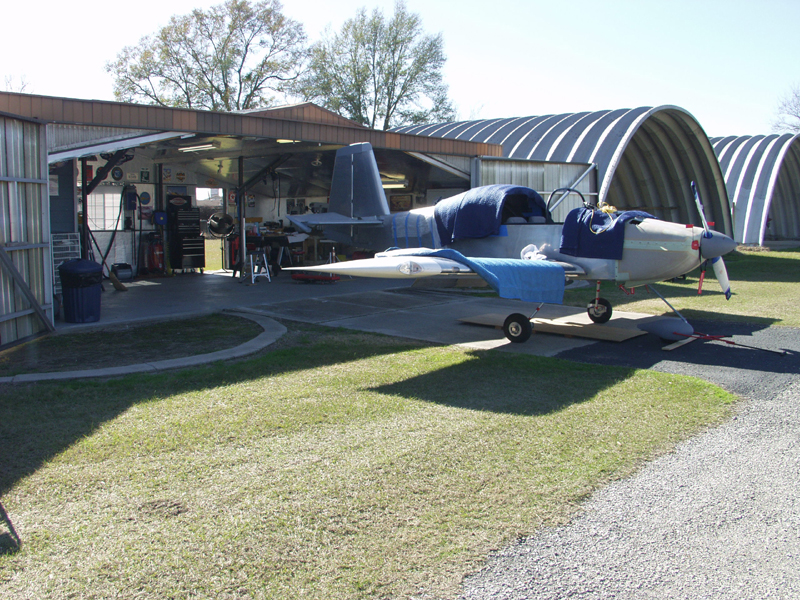
Finally got a break to work on the plane. Last week got sick and this week was very busy at work. Time to get back after it. The sun was out but windy at the front of the hangar. I setup shop out back in the calm air.
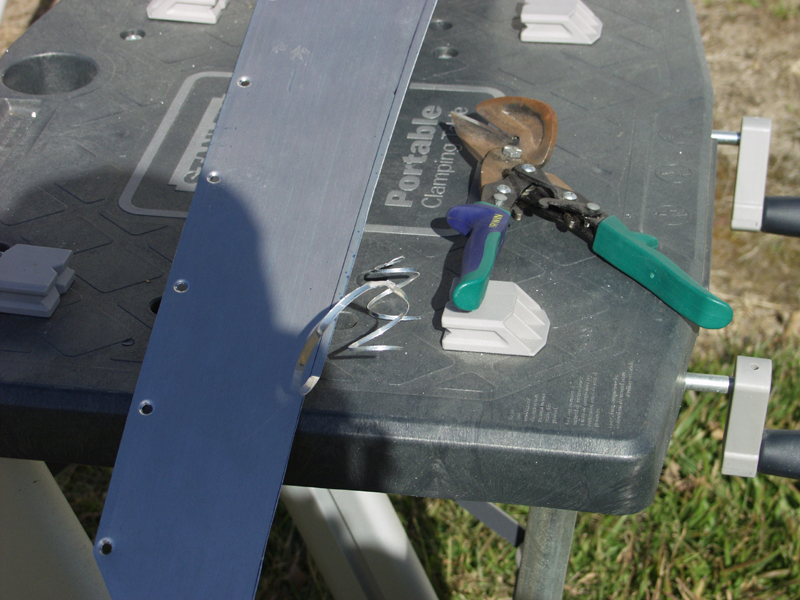
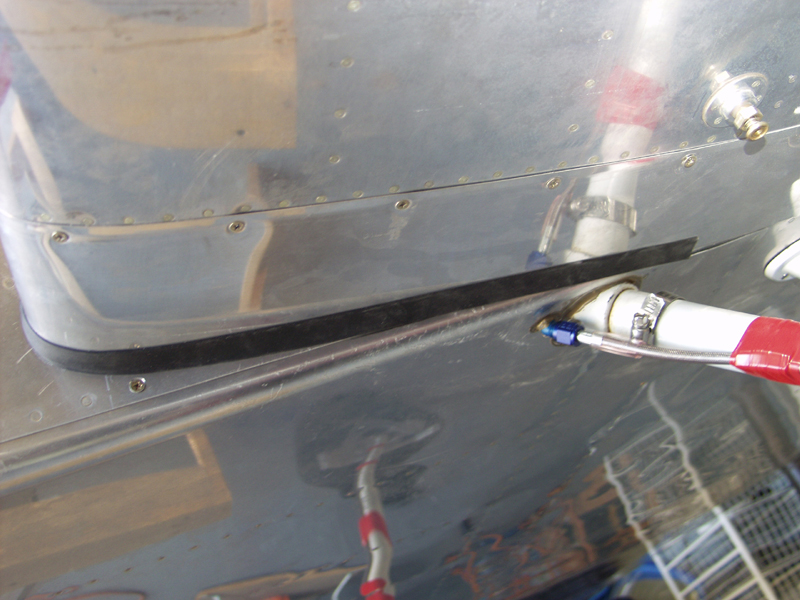
I trimed a piece of wood to mark a 1/4 inch line from the side of the fuse on the wing root fairing. I used snips to make the cut. I dressed the edge on the scotchbrite wheel. Reinstalled it with the rubber seal. I took a pic from the top and bottom.
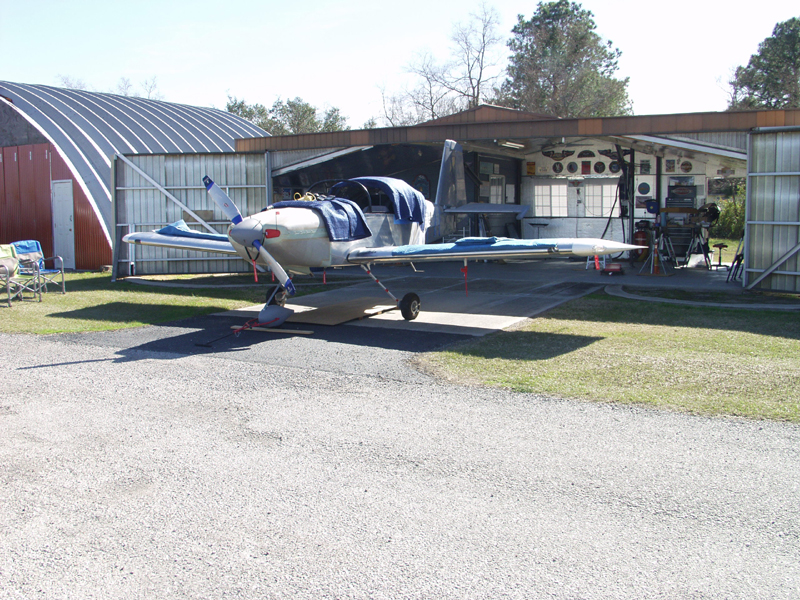
Next I pulled the plane out front and removed the tips to install the torque tubes. I crawled underneath to connect up the bellcrank in the 3rd inspection hole. Next I crawled into the cabin and was going to install the little washers. No joy. I forgot I still had the last 2 wing bolts. I went back under and disconnected the bellcrank and moved the tube back inside the wing.
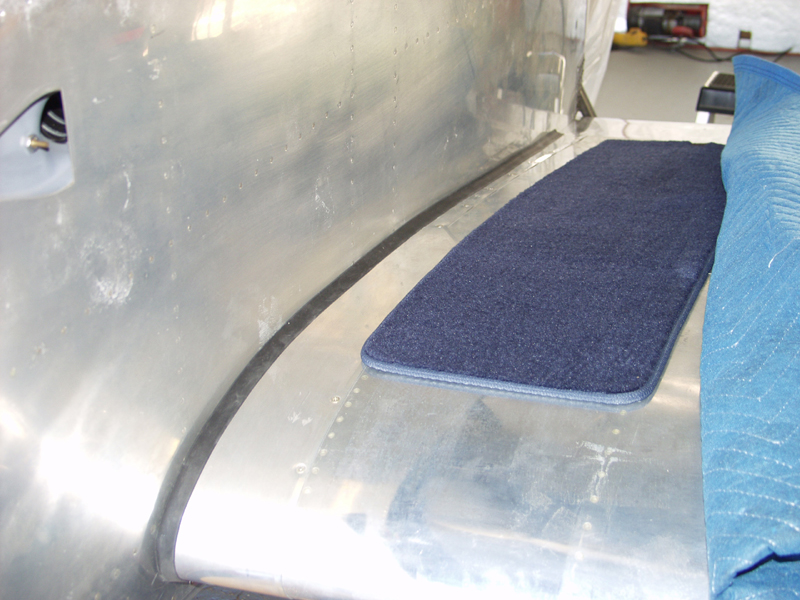
So I ended up installing the left side and connected to the stick using the little washers. These are very small and if it was not for those special washer wrenches from Cleaveland Airtools I don't think I would be done yet.
This website was built to document my work in compliance with the FAA requirements
needed to certify my aircraft.
My experiences and comments are by no means to be
considered as instructions on how to build any aircraft.
|
| |