Home
Preparation
Empennage
Wings
Fuselage
Engine
Finish Kit
Favorite Links
W & B Calculator
Van's Aircraft
Email Me

|
 |
Finish Kit Update February 2011 Updates
 |
 |
February 26, 2011
EFII Fuel Pump Enclosure ..... - 3.0 hrs
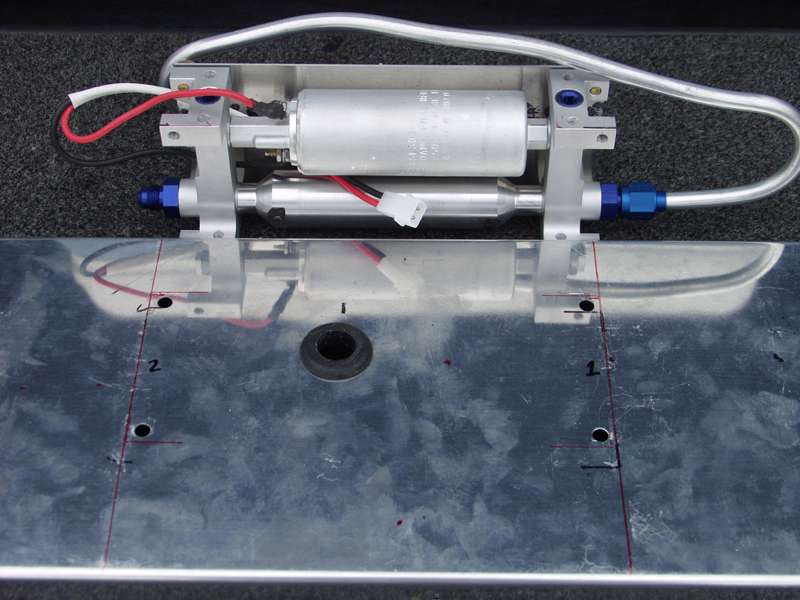
Today I removed the pump and started work on the rest of the enclosure. I took the oringinal cover and cut the front off. So now all I need to do is use the 4 inch strips to continue the cover to the front and effectively enclose the pump and tubing.
First I drilled a hole in the center and mounted a rubber gromet for the power to come up thru the floor. Next I took another piece of 3/4 angle and split it. I used one piece each to make another floor stiffener. This will also keep even pressure on the pump by giving a complete footing on the base of the pump where the bolts tap into the pump manifolds. This pump is very well made and has tapped holes on all sides to allow you to mount in any configuration.
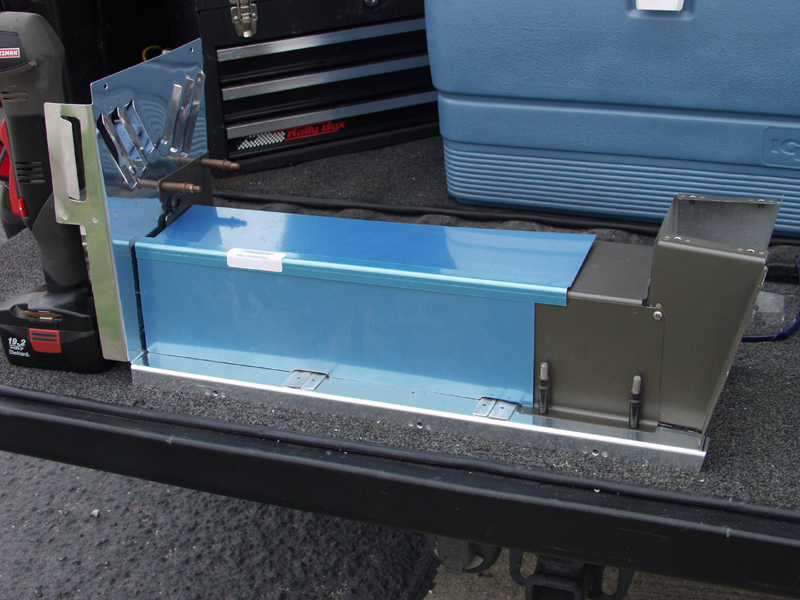
I cut the pieces that will become the sides and made little notches to clear the floor stiffeners. I was originall going to mount nut plates on the cover for screws but I may just rivet the forward cover to the back original cover. I will need to check to make sure the entire thing could be removed as one piece. If not I will need to make it screws to be able to take it apart.
On the forward cover that allows the throttle cable to go to the firewall, I had to cut the bottom off to allow clearence for the fuel line. I just marked it below the midline nutplate. I will add a angle stiffener and this will keep it stiff for the gromet to pass the throttle cable thru.
I also took my carpet to Westside Ulpostry to have the little piece in the center to be cut out makeing the left and ride side 2 pieces. They did a great job and redid the edge batting. Looks just like it did before except 2 pieces.
This website was built to document my work in compliance with the FAA requirements
needed to certify my aircraft.
My experiences and comments are by no means to be
considered as instructions on how to build any aircraft.
|
| |