Home
Preparation
Empennage
Wings
Fuselage
Engine
Finish Kit
Favorite Links
W & B Calculator
Van's Aircraft
Email Me

|
 |
Finish Kit Update February 2010 Updates
February 07, 2010
Nose Gear Fairing.... - 5.0 hrs
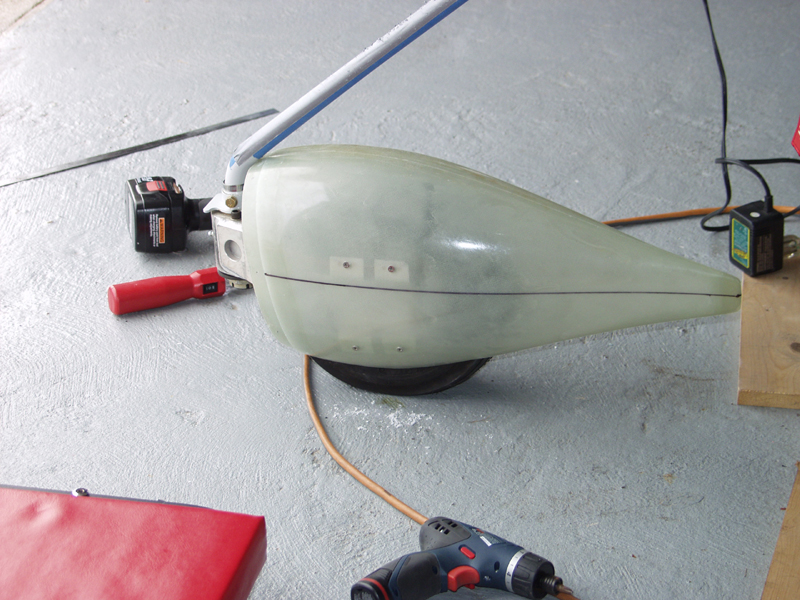
Today I rechecked the fit on the nose gear. Still needed some additional clearance on the rear to push the rear fairing forward. I used the flapper sanding wheel along the front edge to create some clearance for the nose gear. Once pushed into forward position things started to fit better.
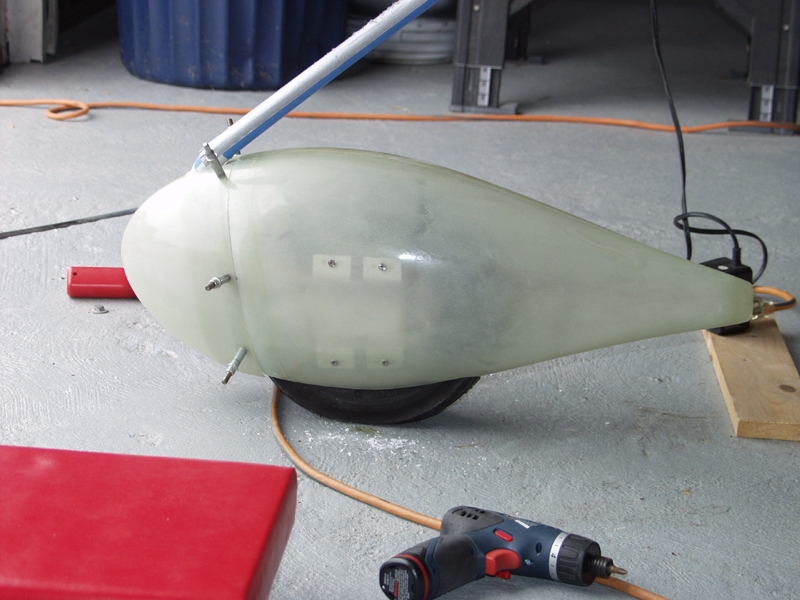
Once I got everything centered I put my LED light stick inside to show the nut plate hole. I drilled the first hole on the left up front side. Next I drilled the bottom rear left hole. Then I moved over to the right side and repeated. Last I drilled the 2 additional holes on the left and then the right. Now with the rear fairing centered and in place I moved to the nose cap.
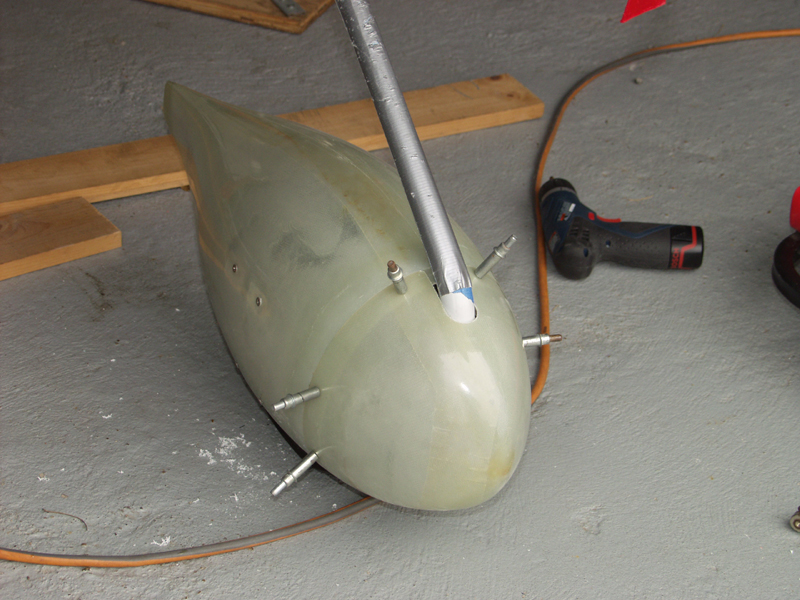
I measured down from the edge of the rear fairing where the nose cap would seat. I measured to the center of the nose gear and then marked a center point on the nose cap. This would be the center of the hole. I used this as the starting point for a 1 1/4 inch hole. Next I trimed this back square to the edge on both sides of the hole. Now the nose cap would slide into position. Next I fit the nose gear fairing and had to trim this to fit to allow it to clear the top of the nose fairing as the wheel swings left and right side to side.
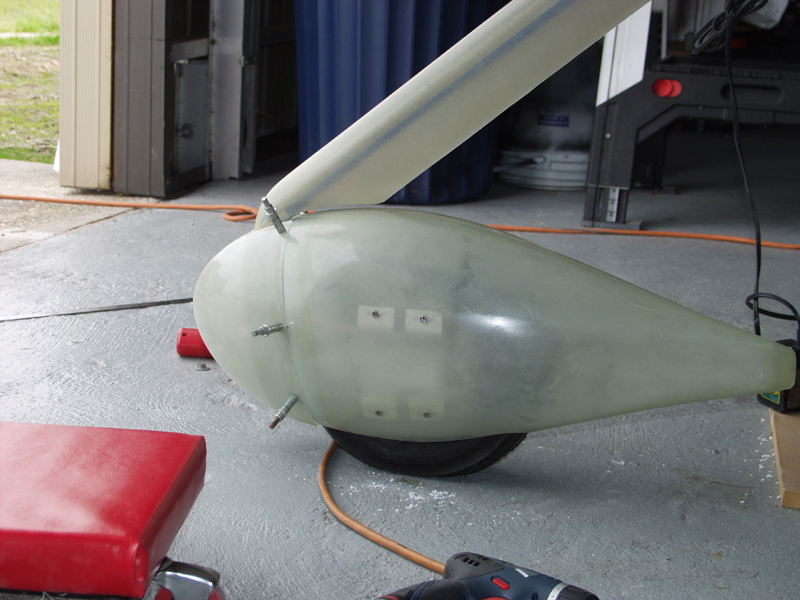
Last I removed the fairing and added 2 layers of glass where the brackets touch the sides of the rear fairing. This should create stiffness and wear better with vibrations.
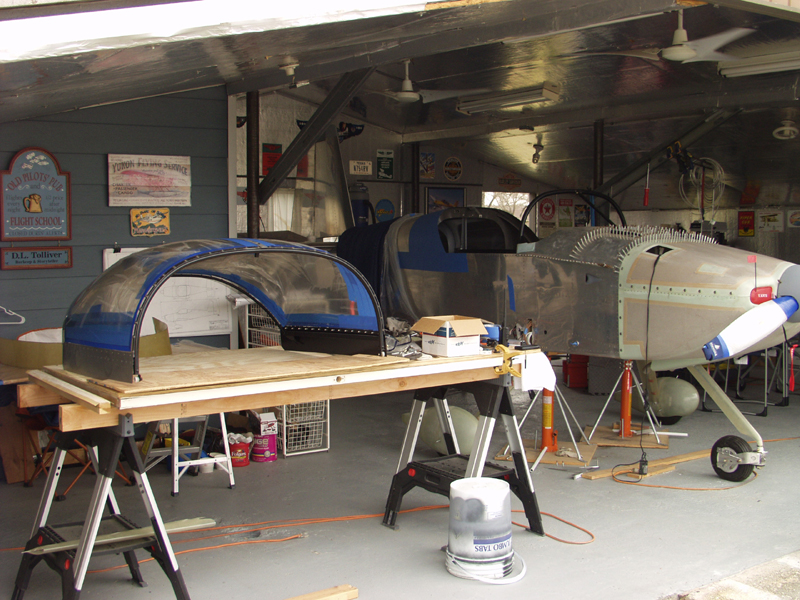
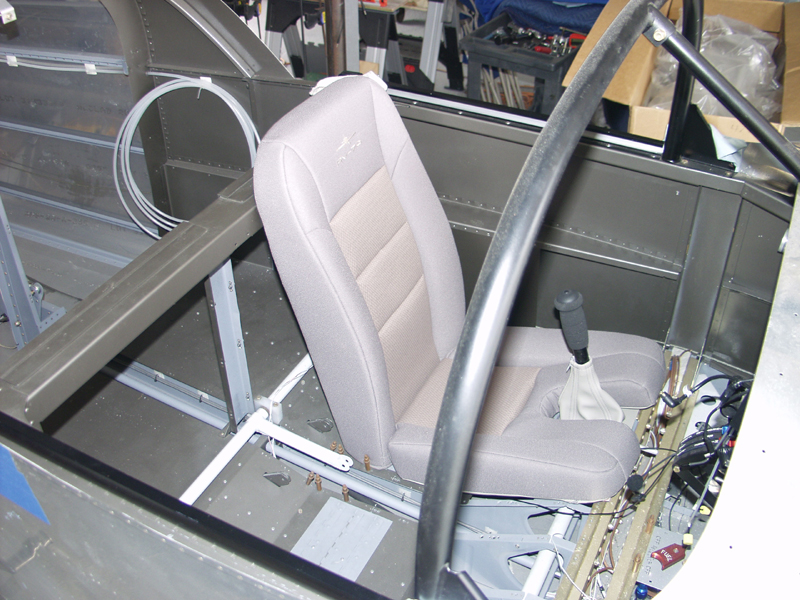
Next I removed the canopy. I think I will work on stiffening the rear fairing with more glass off the plane. This will allow me to work on some stuff inside the plane as well. I need to install the seats and do some rigging of the eleveator bellcrank, flap motor, passengar PTT switch, etc.
This website was built to document my work in compliance with the FAA requirements
needed to certify my aircraft.
My experiences and comments are by no means to be
considered as instructions on how to build any aircraft.
|
| |