Home
Preparation
Empennage
Wings
Fuselage
Engine
Finish Kit
Favorite Links
W & B Calculator
Van's Aircraft
Email Me

|
 |
Finish Kit Update December 2010 Updates
December 12, 2010
More Wing Root Fairing and Right Wing Tip Work ..... - 6.0 hrs
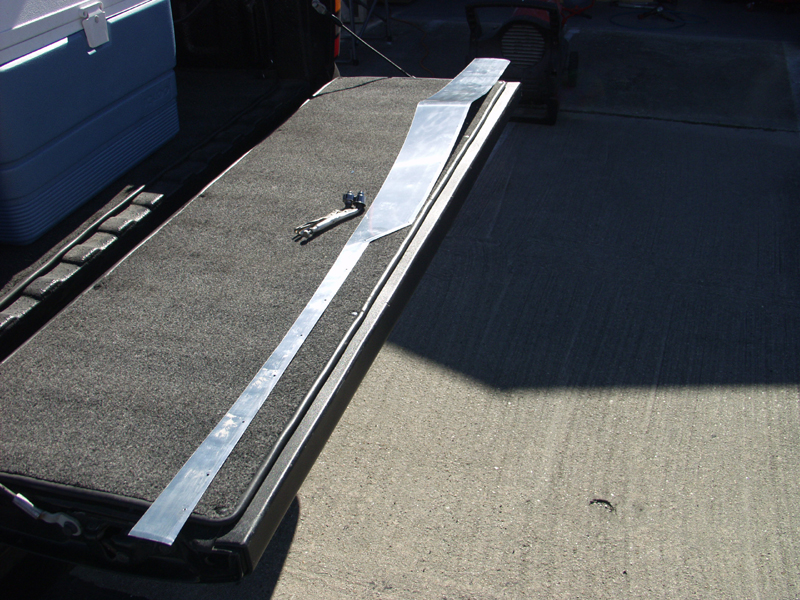
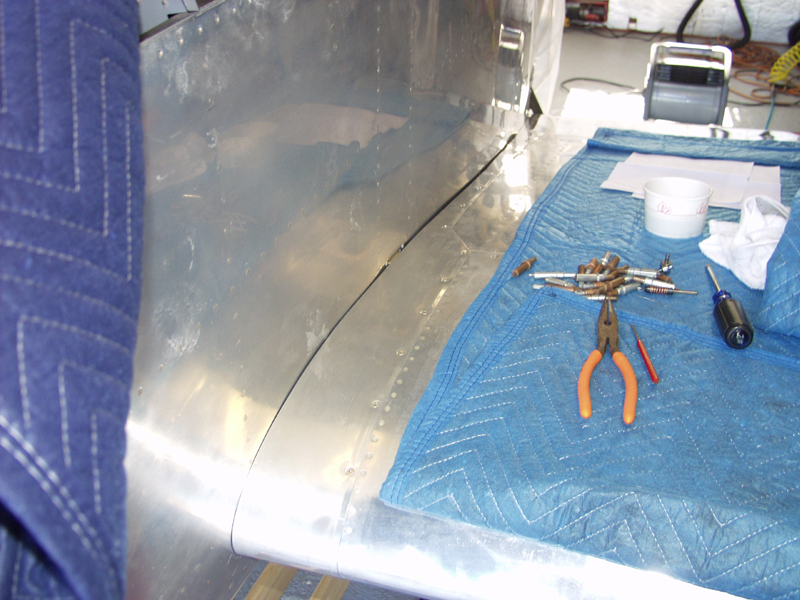
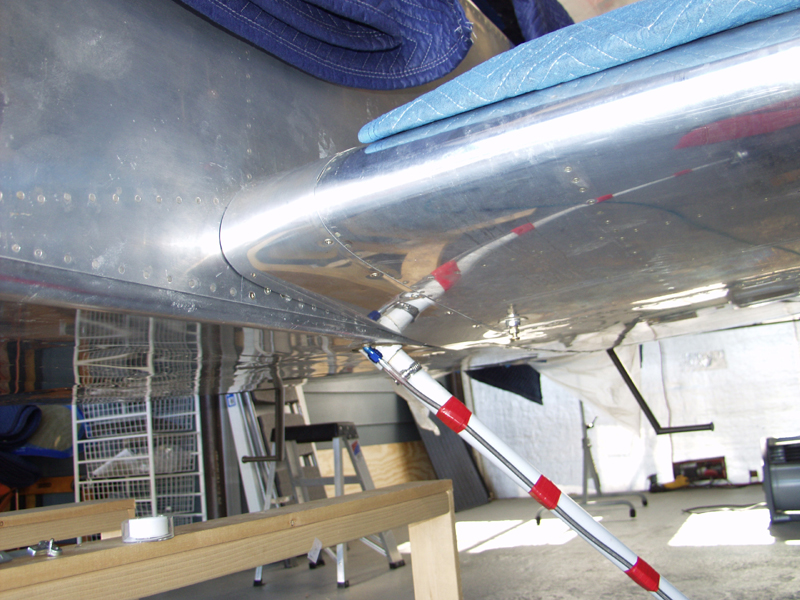
Got to the hangar at 9am. Cold as a witches tit! Fired up the blast heater and then glued the other stip into the right wingtip and let it dry. Got the right wingroot fairing out and peeled the plastic off. Next I used the edge tool to bend the edges. Came out great. The flow here seems to be fit the fairing and drill to match #40. Check your rivet line on the wing and go to #30. Then to #19. In my case I had to trim the in board edge by the fuselage to get the correct rivet line on the wing.
Next I did the bottom nutplates on the left side and buttoned it up. Still have the last one in the flap area. Have to remove the flap one more time anyway to do the final inboard trim to 1/8 inch gap.
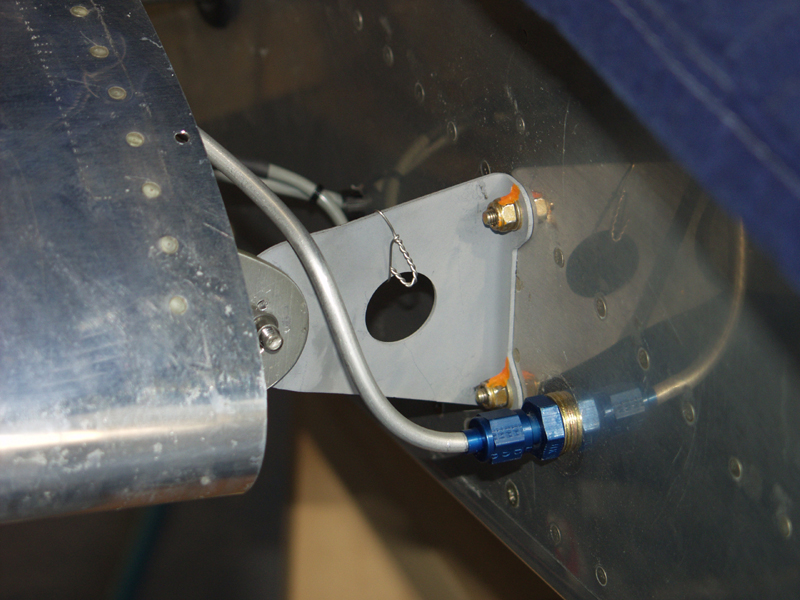
Next I did the saftey wire tie on the tank bracket. Then back to the right wing tip. With the strips dry I fit it to the wing and started to drill the screw holes thru the backing strips. The first 2 went great. Then I moved to the very front hole and it pushed thru. Moved to the next hole and in push thru. I removed the wing tip and the strip had come loose and was hanging. I pulled them loose and went to drilling with the nutplate jig. I got the top done and test fit. Looks great.
I did some research on tips and it was about 50 50 on folks that used backing strips. Dave at dualrudder.com did it without and his fit and look great so thats what I am going to do. Much less time also.
This website was built to document my work in compliance with the FAA requirements
needed to certify my aircraft.
My experiences and comments are by no means to be
considered as instructions on how to build any aircraft.
|
| |