Home
Preparation
Empennage
Wings
Fuselage
Engine
Finish Kit
Favorite Links
W & B Calculator
Van's Aircraft
Email Me

|
 |
Finish Kit Update August 2011 Updates
August 21, 2011
Intersection and Gear Fairings ..... - 15.0 hrs
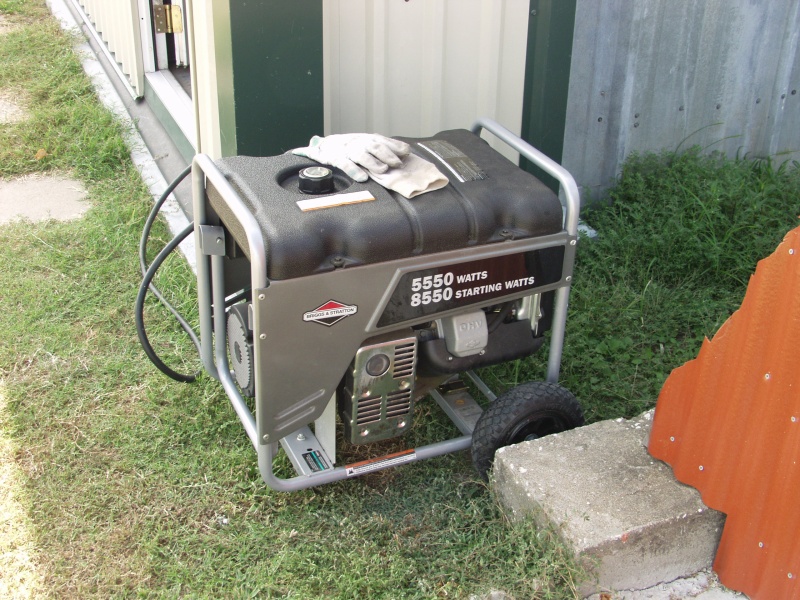
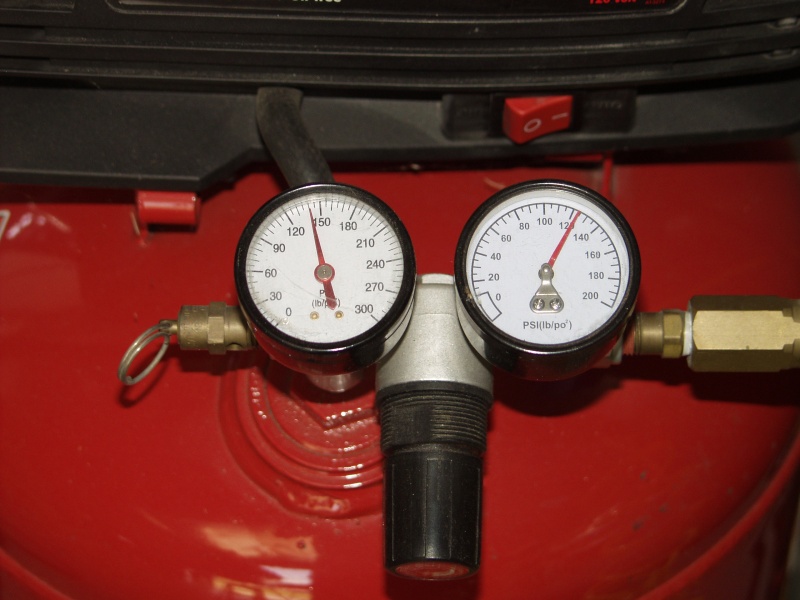
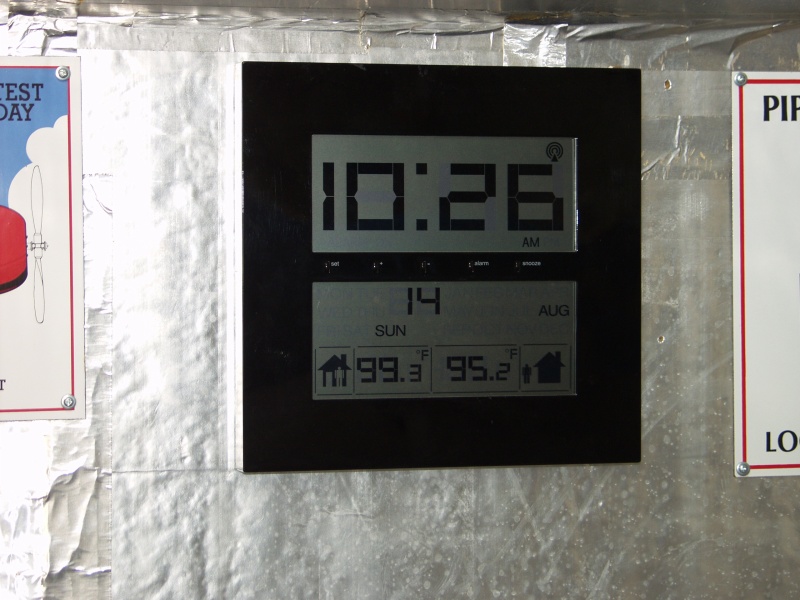
Well Here is another multi week update. The first weekend in August I had to go to El Paso so now work then. Still no power but Gary was in town last week and he hooked up his generator. The way I was hooked up before when he gets power thru the generator it passes to me as well. So as you can see at 10:26 it was already 99 heading to 105 and I fired up the compressor.
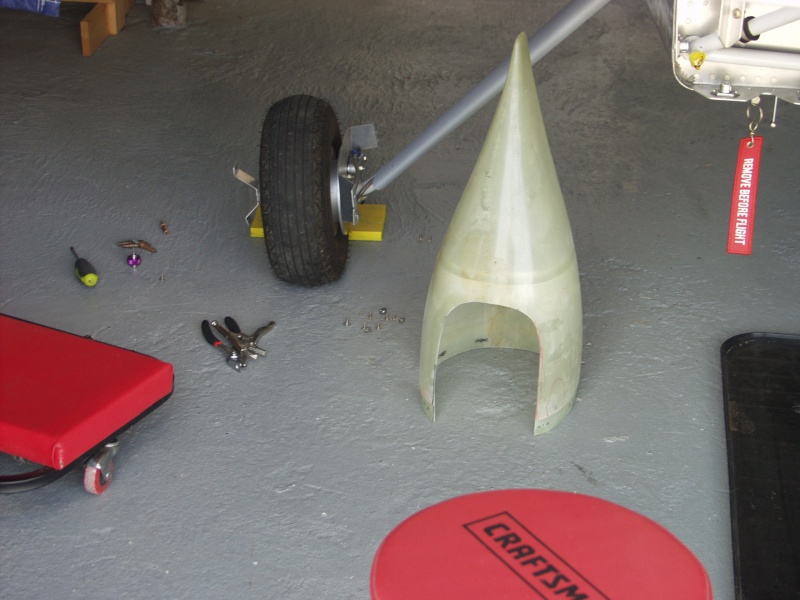
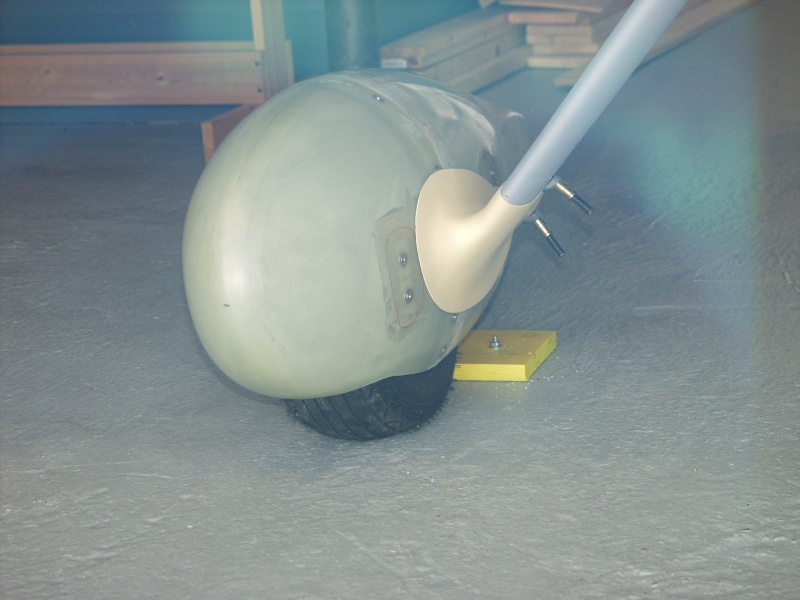
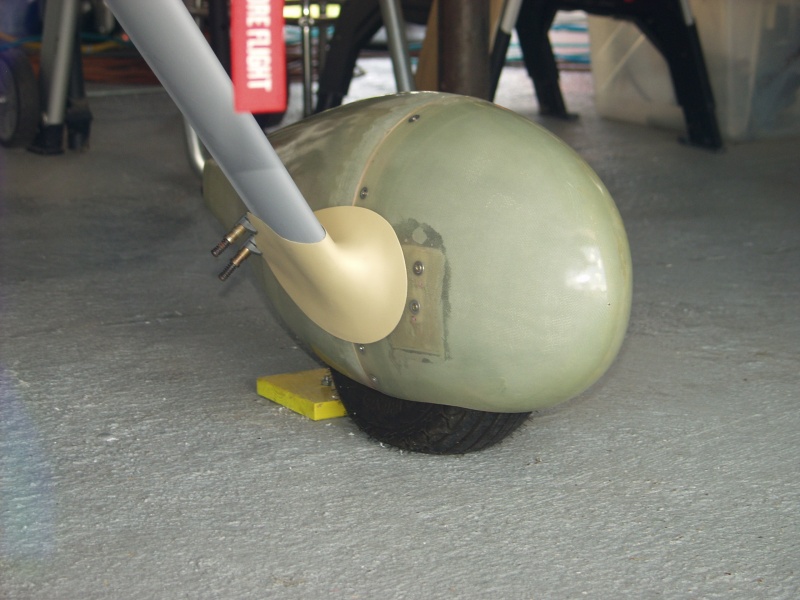
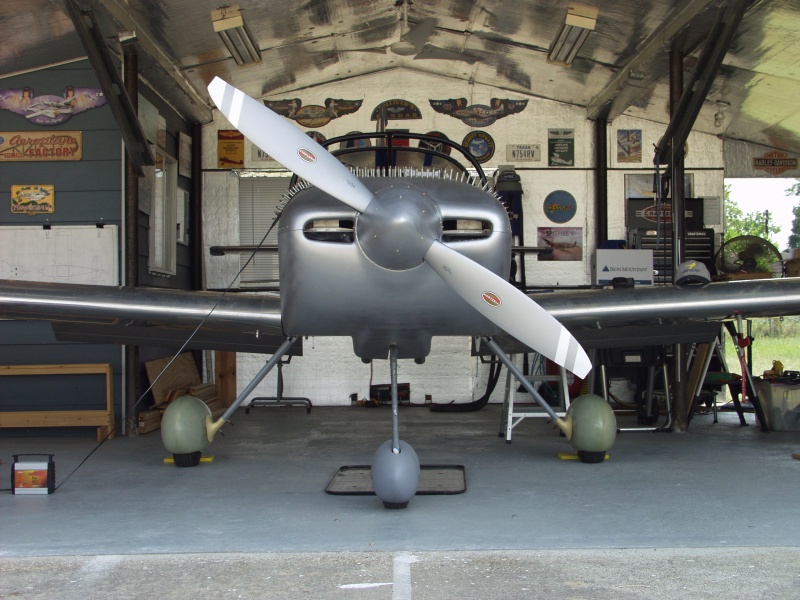
First I had to remove the right side wheelpant to rivet the outside bracket in place. Before I removed it however I marked it to do a bit more triming around the tire. Once that was done and the bracket riveted in place I reinstalled. Now I have a solid wheel pant to fit fairings to. The upper and lower interesection fairings is what you use to lock the gear fairings in the proper angle. If these are not lined up properly the plane will not fly straight. That drag even if its just a bit will cause speed loss and the ball on the ADI will not center with your feet off the rudder pedals.
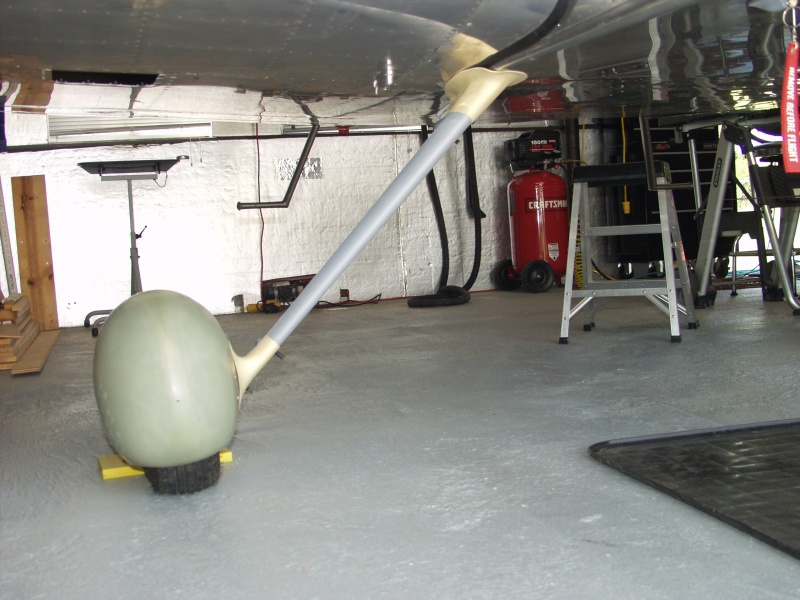
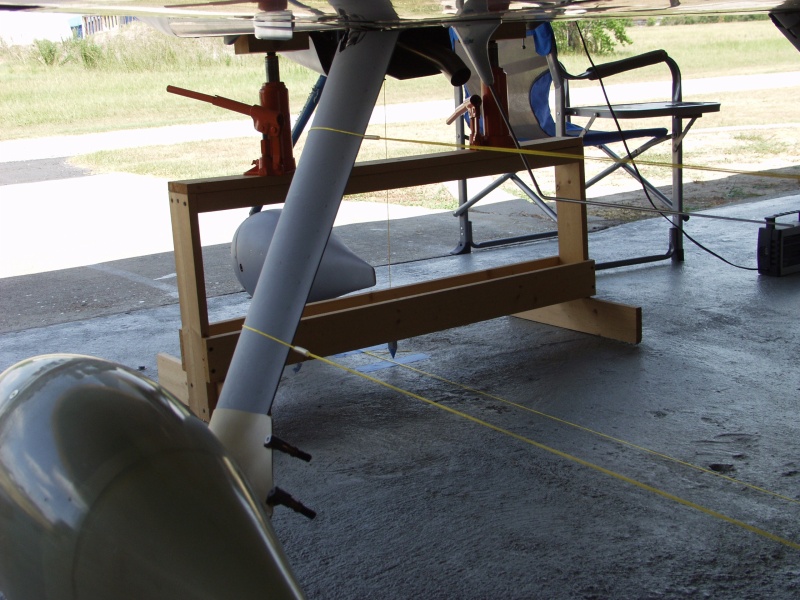
So this weekend I wanted to setup the jig at the back of the plane to see how the alignment process would work. The process is to raise the plane and let the gear hang loose as they would in flight. The plane needs to be level all around in this configuration. Then you drop plumb bobs along the centerline. You measure out and up to several locations along the gear leg fairings. You tape strings and then run them back to the tail area about where the stabilizer is located. You then duplicate that measurement back at the tail area.
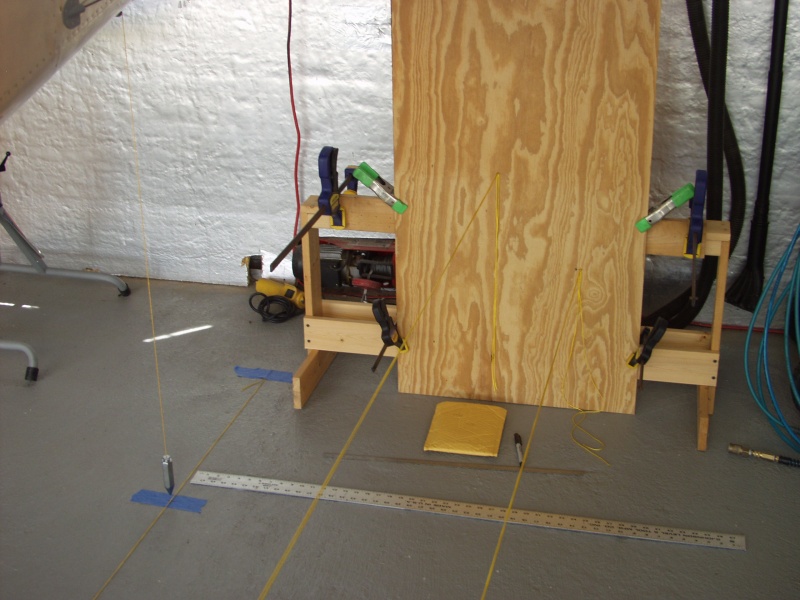
Of course the trick here is what is going to hold the stings up in space. So I took a piece of 3/4 inch plywood and clamped it to one of my sawhorses I made. This holes the plywood square to the gear fairing setup. Then you measure off the centerline out the same distance that you do at the gear fairings. For my setup it was 32 inches for the lower stringline and then up 15. I used electrical tape to hold the string there. Then I did the second line and then duped the measurement to the plywood and used a staple gun to hold the string tight.
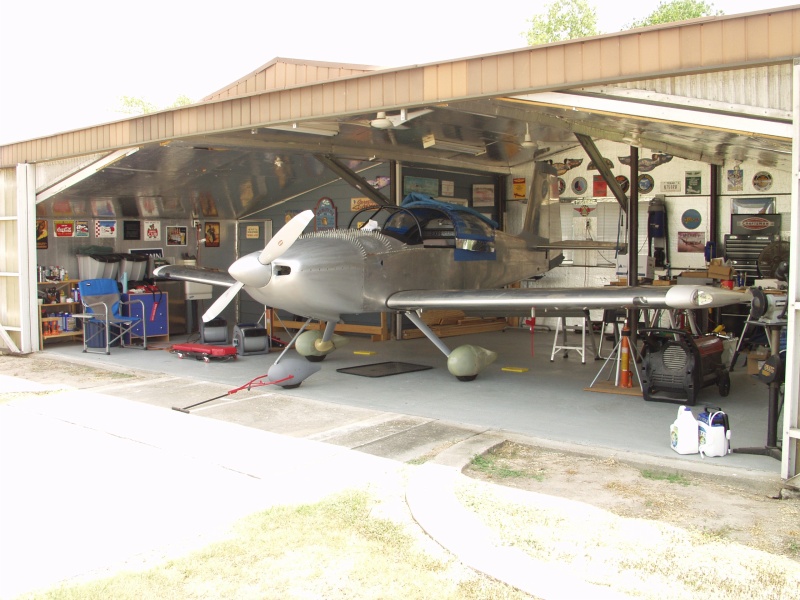
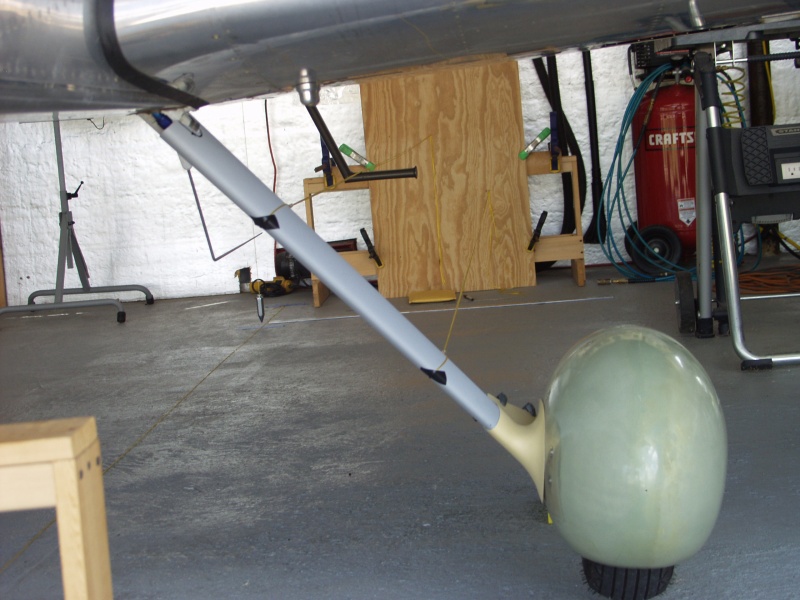
I actually doubled the string up and used small tubing to keep the lines together around the gear fairings. This makes seeing the actual trailing edge of the fairing in relation to the string better. Turns out this will work well however once I got this all setup I see now that my comm antenna is in the way of the upper fairing. No I need to figure out if it can be easily moved. Also during these few weeks I have reinstalled the cowling and done 2 taxi tests. Engine numbers are looking perfect and brakes are tested. And the entire month has been over 100 everyday! We need a break.
This website was built to document my work in compliance with the FAA requirements
needed to certify my aircraft.
My experiences and comments are by no means to be
considered as instructions on how to build any aircraft.
|
| |