Home
Preparation
Empennage
Wings
Fuselage
Engine
Finish Kit
Favorite Links
W & B Calculator
Van's Aircraft
Email Me

|
 |
Finish Kit Update August 2010 Updates
August 21, 2010
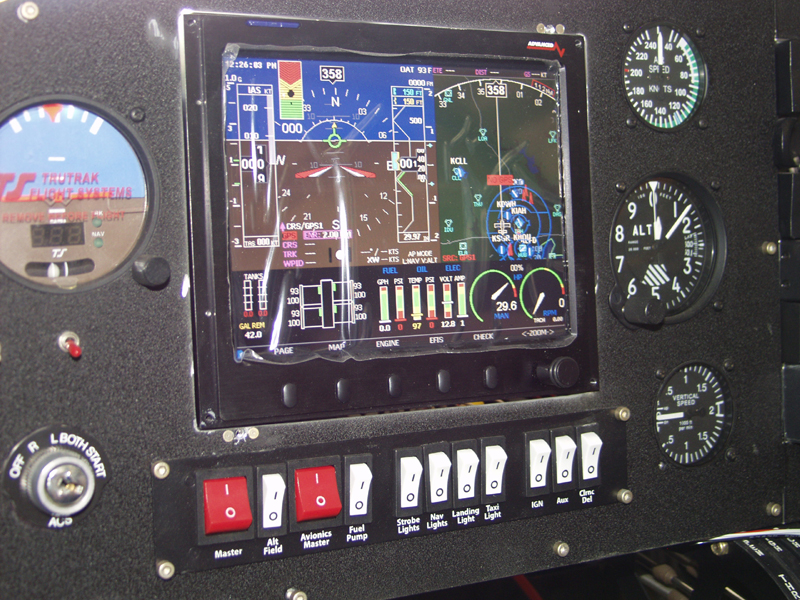
Reinstall AFS with new trim ring..... - 5.0 hrs
Wow... this took alot longer than I though. But it had to be done. I started by installing 2 nutplates for a #6 screw. That went pretty quick. Then it was on to enlarging the hole.
I started by taking measurements on the width. The height was very close already but it still needed some work there as well. I enlarged the holes to get the correct width. Then I used some white electrical tape to mark the line between the outside edges of the holes vertically. Then I put all the tools I needed to make the cut in the cabin and climbed in. I used the dremmel tool to make the cut. Once that was done I used a file to clean up the edges. I tested for fit and it was about bit here and a bit there.
So I got the diegrinder out and started to work slowly testing every so often. It was very slow going but with everything installed it was the only way to do it. When I got it really close I went to reinstall the trim ring to mark the back which would show which spots were still off. While trying to install the screws one broke off. These were brass screws that were anodized black. I had to drill out the bottom nutplate and reinstall. Then I took 2 stainless screws and ran them thru the holes. Ok fixed that problem.
Now it was back to taking more material off with the diegrinder and a course pad. Finally got it installed. In between I primed the ring and got the first coat of black on it. Then I hooked it all up and it works like a champ. New software installed and no more X across the screen. I will finish painting the trim ring at home and install it tomorrow.
This website was built to document my work in compliance with the FAA requirements
needed to certify my aircraft.
My experiences and comments are by no means to be
considered as instructions on how to build any aircraft.
|
| |