Home
Preparation
Empennage
Wings
Fuselage
Engine
Finish Kit
Favorite Links
W & B Calculator
Van's Aircraft
Email Me

|
 |
Finish Kit Update April 2011 Updates
 |
 |
April 03, 2011
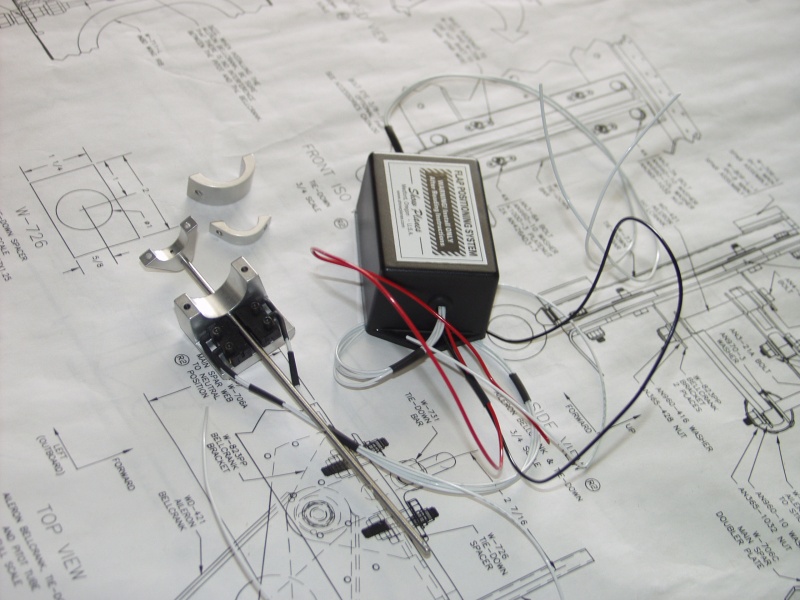
ShowPlanes Flap Position Controller ..... - 4.0 hrs
Today was to install the flap controller. This thing allows you to adjust the flaps to 3 preset conditions with a touch of a button. Should be safe than looking down and manually adjusting the flaps in the pattern.
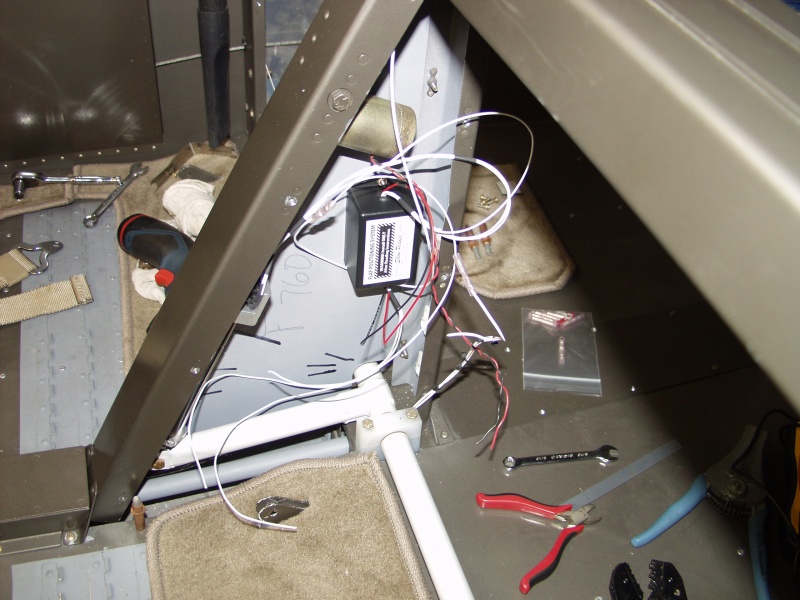
First thing was to disassemble the flap assembly sides and mount the controller to the motor rod. I could not get the aluminum pieces around the motor actuator in the small space so I had to undo everything. O well like everything else you do multiple times right. With everything undone I installed the switch bracket to the actuator and reinstalled everything. Now it was time to wire. I removed the old switch in the panel with the new 3 position one that came with the kit. I used the old 2 wires for the power run and retract one and wired to the correct position on the switch. I ran a new 3rd wired from the switch and followed the same path as the flap AOA position wire and tie wrapped in place.
Next I hooked up the wires at the control box. I turned on the power and pushed the button up to bring the flaps up. The motor engaged and brought the flaps all the way up. Perfect. Next I pushed the switch down..... nuttin... scratched head and said few cuss words. Then started reviewing the wireing. Could not find anything wrong.
Called Jim K to confirm I didn't screw anything up. He said it sounded ok but could come by sometime during the week to check. You know the drill girl friend issue..... just kidding Jim!
Anyway I rechecked and rechecked and then drank a beer and rechecked again. Still nuttin. Sent email to ShowPlanes and Brian the owner called me on Monday morning and sent an email on some things to try. He told me to check for continuity on ground to P1 and P2 with no power applied. I did that test after work and it was fine. The next test was to test P1 and P1 for voltage. On the retract wire I get 12 volts and on the extend I get nothing. Ah there is the problem. He had one more test to try but said to call him when I was at the plane. It was basically to move the swith brack to a position where the switchs were not engaged and to check impedence values of P1 and P2. They should be the same. Again I got a value on the retract wire and 0 on the extend. This proves that wire is not working. Brain said to send back the box with the bracket and he would test and replace. So sent it off in the mail Friday. Now its back to installing the top skin and windscreen in prep for engine start.
This website was built to document my work in compliance with the FAA requirements
needed to certify my aircraft.
My experiences and comments are by no means to be
considered as instructions on how to build any aircraft.
|
| |