Home
Preparation
Empennage
Wings
Fuselage
Engine
Finish Kit
Favorite Links
W & B Calculator
Van's Aircraft
Email Me

|
 |
Engine Update November 2008 Updates
November 28, 2008
Cowling Prep.... - 5.0 hrs
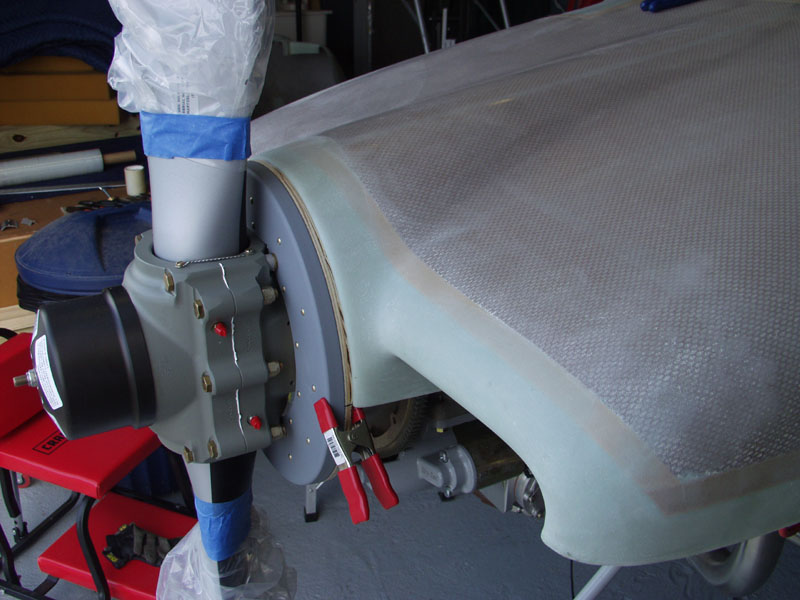
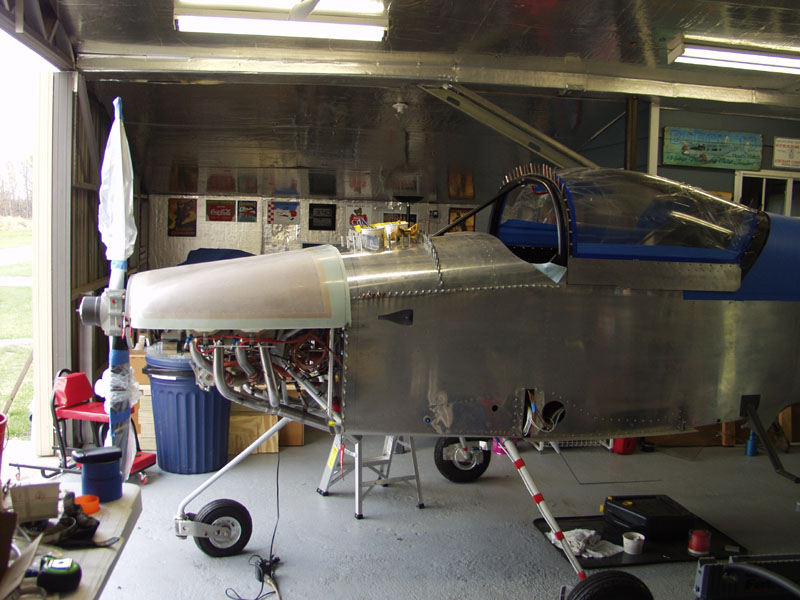
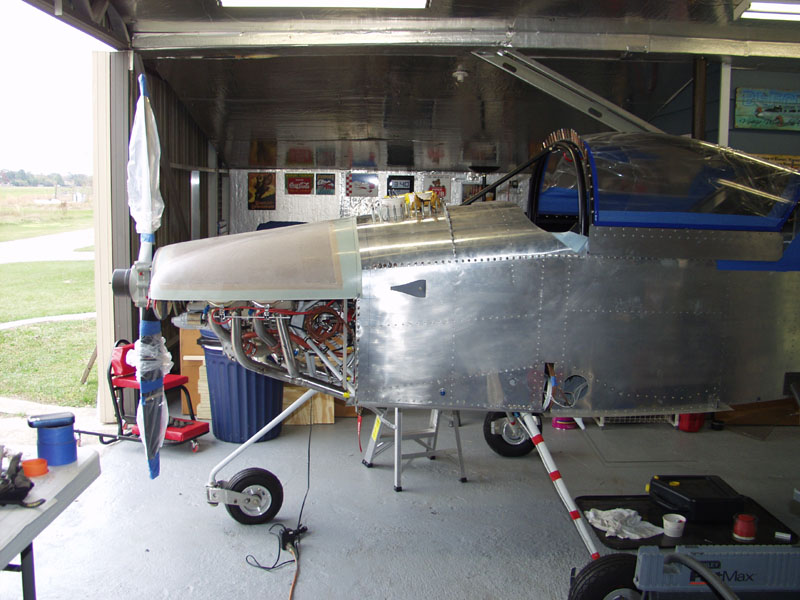
To move on to the baffleing I need to complete the cowl fitting. Now that the prop is on I can start the process. I needed to fab up a spacer to set the gap between the back of the prop spinner and the front of the cowl.
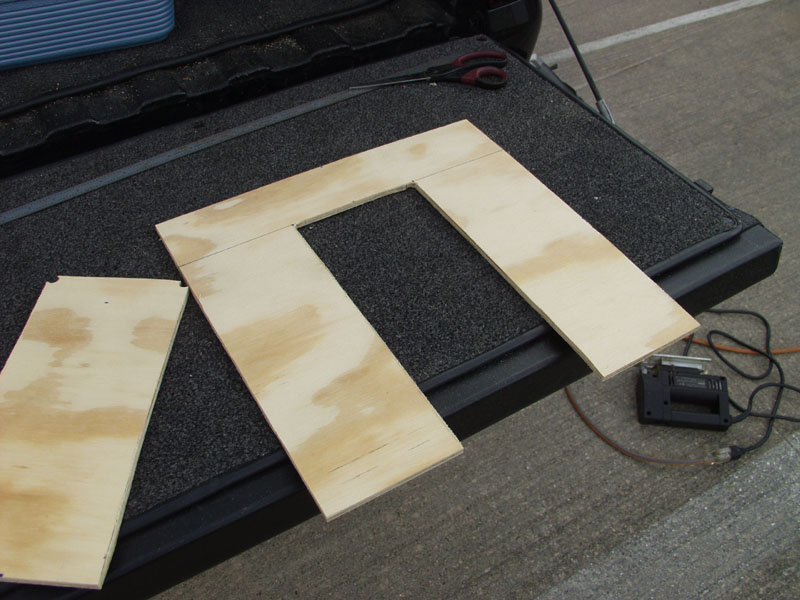
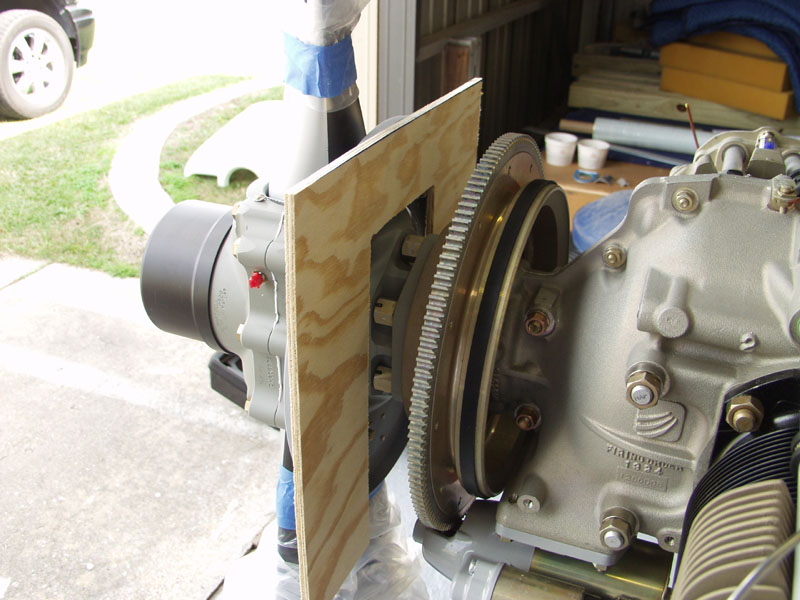
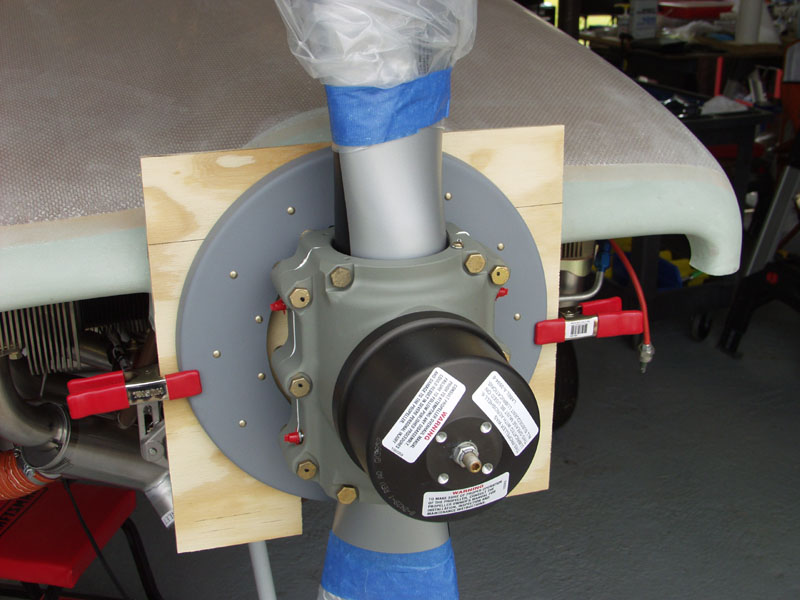
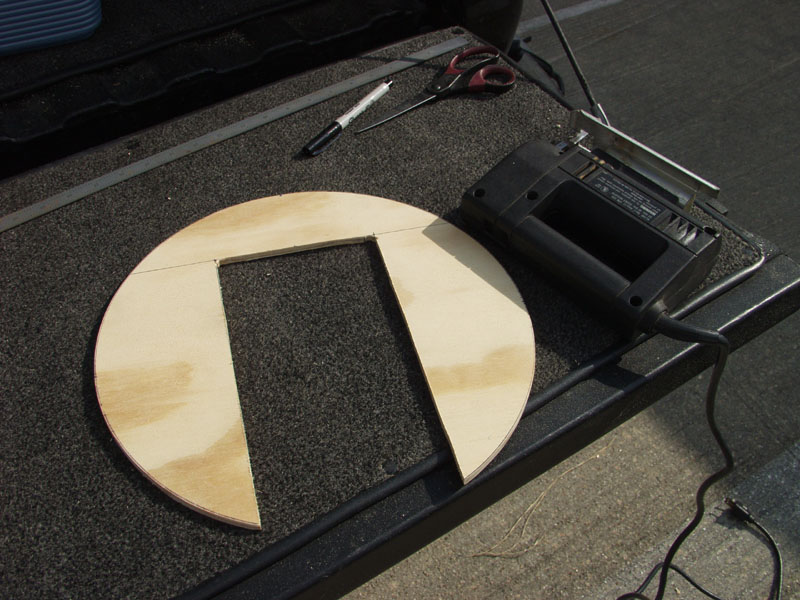
I put the prop in an up and down position and cut a piece of 1/4 inch plywood 14 x14 square. I measured the space around the prop with a piece of paper and cut a slot in it. The paper template sit on top of the 2 bolts that hold the prop spinner plate to the prop. My thought was if I cut a slot this shape in the plywood it would sit square on these bolts. I cut the slot and slide it in place. Next i marked a line around the perimeter of the spinner plate and cut off the rest with a jig saw. This allows to see the cowl edge in relation to the spinner.
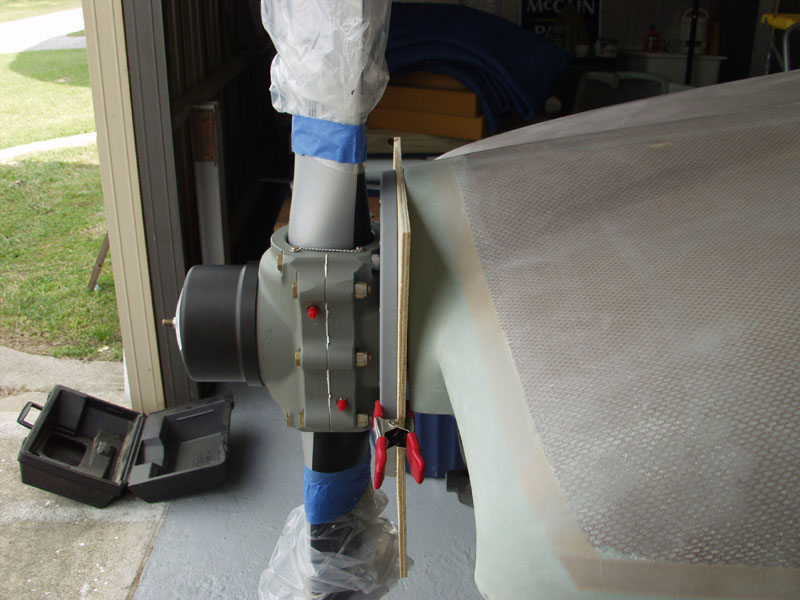
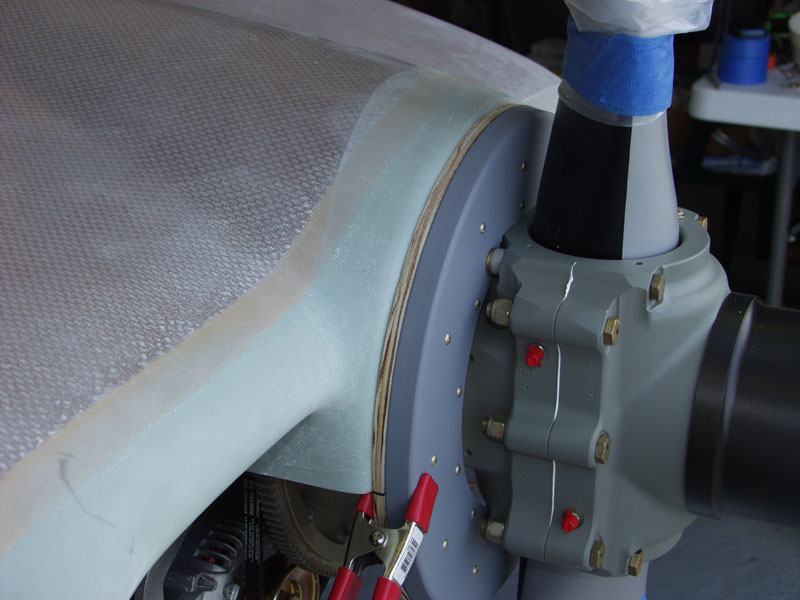
Next I clamped the front of the cowl in place for the final line up and fit on the front. Then I measured and marked and marked a line 2 inches back from the firewall front edge. Then I measured amd marked a line 2 inches forward of that line. This should make a cut line that should match the cowl to the front of the firewall.
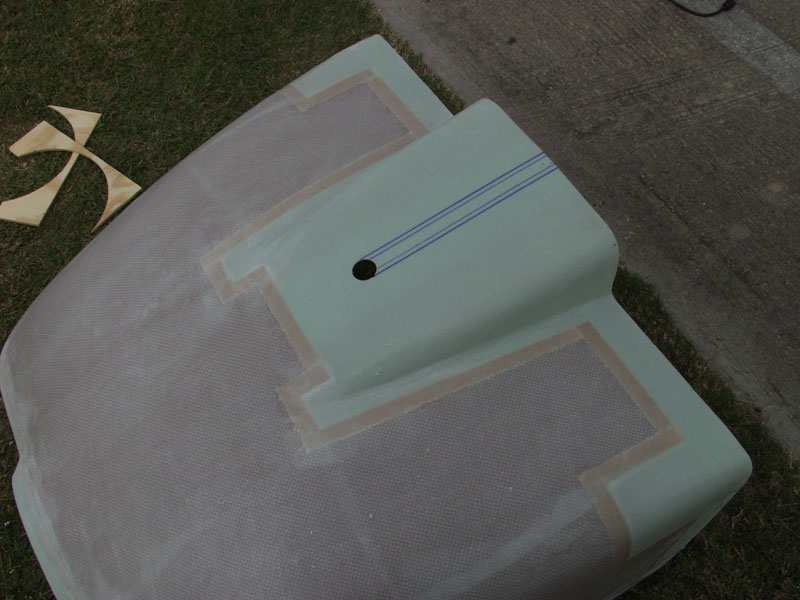
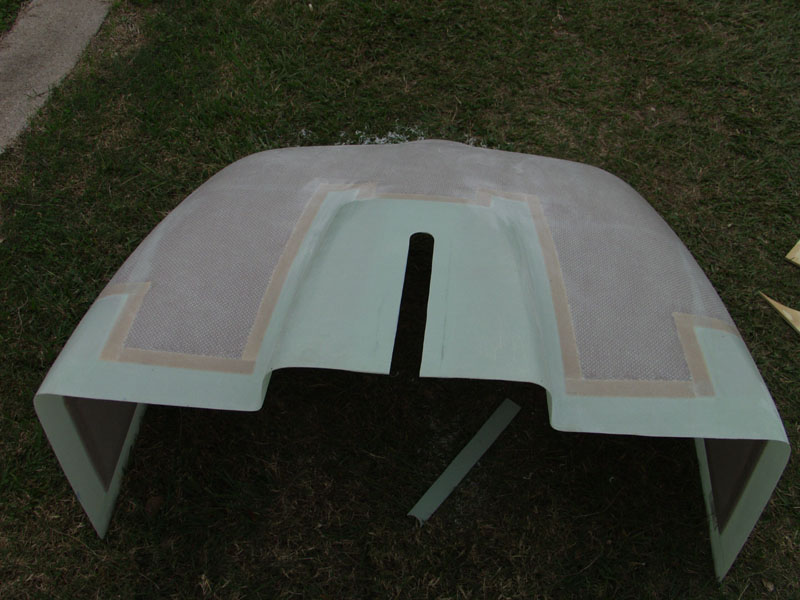
Still not ready to make the cut. So I move on to the bottom cowl. The slot should be 1 and 3/8 wide. So I used a ruler that was almost that wide to get the center and marked a spot in the center and 12 and 5/8 forward from the rear of the cowl. I used a large unibit to drill a hole which will give the nice front edge of the slot. Then I marked up the sides to make the slot the proper width. I used a jig saw to cut the slot. Came out perfect.
Last since it was warm I got out the windscreen and made the final cut hopefully. I dressed up the edge with the die grinder. I may need to trim some more but should be really close now.
This website was built to document my work in compliance with the FAA requirements
needed to certify my aircraft.
My experiences and comments are by no means to be
considered as instructions on how to build any aircraft.
|
| |