Home
Preparation
Empennage
Wings
Fuselage
Engine
Finish Kit
Favorite Links
W & B Calculator
Van's Aircraft
Email Me

|
 |
Engine Update May 2009 Updates
May 30, 2009
Oil Door and Latches.... - 3.0 hrs
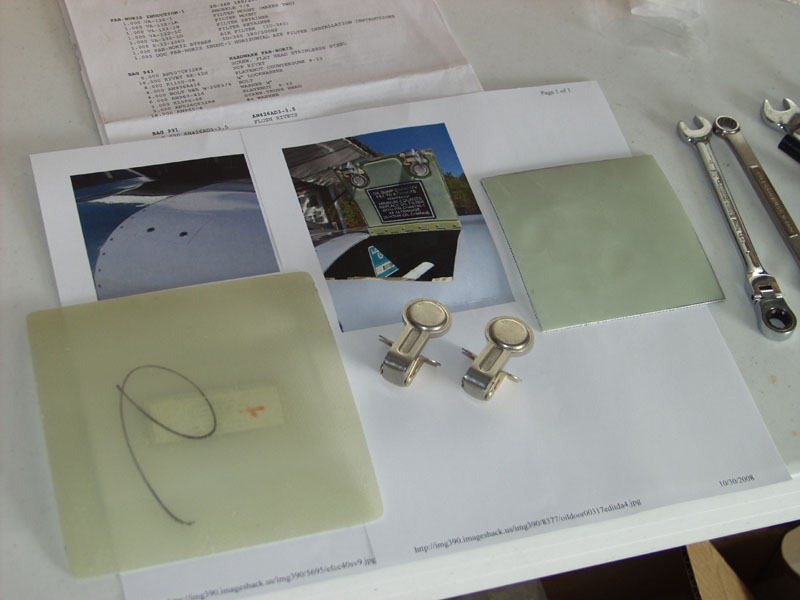
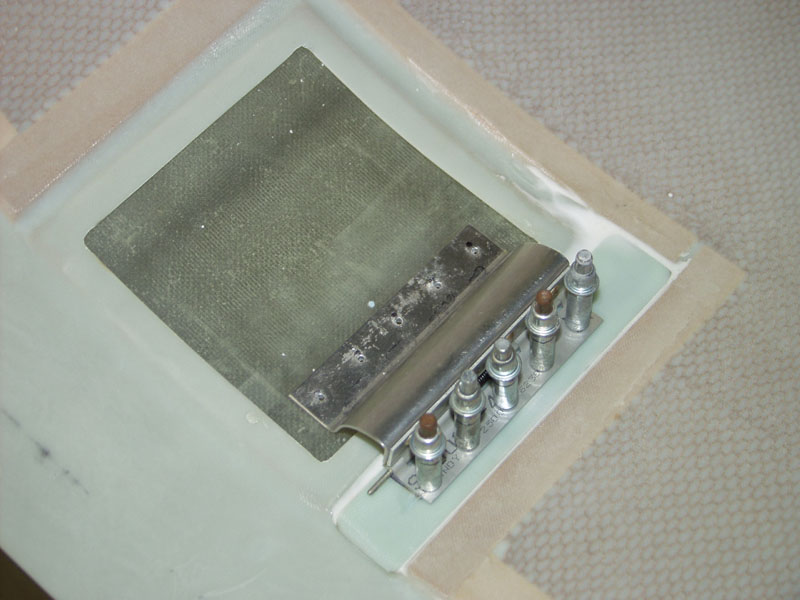
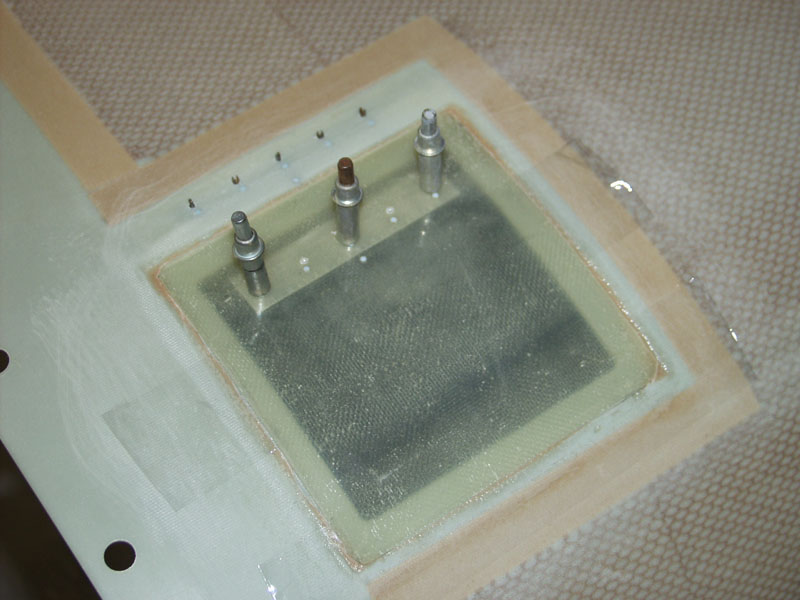
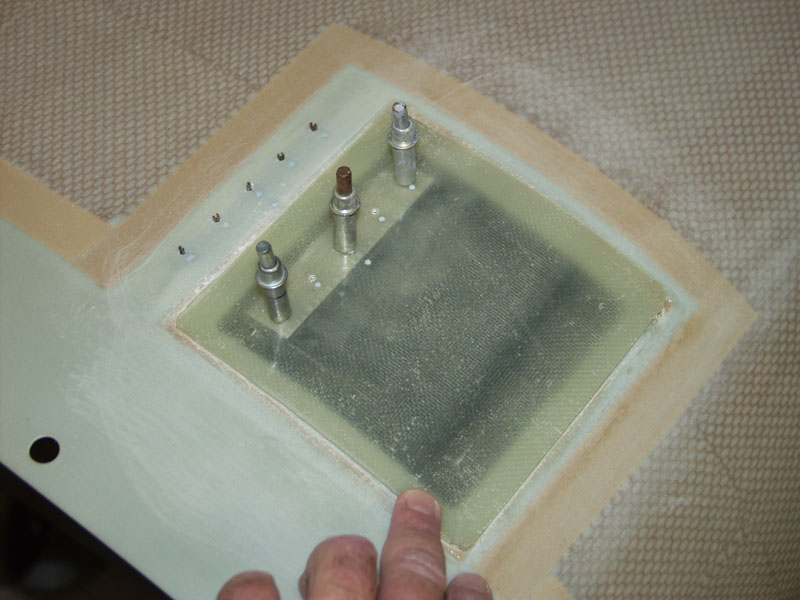
I have been chatting with Rick Galati on VAF and have decided on the round camlocks he used for the oil door. I already had both types of latches and the spring loaded hidden hinge. These round latches seem much easier to install. Once they are riveted in place you only need to get the center hole drilled and then enlarge it with a unibit to allow the latch to fit flush.
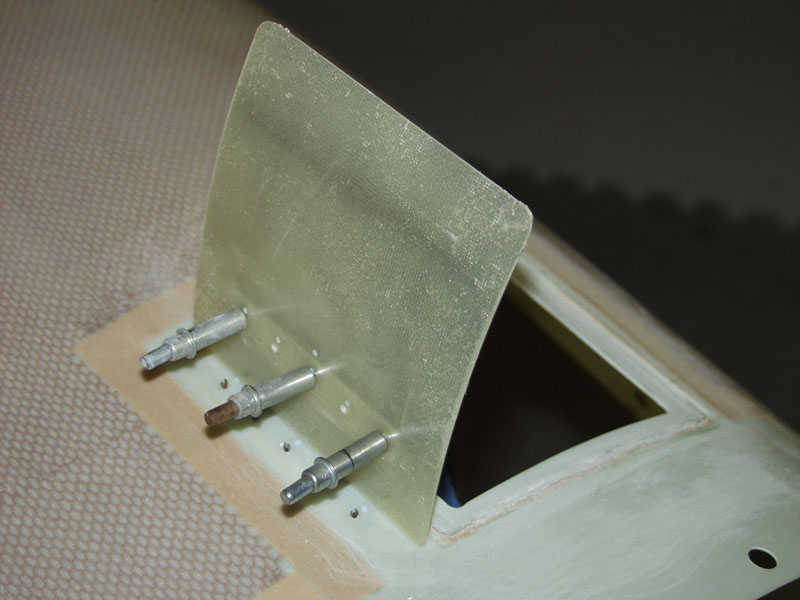
To start I needed to epoxy in a scrap piece of fiberglass to allow a flush surface for the hinge on the inside of the cowl. I mixed up some fast cure West Systems epoxy and set the piece in place. Nexit I mixed in some glass beads in the epoxy which creates a thicker mixture for filler. Also this sands easier than just plain epoxy. I squeeged this in place to fill the edges to make a smooth flush fit for the hinge.
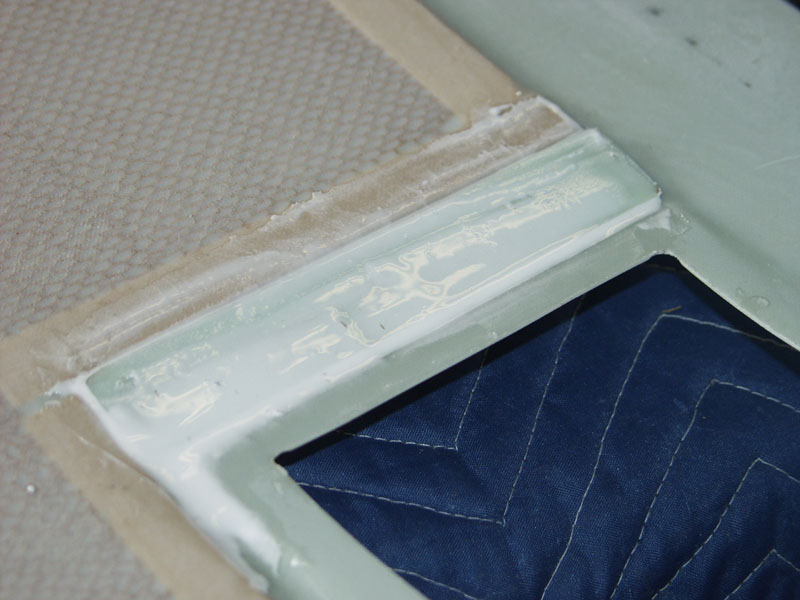
This post is actually a little bit of work over several days. You have to let things cure to move on to the next step. I used clear packing tape on the oil door to keep epoxy from sticking to the door. I set the door in place and then mixed up a batch of epoxy and flox. This mix is more for structural areas. It sands much harder but if you are looking for structure this is the best way to get it. I set the oil door in place and taped it from behing to keep it from pulling up. Next I squeegied this mixture all around the gaps in the oil door and the edges of the cowl. The goal here is to get a smooth tight fit for the oil door when its totally primed and painted.
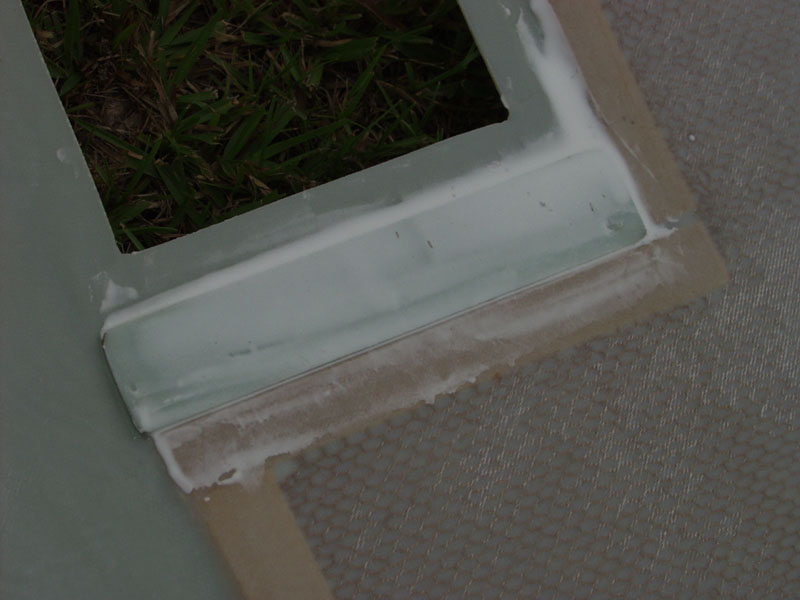
Once this cured I sanded it down. It will still need some more filling but I will use just a glass bead mixture for the last fill. After sanding I popped the door out and noticed some of the flox mixture seeped under the door. Turns out there is a gap here that will need to be filled to allow the door to fit flush with the cowl surface. I went ahead and cleaned out the seepage and sanded things smooth. I reinstalled the hinge to drill the door in place. The door opens ok but still sticks in the corners so more sanding until this worked smoothly. I test fit the latches but I think I should fill the edges under the door to get a good fit before proceeding.
This website was built to document my work in compliance with the FAA requirements
needed to certify my aircraft.
My experiences and comments are by no means to be
considered as instructions on how to build any aircraft.
|
| |