Home
Preparation
Empennage
Wings
Fuselage
Engine
Finish Kit
Favorite Links
W & B Calculator
Van's Aircraft
Email Me

|
 |
Fuselage May 2008 Updates
May 14, 2008
Mixture Bellcrank and Alternator Work.... - 3.0 hrs
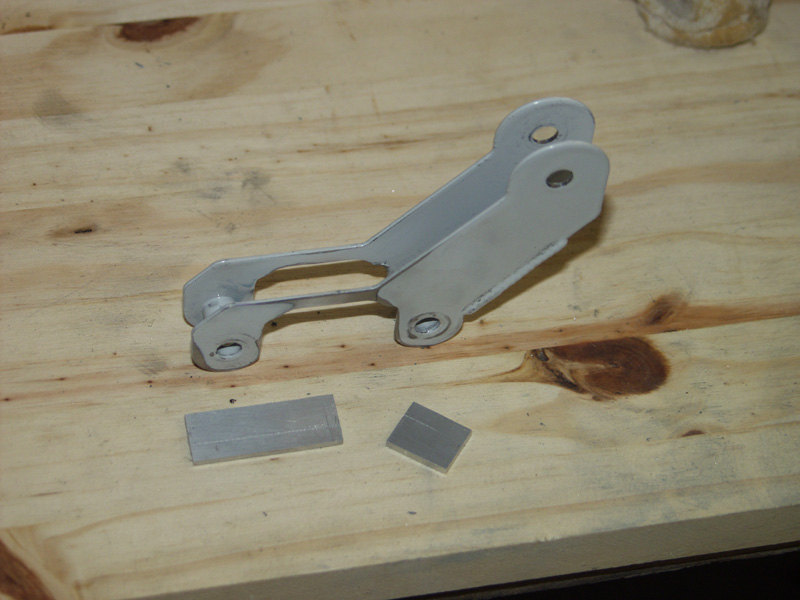
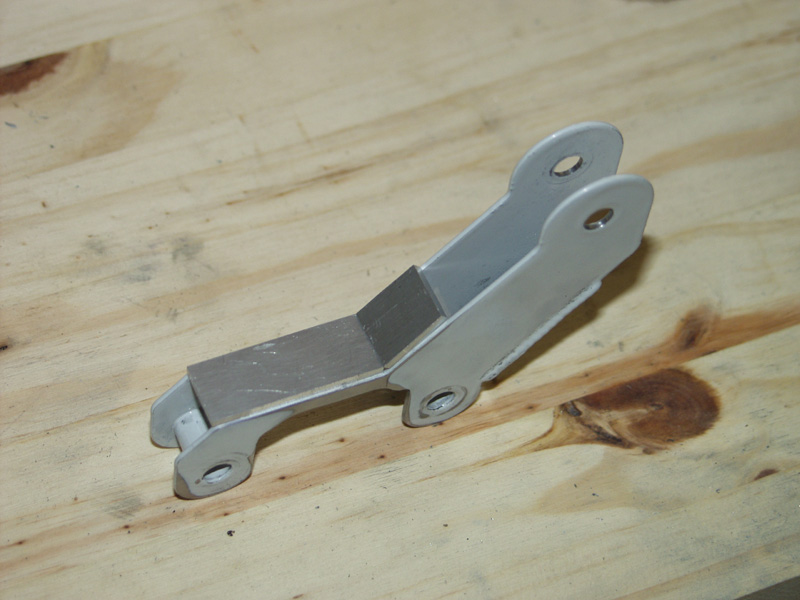
Got to the hangar and removed the belcrank bracket. Dru said I could use his sandblaster when he returned from his trip so I thought I would go ahead and cut some metal to stiffen up the weak side. I cut some small strips which will be JB Welded in place. The goal is to strip the powdercoat, JB Weld and grind smooth, prime and paint with black heat proof paint.
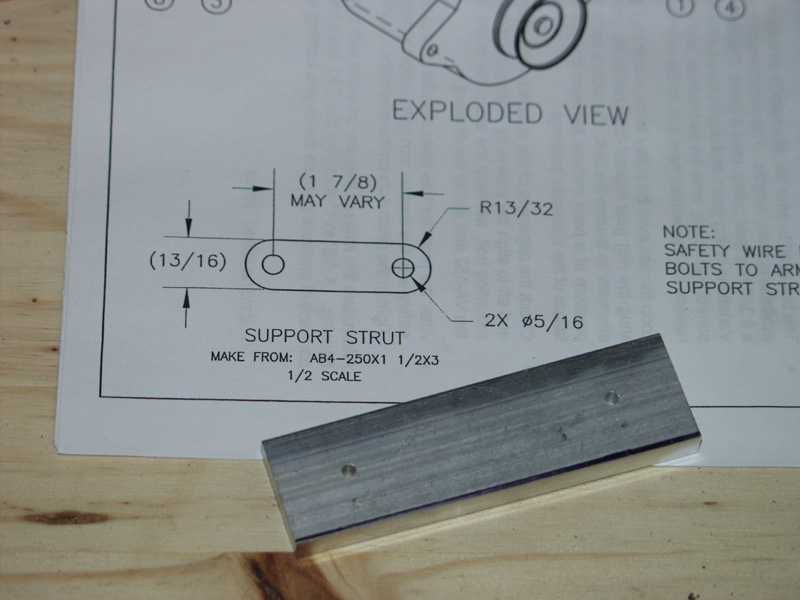
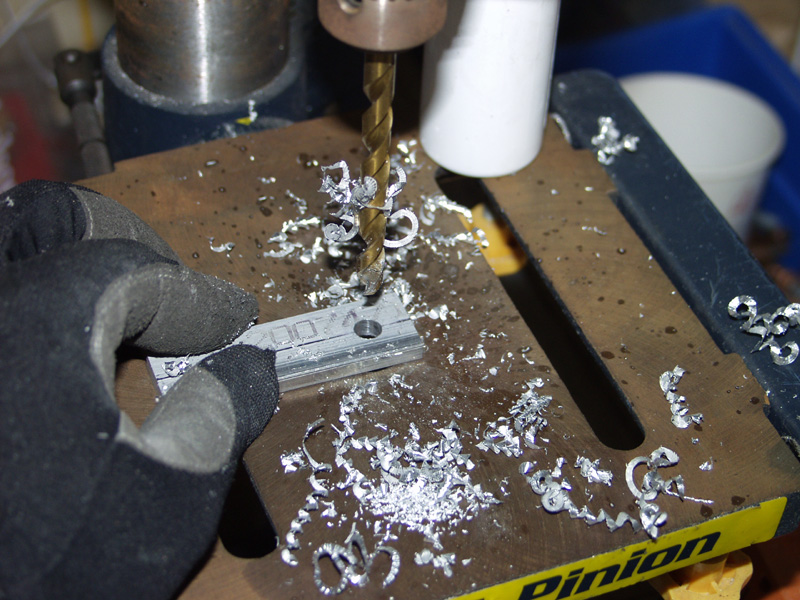
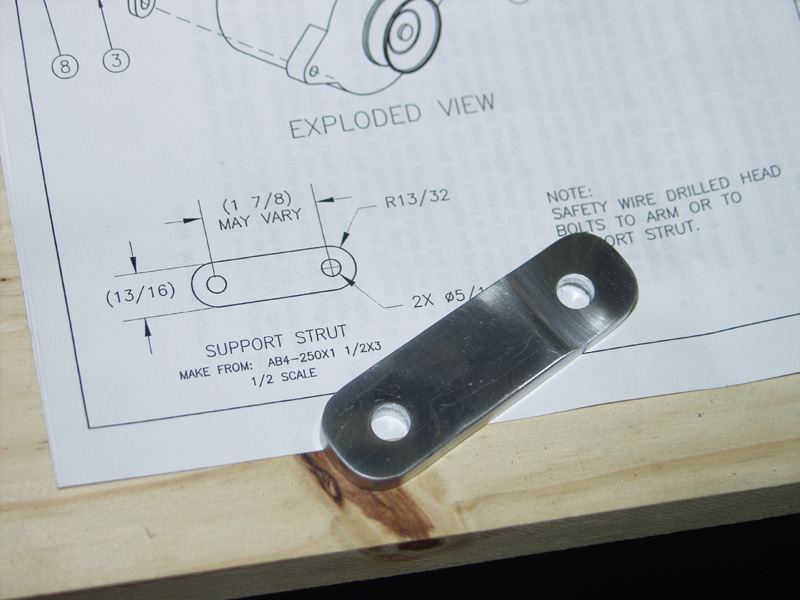
Looks like it will work so I moved onto the alternator bracket. The alt kit provides a piece of thick aluminum bar stock that you are supposed to use to fab up a bar that bolts between the alternator and starter. Since you slot the alternator bracket this will keep it from backing up in the slots if the bolts were to back off.
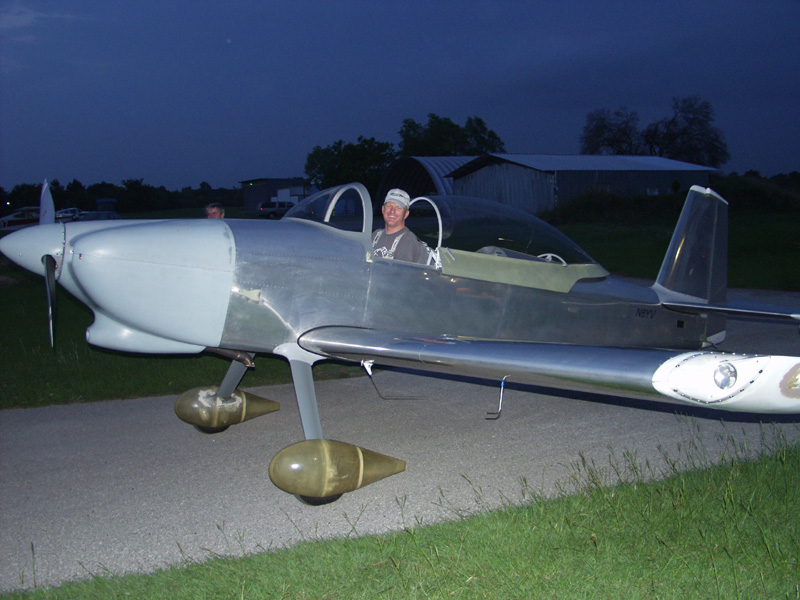
While I was working on this piece I hear the speed of something that had to be an RV. Must be MR. Bixby! I stepped outside the hangar and sure enough there he was just above the pattern showing off as usual. I got the handheld radio out and told him we needed a low approach followed by a full stop to check things out. As usual I didn't have to twist his arm too much. We had a great visit and then off to Hooks he went. I snapped a couple of shots of his 8. I also suggested he might want to paint it some day!
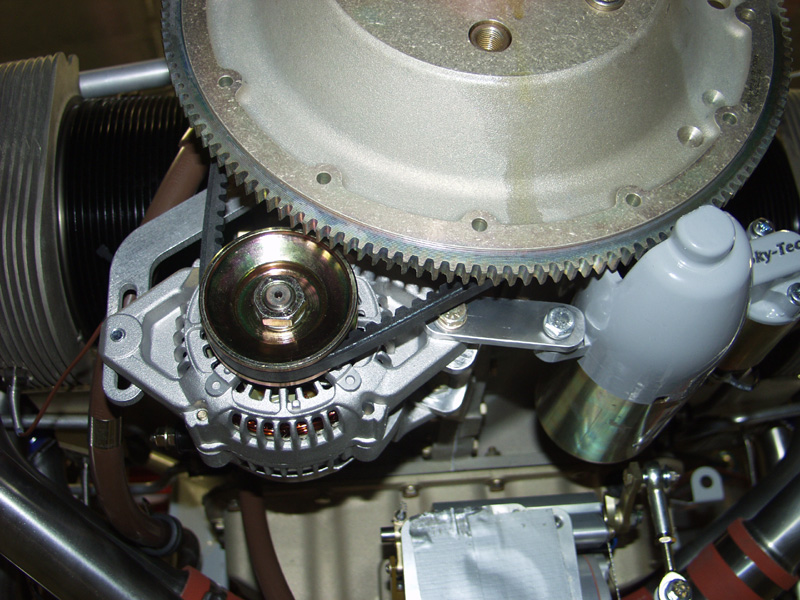
After John left I finished up the alternator bracket and installed. All I need now is to adjust the belt tension and safetie the bolts.
This website was built to document my work in compliance with the FAA requirements
needed to certify my aircraft.
My experiences and comments are by no means to be
considered as instructions on how to build any aircraft.
|
| |