Home
Preparation
Empennage
Wings
Fuselage
Engine
Finish Kit
Favorite Links
W & B Calculator
Van's Aircraft
Email Me

|
 |
Engine Update March 2009 Updates
March 7, 2009
Baffle and Cowl Work.... - 5.0 hrs
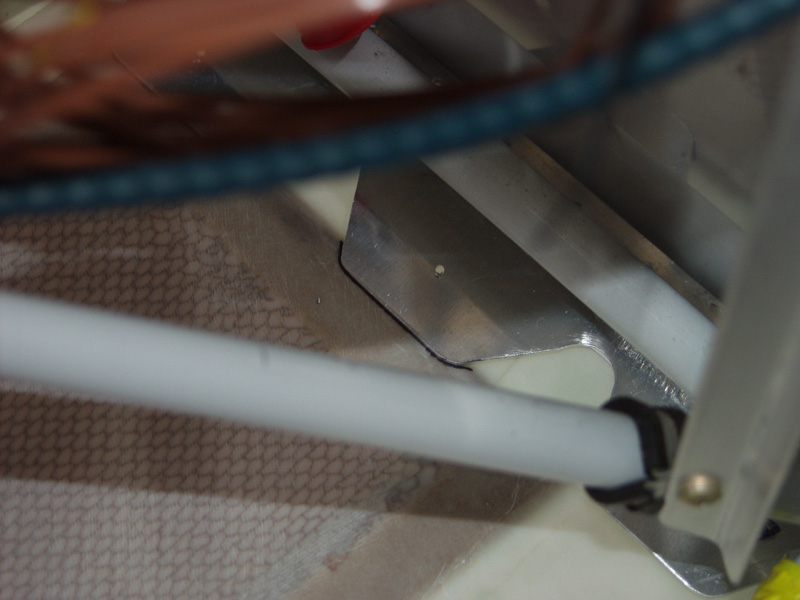
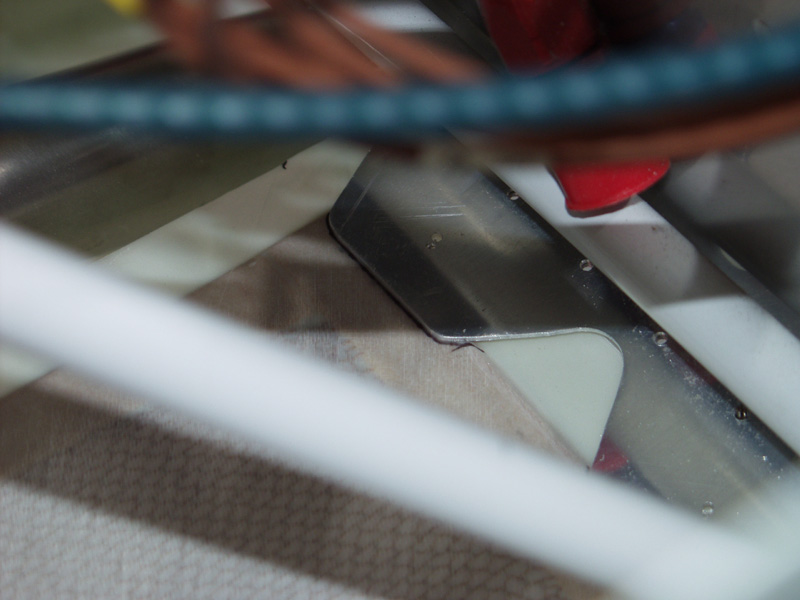
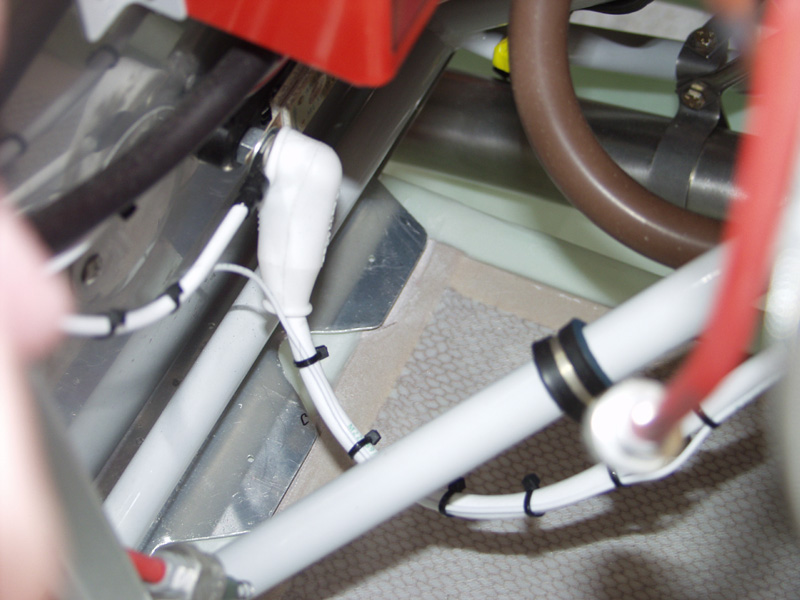
Today was a bitch. I bet I took the cowl off and on 50 times. Trying to get the fit is a long slow process. Your afraid to take too much off at a time. I also noticed where the cam strips are touching the honey comb part of the cowl. The pics show where the tips are touching about an 1/8 of an inch. I marked these areas with the sharpy and then used the dremel to gently remove enough to allow the strips to lay flat.
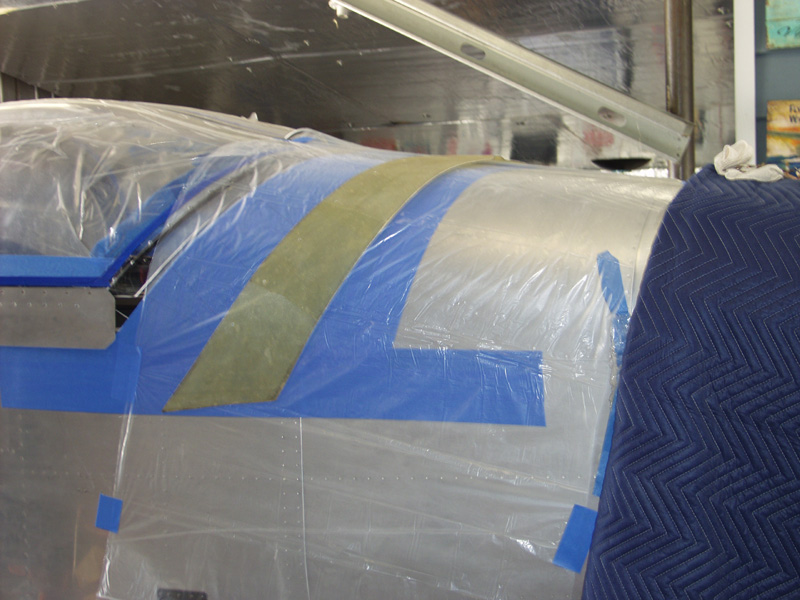
Took a break from the cowl and laid some plastic over the fuse to keep from getting any epoxy on the aluminum. I laid up some epoxy over the canopy fairing and used peel ply to get a smoother finish. While that setup I moved back to the cowl and FAB.
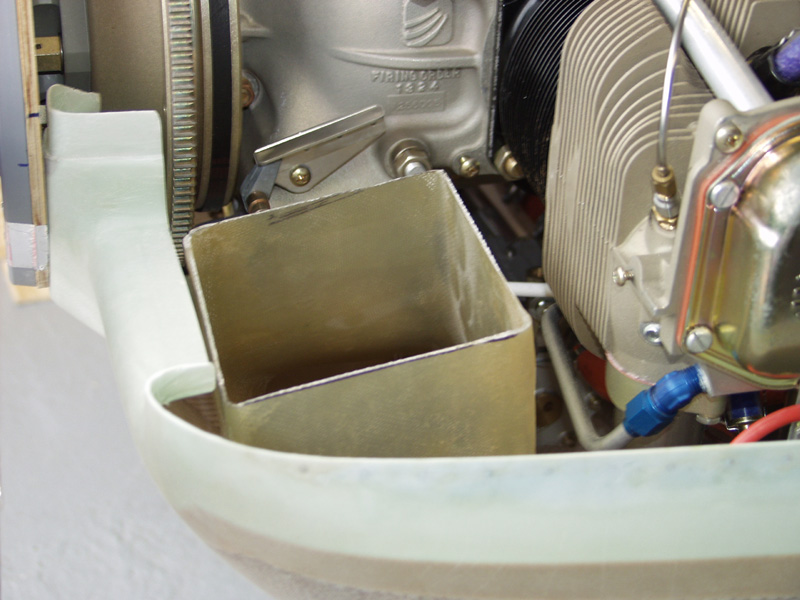
I made a template of the front of the fuel injector face to copy the bolt pattern onto the face the FAB that bolts to the injector. I clamped the FAB in place and marked the outside edge as best I could. Not alot of room here to work with. Once I got the FAB bolted in place with one bolt I refit the bottom cowl to find the FAB would not clear the inlet. Removed and trimmed and refit. Again this is a slow process because you dont want to trim too much as the baffle floor needs to get trimmed also.
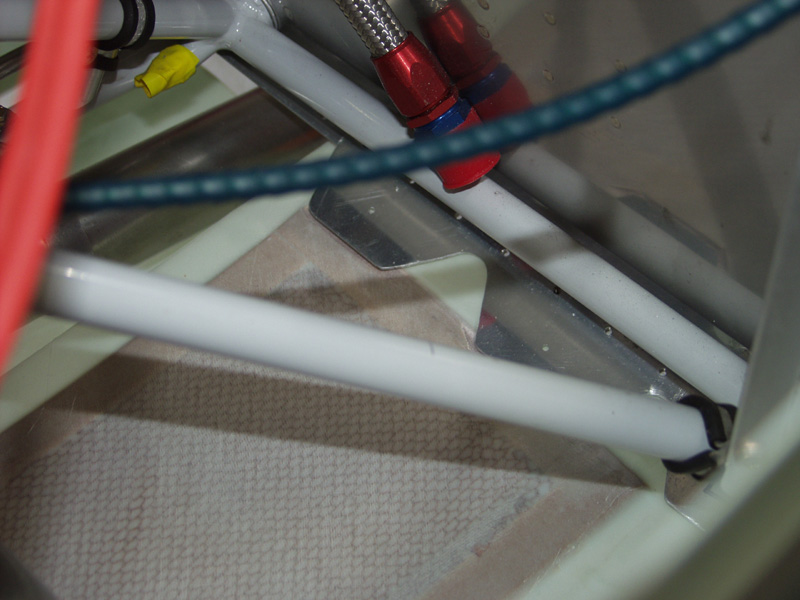
You can now see how the cam strips not fit better. Now the bottom cowl needs to have the bottom flange trimmed before I continue on. This is a good stopping point.
This website was built to document my work in compliance with the FAA requirements
needed to certify my aircraft.
My experiences and comments are by no means to be
considered as instructions on how to build any aircraft.
|
| |