Home
Preparation
Empennage
Wings
Fuselage
Engine
Finish Kit
Favorite Links
W & B Calculator
Van's Aircraft
Email Me

|
 |
Fuselage July 2008 Updates
July 06, 2008
More Canopy Frame and VS and Rudder.... - 9.0 hrs
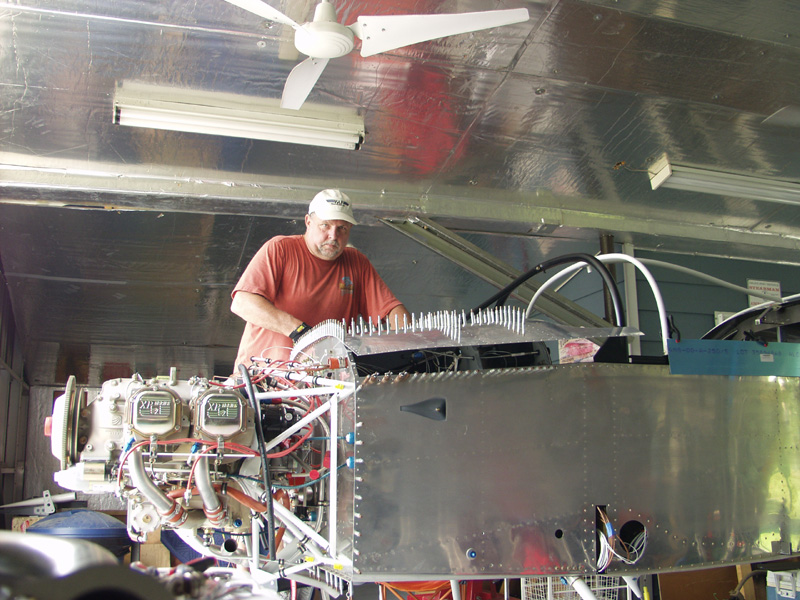
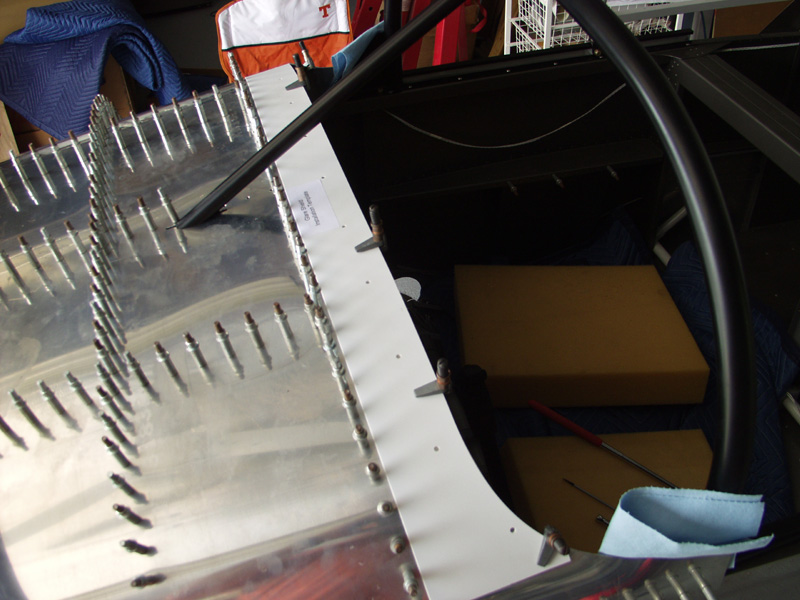
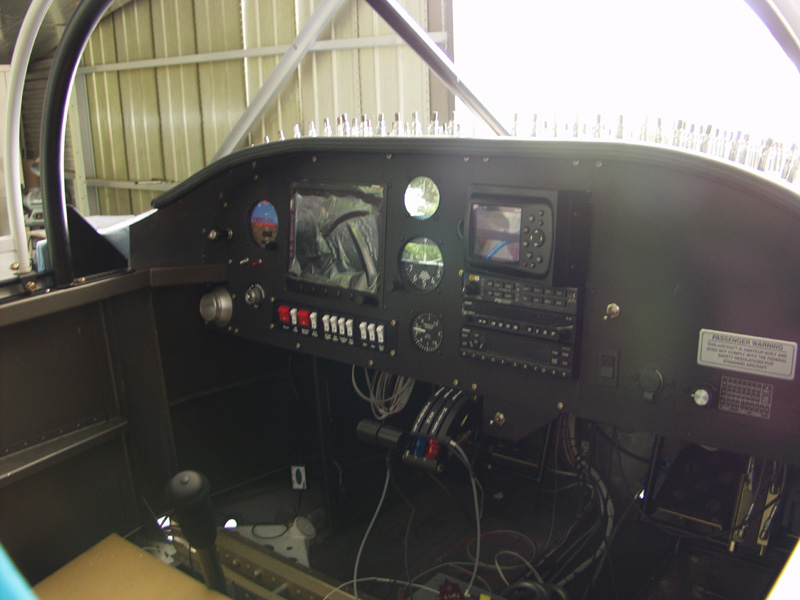
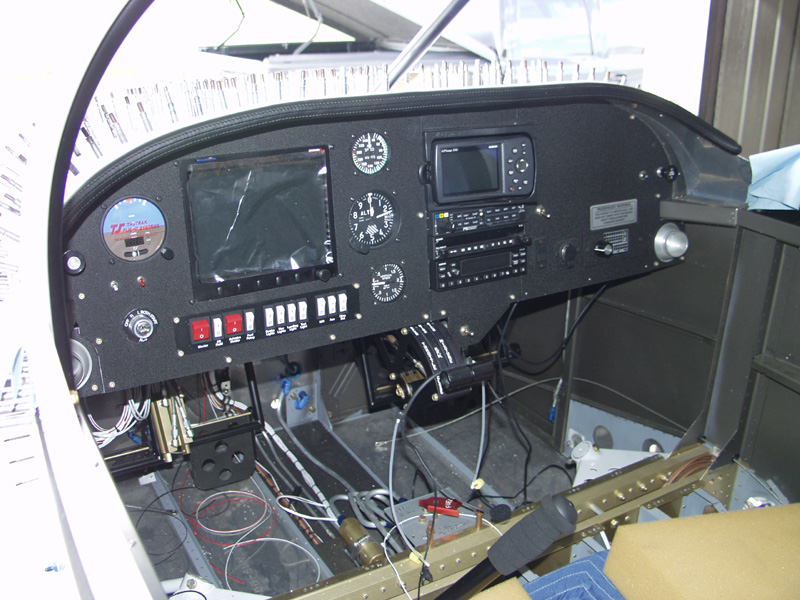
Today was a great building day. I started with clecoing the top forward skin in place to get the canopy frame finished and ready for glass cutting. Once I got that done Jon showed up and started helping me. He finished up safeting the alternator bracket.
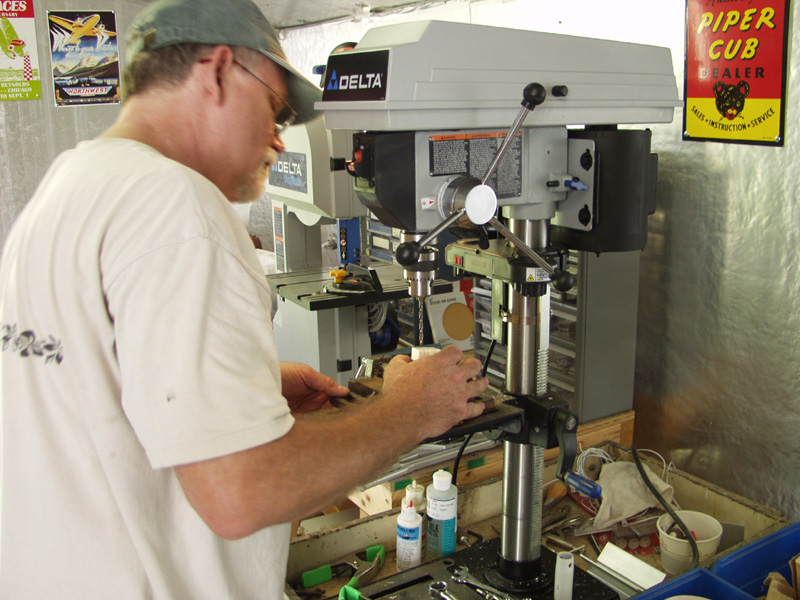
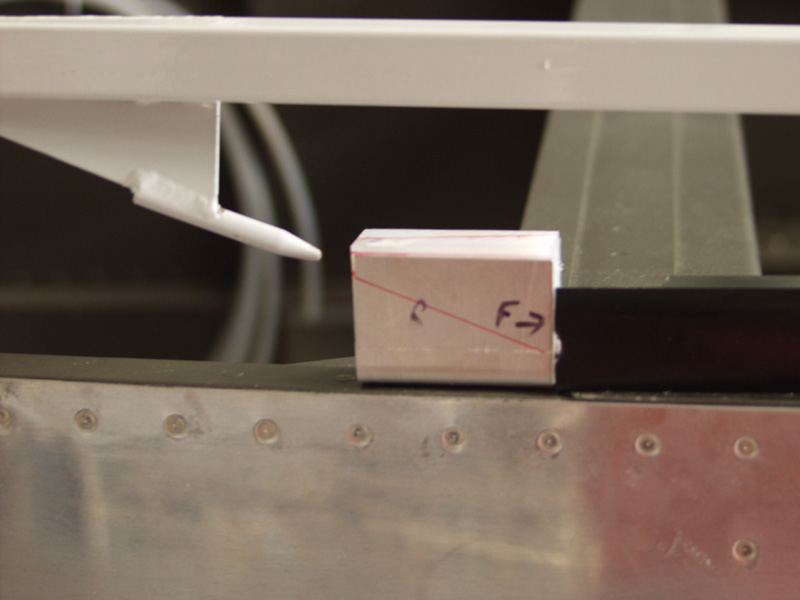
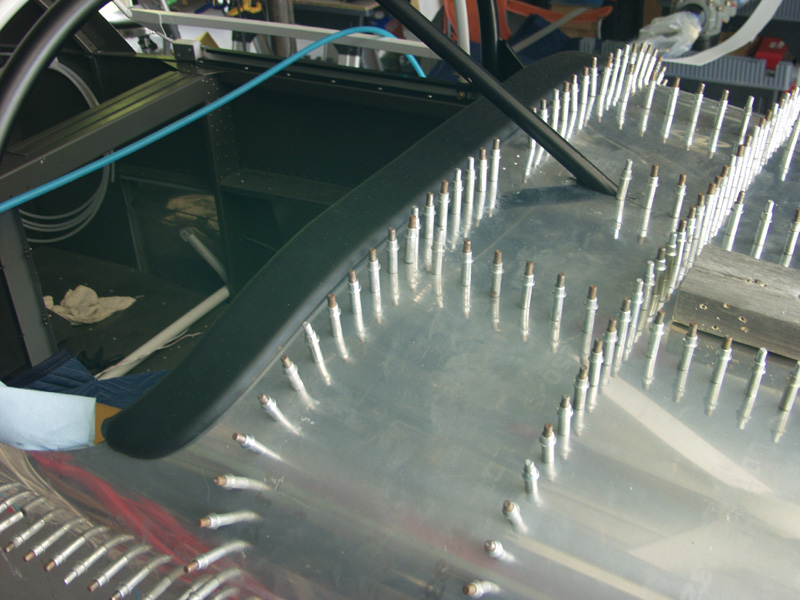
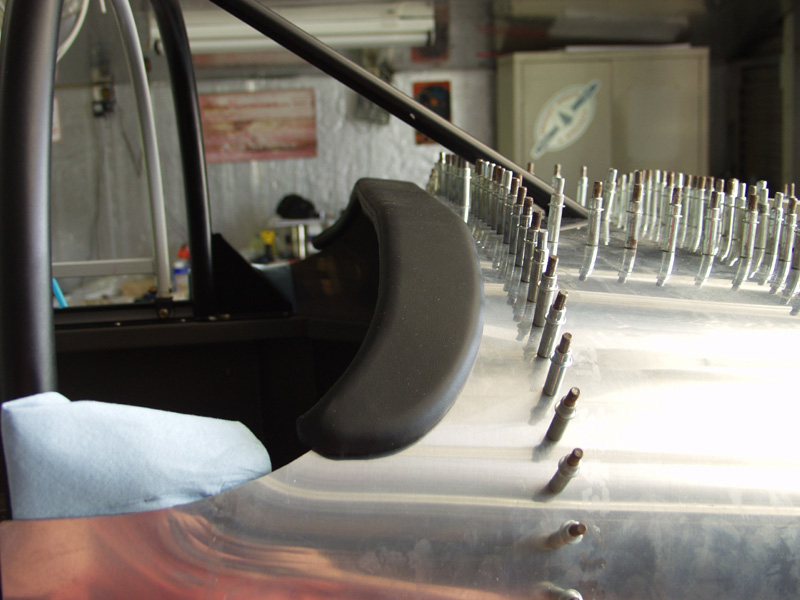
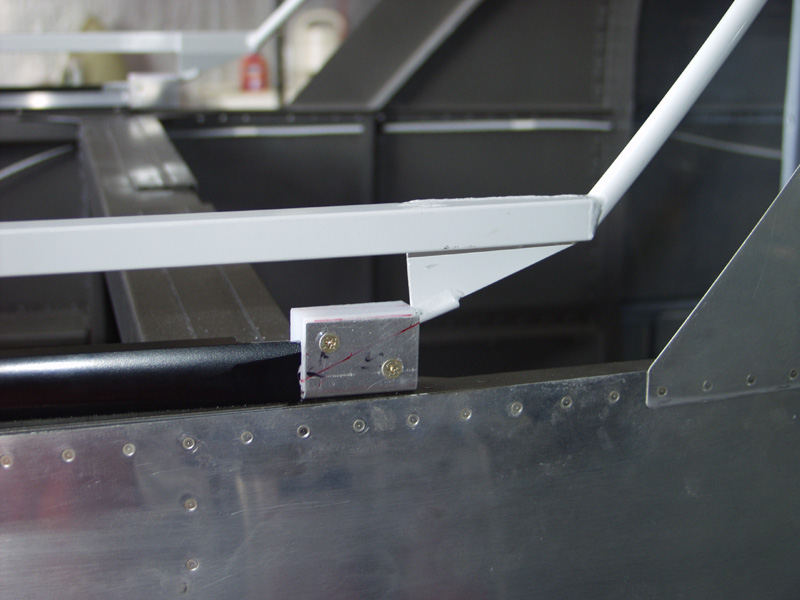
I started working on the glareshield trim I picked up from Classic Aero Designs. This really looks first class and I highly recommend it. Once that was complete it was on to the canopy frame blocks that sit at the rear of the side tracks. These give the rear frame a place to lock into and hole the canopy tight against the sides. These require and hole to be drilled from the rear in a angle down and in geometry. Jon marked up the first block and setup the drill press and nailed it the first time. I drilled the side holes per the plans and then we started on the other side. Same thing again. They may need a little adjusting but you can pull the frame down tight which means they are really dang close.
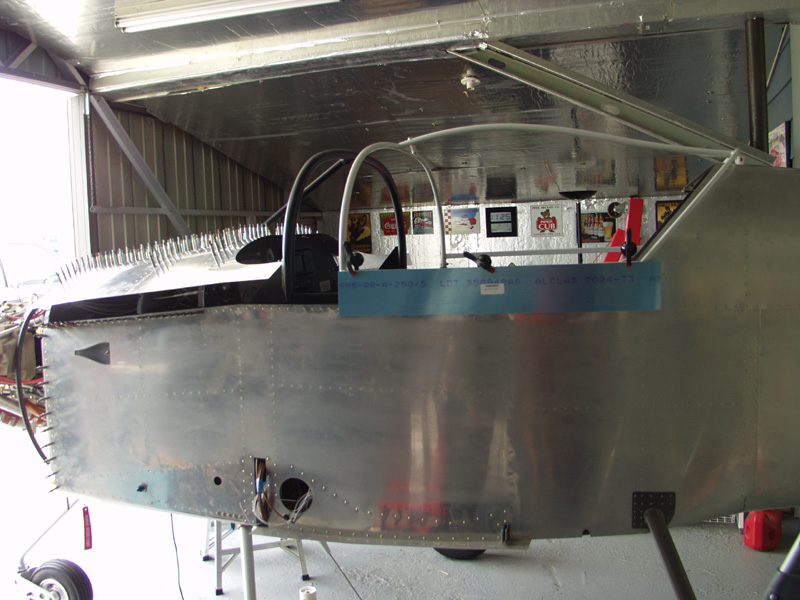
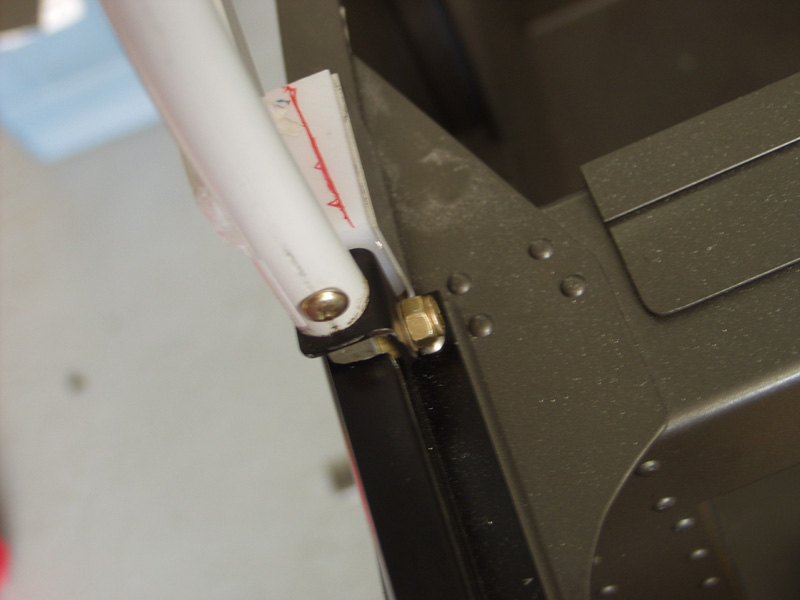
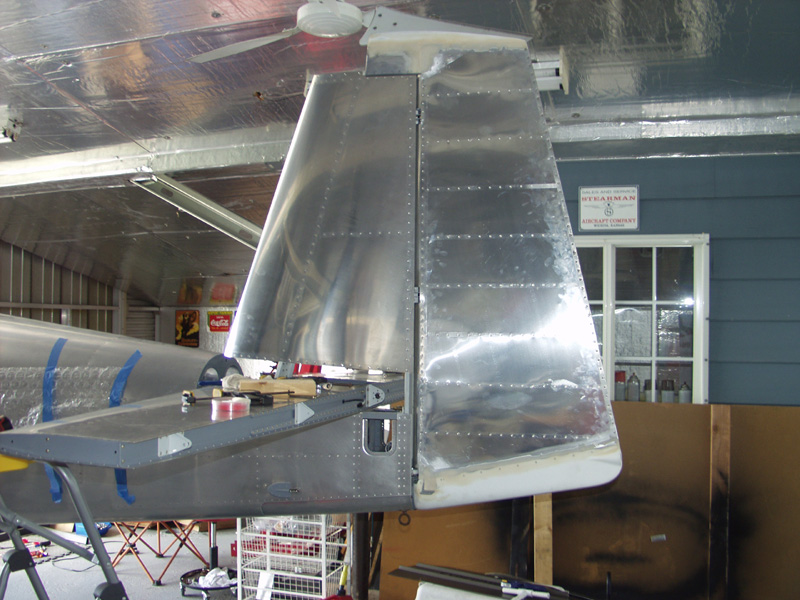
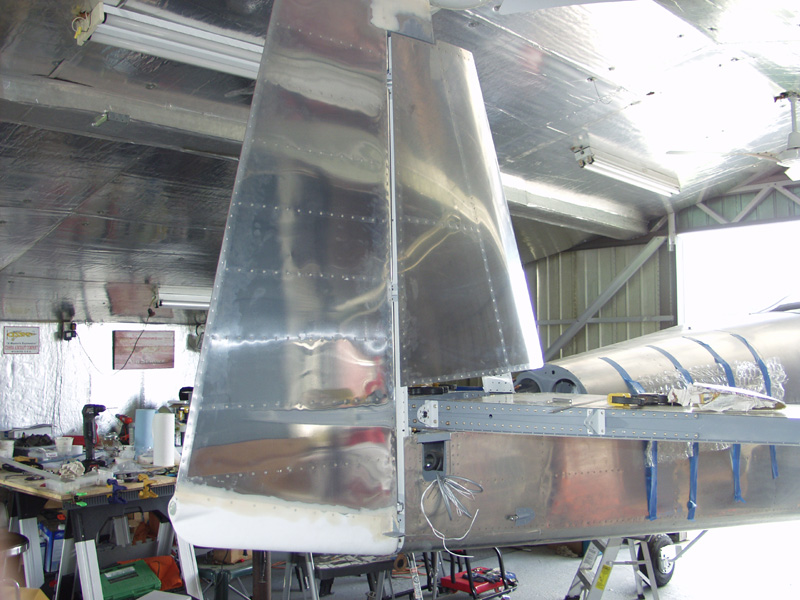
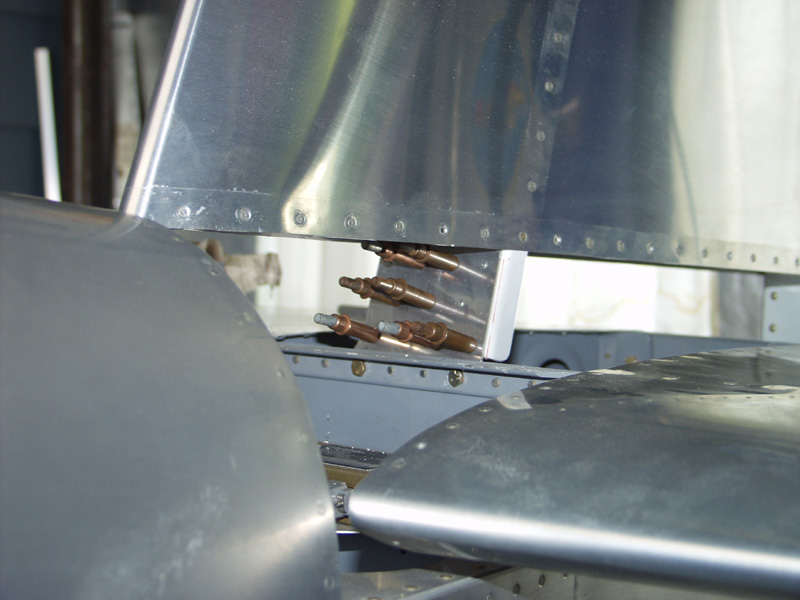
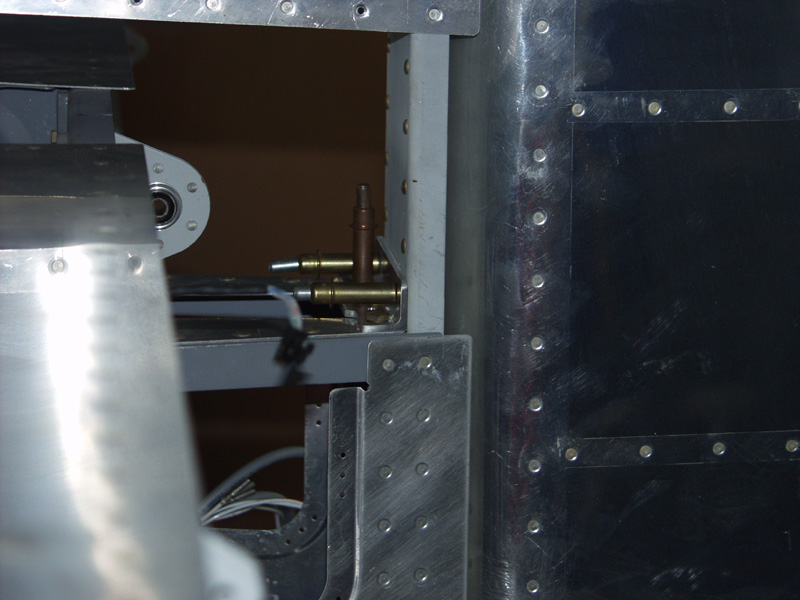
Next we decided to hang the rudder to make sure the vertical stabilizer is straight. First I rechecked my measurements by measuring from the tip of the VS to the edge of the HS. 62 and 1/4 inch on the nose. Then checked the measurement from the longeron to the top of the bottom hinge bracket. Dead on. Next we drilled the 4 rear bolt holes from the inside of the tail hook bracket out thru the rear. Once that was complete we screwed in the 3 bearings into the rudder. This took quite some time as its alot of trail and error getting the rudder to align up with the brackets on the rear of the VS. Once the rudder is in place and swinging in both directions freely you know its truly vertical forward to back wise. Then it was time to drill the 11 or so holes which get riveted to the front of the VS.
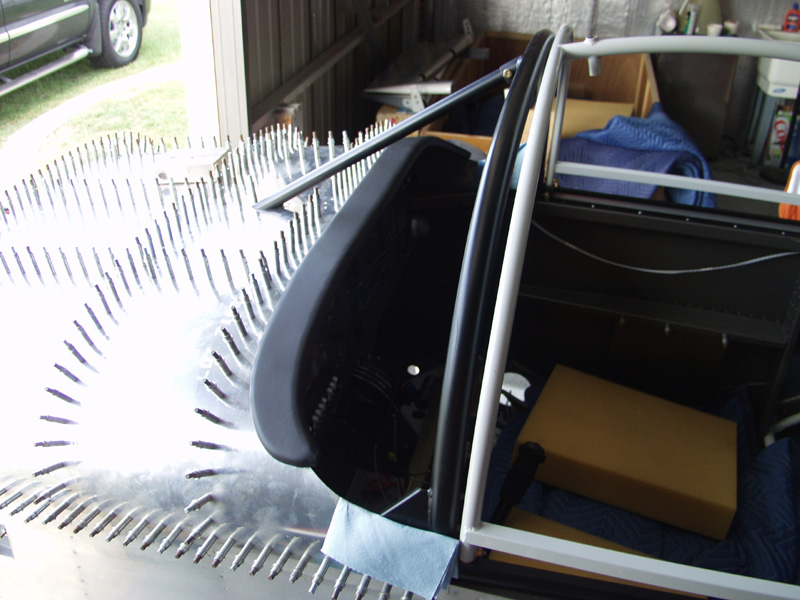
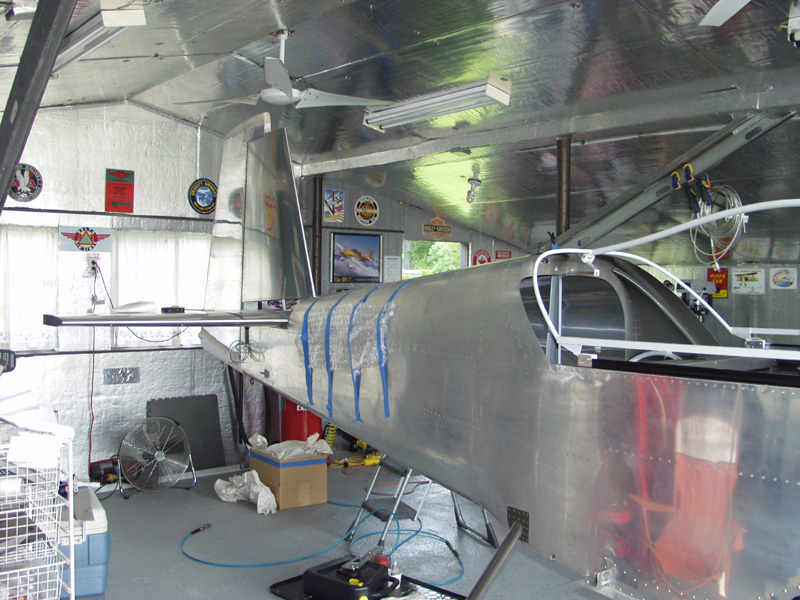
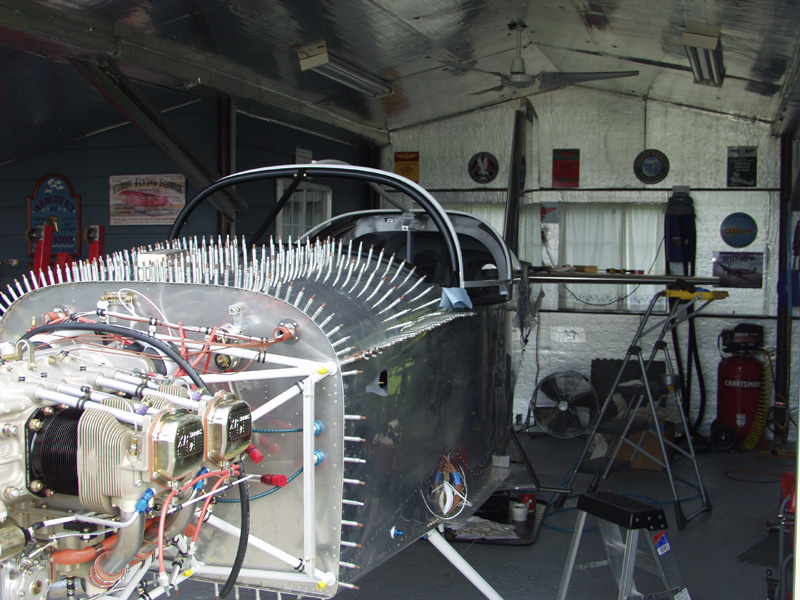
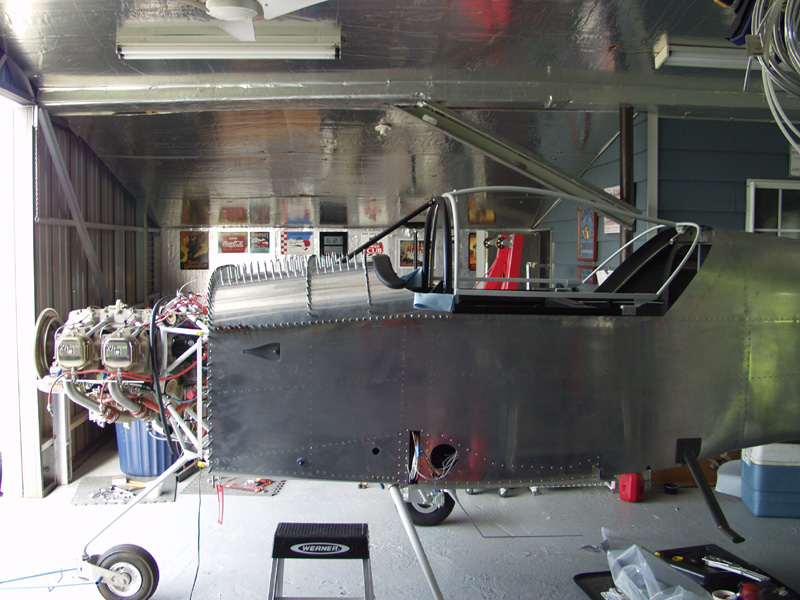
Overall it was a long hot day. 9 hours straight with no lunch break. It is really coming together and looking like a plane now so I took some pics from the outside from different angles to show the progress.
This website was built to document my work in compliance with the FAA requirements
needed to certify my aircraft.
My experiences and comments are by no means to be
considered as instructions on how to build any aircraft.
|
| |