Home
Preparation
Empennage
Wings
Fuselage
Engine
Finish Kit
Favorite Links
W & B Calculator
Van's Aircraft
Email Me

|
 |
Fuselage August 2008 Updates
 |
 |
August 24, 2008
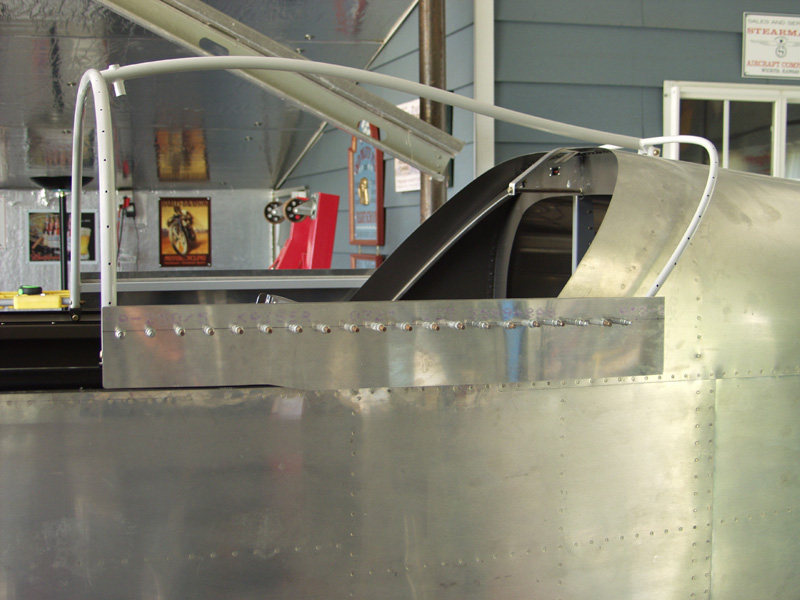
More Sideskirt Drilling.... - 2.0 hrs
Today I marked and drilled the sideskirts. Started on the right side. Drilled and clecoed as I went. By the time I got to the rear the inside piece that sandwiches the glass had moved down a bit.
On the pilot side I decided to try something different. Due to the bow in the frame the inside piece since it has a bend moves around as you drill it. This time with it clamped in place I drilled the first hole and then the last hole at the rear. Making sure it was clamped in place the inside piece again had worked itself higher in the middle of the bow. I pushed this down and then drilled a hole in the middle.
Next I started back in the front and drilled every other hole clecoing as I went. Then I finished drilling the rest of the holes. Came out perfect this time. Again I see why people build a 2nd time and do much better. All the things you learn along the way ya know!
Last I tripped the latch and pulled the canopy back. Nice and smooth. I fit the inside piece in place to check for fit. Works like a champ. I have seen others talk about how the bottom row of rivets will not match the inside piece if you mark it per the template in the plans. I may just drill it to the inside frame first and then drill from the rear on the bottom line.
This website was built to document my work in compliance with the FAA requirements
needed to certify my aircraft.
My experiences and comments are by no means to be
considered as instructions on how to build any aircraft.
|
| |