Home
Preparation
Empennage
Wings
Fuselage
Engine
Finish Kit
Favorite Links
W & B Calculator
Van's Aircraft
Email Me

|
 |
Fuselage August 2008 Updates
August 16, 2008
Canopy Drilling.... - 5.0 hrs
I have been really fretting over drilling the canopy. Its plenty warm but there was such a large gap on the top bar in the middle I just couldn't see how I could flex it that much. Jon said to push it down, Jim said start at the top and use the thumb screw clecos to work your way to the back.
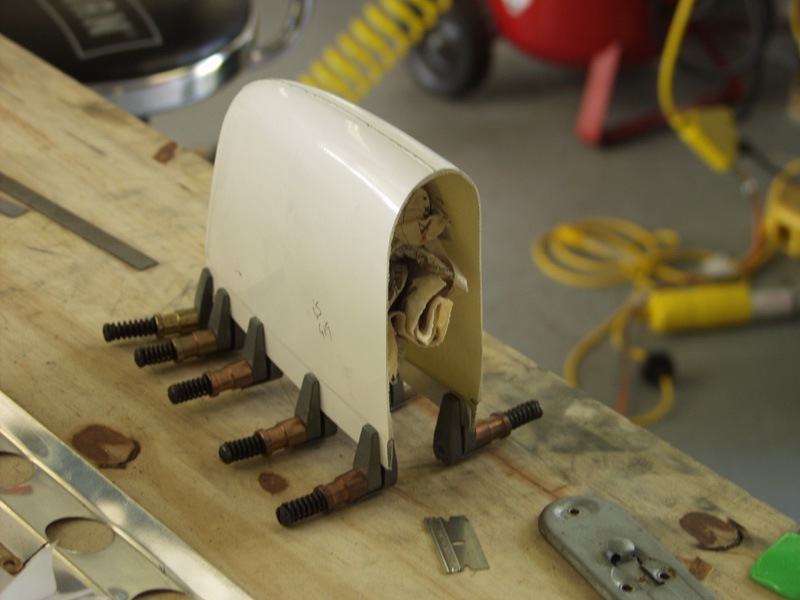
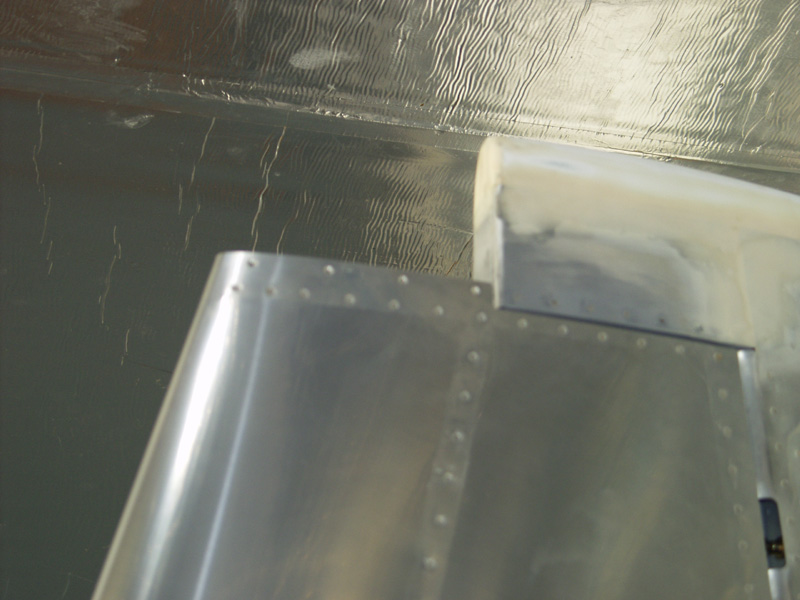
So today was the day. First I cut some alum strips to glue to the VS fiberglass tip and set that aside to dry. Next I received the washers I order from Spruce and want to do another test on drilling a piece of aluminum and tapping it for a screw. Then I drilled a quarter inch hole in a piece of test glass like a tip I got from Bob Barrow. I installed a piece of silicone tubing which fillse the hole and leaves a hole just the size of the screw or rivet shank. In this case I wanted to try the screw. I counter sunk the glass with the stone counter sink for the tinnerman washer. I screwed in the screw up tight compressing the silicone. Worked perfect. You can really see how this will allow for the canopy will be in minimal stress at the connection points.
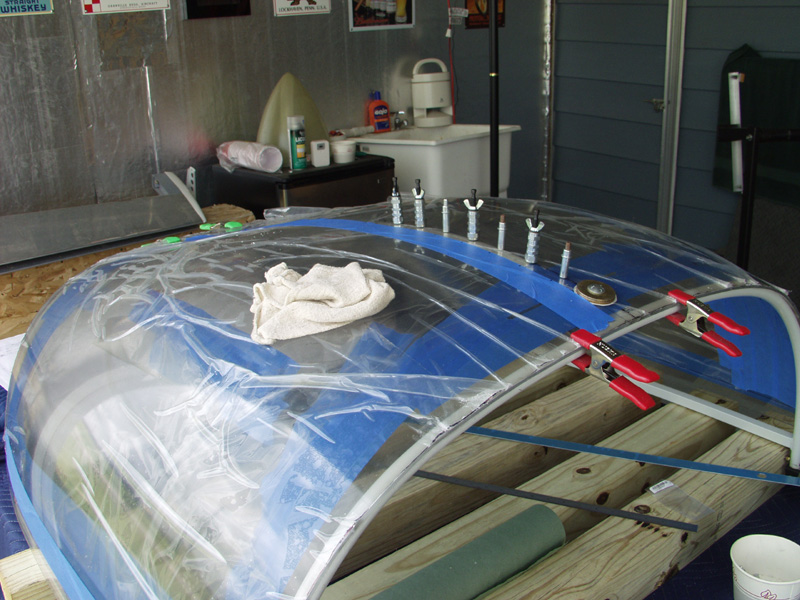
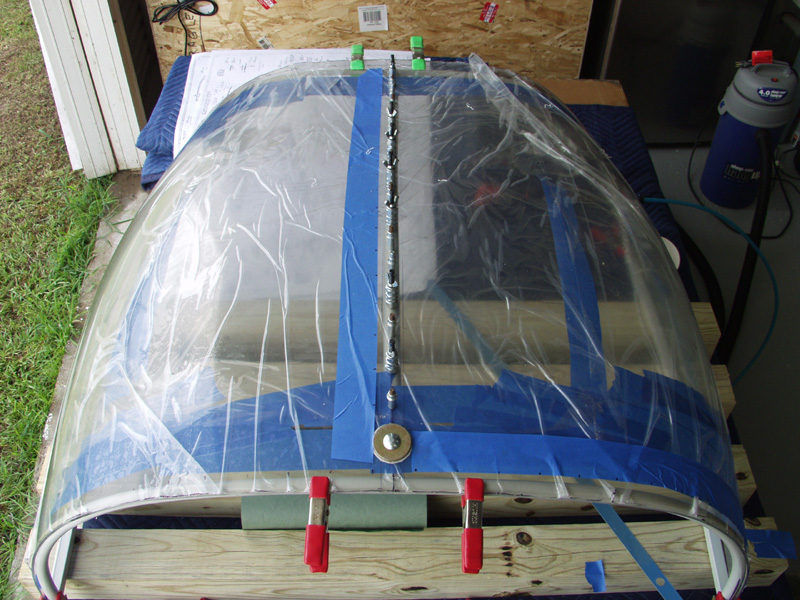
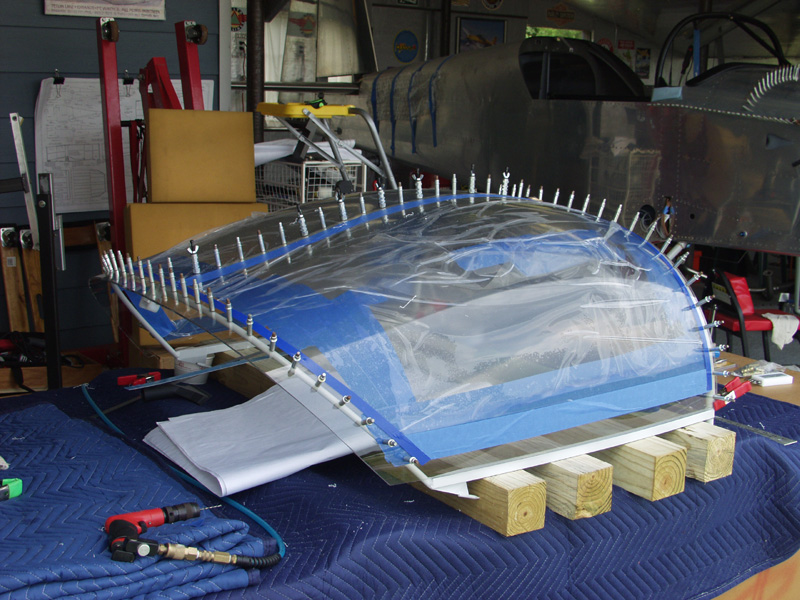
OK so now was the time to get serious. First I double checked the center line and clamped in 2 places on the front bar and rear close to the center line. I wanted to make sure this was really secure. Then I put masking tape about an inch from the centerline and marked the rivet holes in 2 inch intervals. Then I drilled the first hole just back from the big canopy latch hole. Inserted a cleco and moved down the bar only removing the thumbscrew clecos and replacing with a regular one when I was 3 thumbscrew clamps ahead. This was making sure everything was held really tight against the bar as I moved towards the rear.
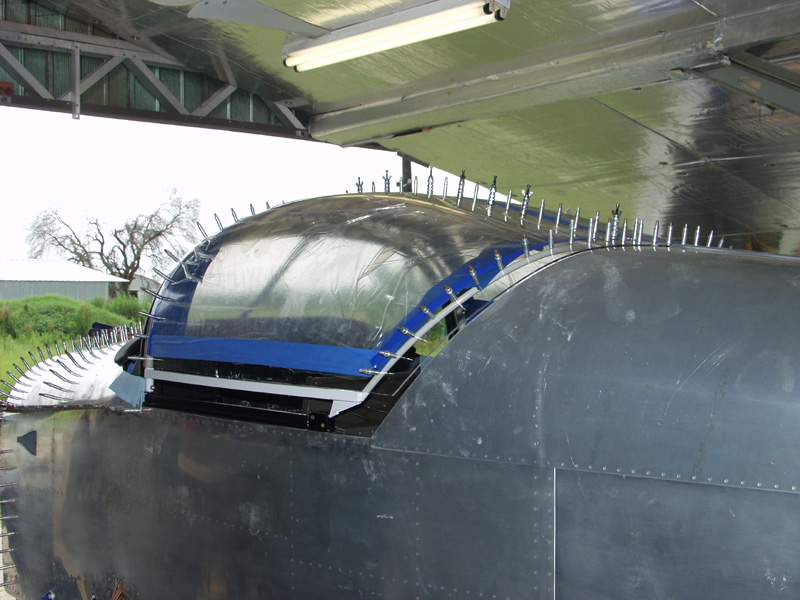
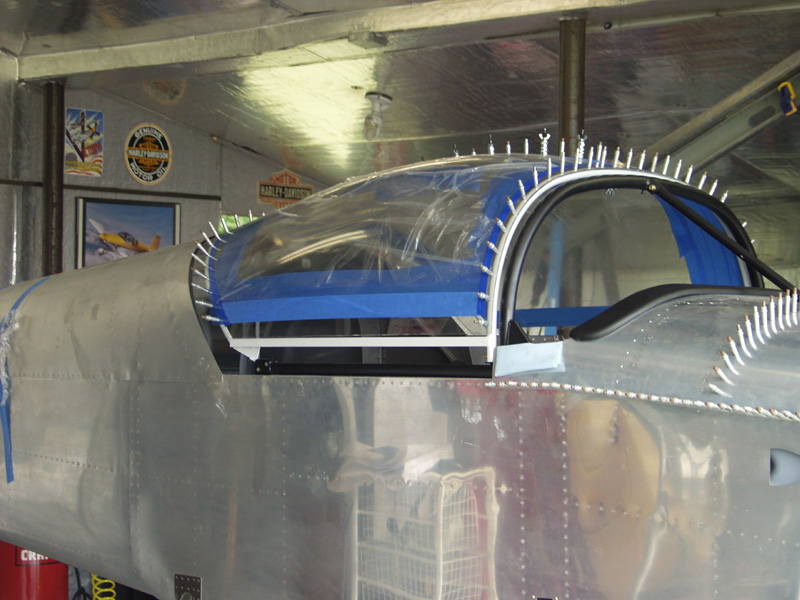
Each hole I had to hold lots of downward pressure to compress the canopy and remove the large gap. As I move rearward the gap got smaller. Once this was complete I moved to the forward bow. I moved 1 inch to each side of the center weld and marked in 2 inch intervals again. Clamping as I went I repeated the process. This went really smooth as everything fits really tight in the front. After that I moved to the rear bow and repeated as the front. Again no problems except on one hole at the end where there was tape on the inside of the canopy that blocked my view and I drilled a bit off. I think I can make it work though. Last I reinstalled the canopy on the plane to check for fit. Looks really good and slides smoothly. Can't wait to the the clecos out though as it adds about 15 lbs seems like.
This website was built to document my work in compliance with the FAA requirements
needed to certify my aircraft.
My experiences and comments are by no means to be
considered as instructions on how to build any aircraft.
|
| |