Home
Preparation
Empennage
Wings
Fuselage
Engine
Finish Kit
Favorite Links
W & B Calculator
Van's Aircraft
Email Me

|
 |
Fuselage April 2008 Updates
April 23, 2008
Odds and Ends.... - 2.0 hrs
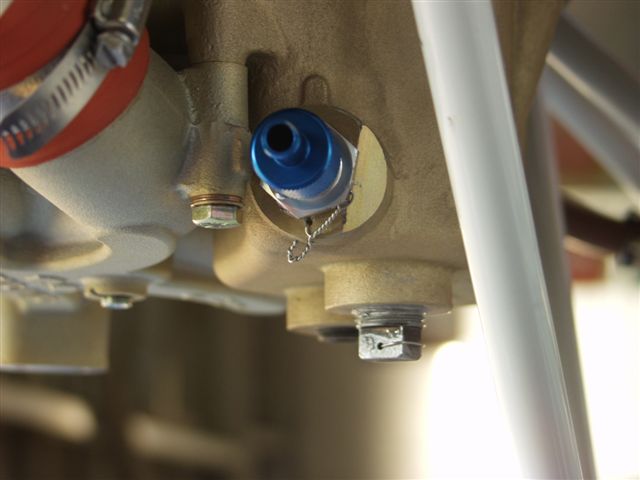
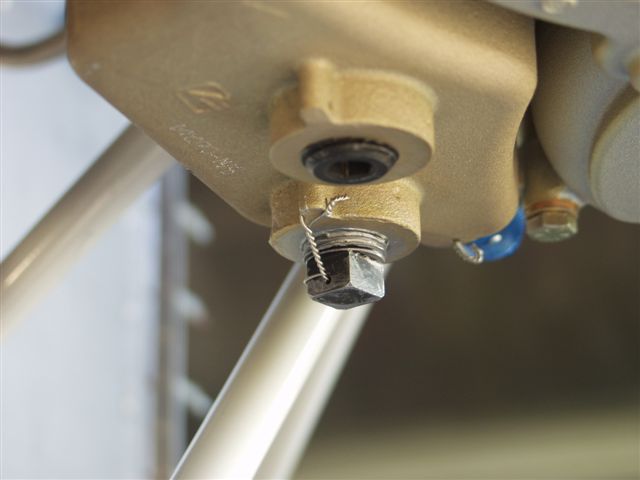
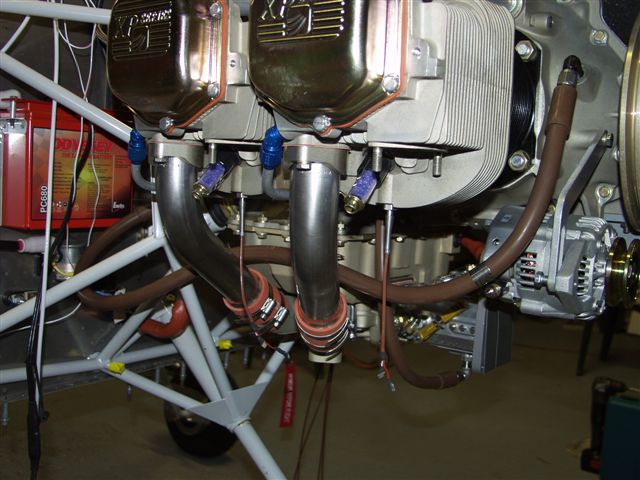
When I got home from work I had a package from Vetterman. The hanger kit had arrived. So off to the hangar I go. Once I get there and get ready to start hanging the exhaust I notice there are some things that need to be done first. Like move the quick drain to the hole on the side to make clearence room for the exhaust and replace the old square plug.
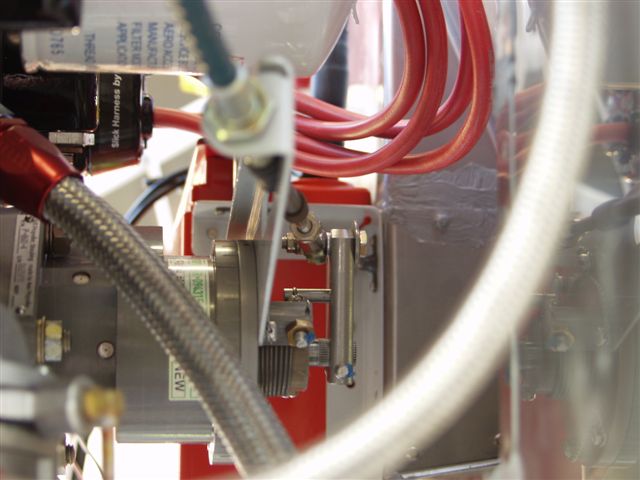
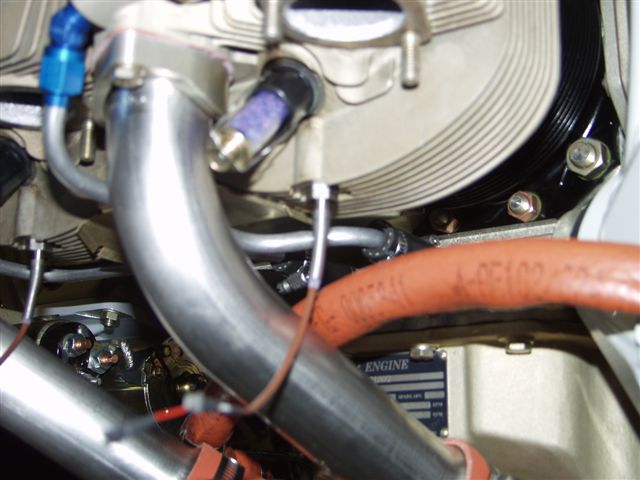
I also got an email from Round Rock Jeff that my picture on the website looked like I needed to route the pro cable to the other side of the gov control arm. I pulled up the picture and dang if he aint right. Well moved it but the bolt will only go in from one side. So I move the nut to the other side and it does look better. Thanks Jeff!
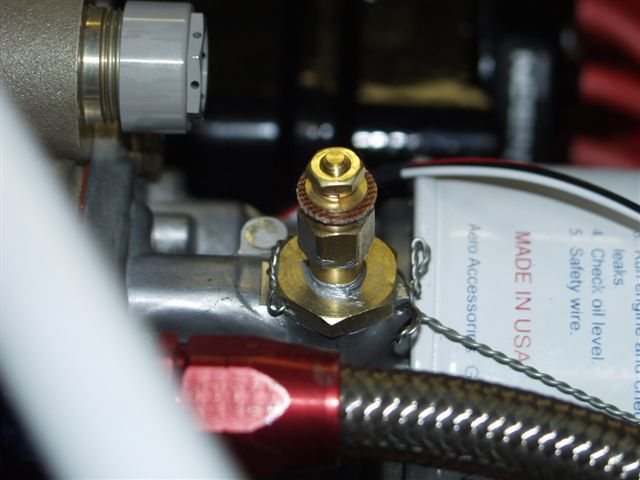
Next I removed the hex plug and moved the quick drain to that hole and safetied it in place. Then reinstalled the square plug and safetied it in place.
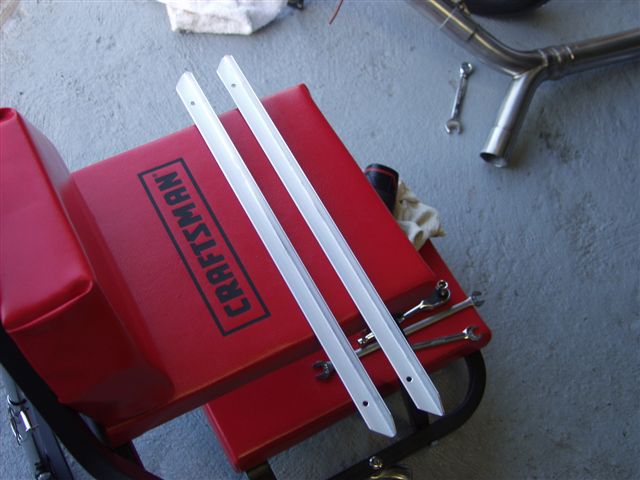
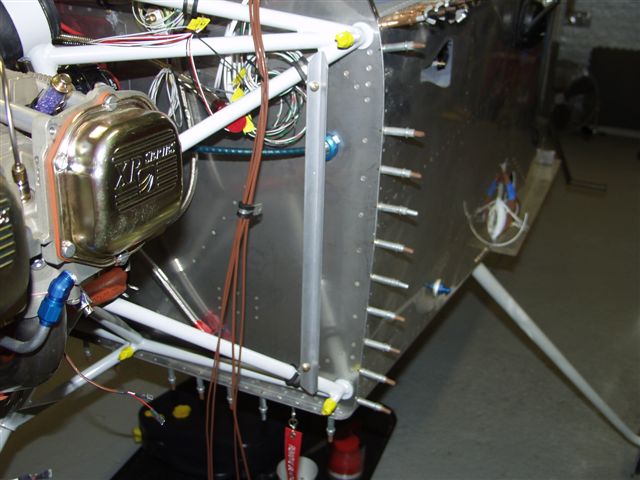
Now I got to looking at how I was going to route some of the engine wires and decided to fab up 2 side brackets out of aluminum angle. I mounted these on each side of the engine mount with adel clamps.
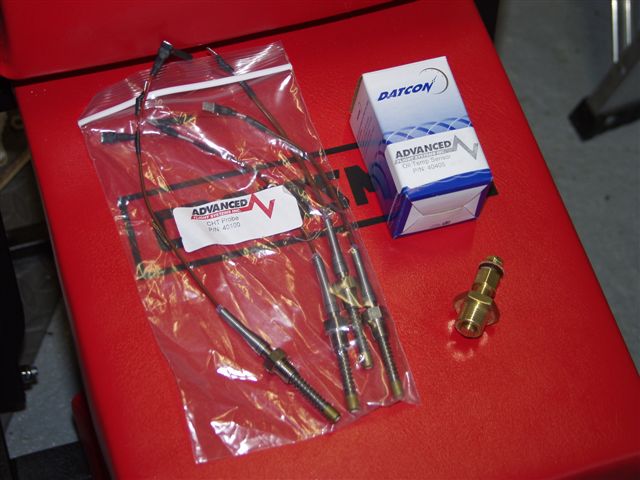
After this I decided to keep going with other parts that would be difficult to install once the exhaust was installed. First was the oil temp sensor which mounts in a hole right before the oil filter. Safetied this in place and moved on to the CHT sensors. There is a hole on the bottom of each cylinder with threads for the sensors. I screwed these in place and used antiseize on all things mounted in the engine holes.
This website was built to document my work in compliance with the FAA requirements
needed to certify my aircraft.
My experiences and comments are by no means to be
considered as instructions on how to build any aircraft.
|
| |